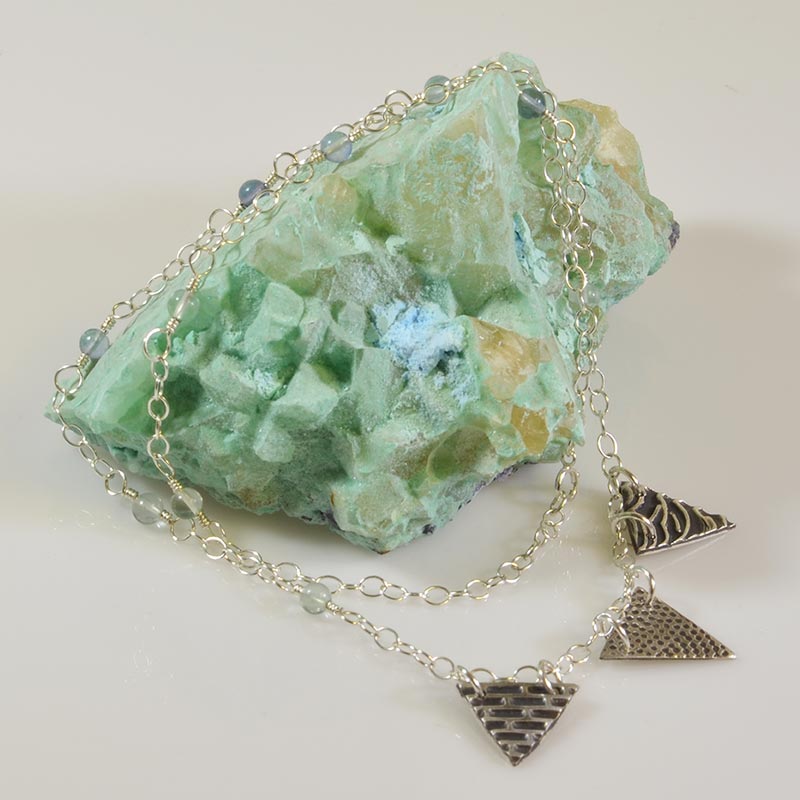
Pennant Pendant Necklace Tutorial
Created by: Rita Hutchinson
Designer Tips
- Use texture plates from the tool kit to create designs on each torch-fired metal clay pennant. Patina each with liver of sulfur.
- Center one of the pennants on the chain.
- Add additional pennants evenly spaced to the left and right.
- Determine spacing of wrapped links. Cut chain and wire wrap links directly to the chain.
- The micro crimping pliers are great for tucking the trimmed wire ends in on the wire wrapped loops.
Free Technique Sheets & How-Tos

Suggested Supplies
- 1 strand [use 10] #21-884-099-01 Bead, Aquamarine, Round, 4mm
- 1 each #50-101-08-16 Chain, 16", Cable, Large, 2.5mm
- 1 pkg of 10 [use 6] #37-295-560 Jump Ring, Round, 6mm
- 1 each #86-322 Liver of Sulfur, XL Gel, 2 oz.
- 1 ozt [use 12-14"] #64-329 Wire, Round, 24ga, Half Hard
Tools
- #63-528 Polishing Pads, Ultra, 2x2"
- #87-071 Rings & Things Metal Clay Tool Kit
- #66-023 Tool, Hobby Knife
- #65-011 Tool, Pliers, Crimping, Micro, 5"
- #69-256-00 Tool, Sanding Pads, Set
- #69-056 Tool, Side Flush Cutter
- #69-427 Tool, Titanium Soldering Pick
- #69-275-09 Tool, Wubbers™, Bent Chain-Nose Pliers
- #69-275-03 Tool, Wubbers™, Chain-Nose Pliers
- #69-275-02 Tool, Wubbers™, Round-Nose Pliers
Additional Supplies
- Metal Clay of your choice (this design uses PMC+)
- Butane
- Small Spray Bottle with Distilled Water
- Mug Warmer
Jan 1st 2021
Our Bead Blog
-
Simply Springy 2-Hole Bracelet
Apr 28th 2025Designed by: Guest Designer Deb Floros Suggested Supplies 1 #61-840-50-01 Beadalon Cord, WildFire,
-
Exotic Statement Necklace
Apr 28th 2025Designed by: Guest Designer Deb Floros Suggested Supplies 1 #88-400-003-5 58x50mm Pewter Connector,
-
Rubber Tubing Necklace and Memory Wire Bracelet Set
Mar 21st 2025Designed by: Guest Designer Deb Floros Suggested Supplies 1 #61-622-02 2mm Rubber Cord, Bulk, for J


