Rings & Things Jewelry Blog
Metal Etching 101
Etching is a method of using chemicals to cut a design or pattern into a metal surface. Etching your own designs into metal is easier than it may sound, and it can be a fun and rewarding way to make your own jewelry! Learn the basics of how to choose your metals, choose your etchants, create or transfer your images with resists, and complete the etching process. Discover how to make a float boat for suspending your designs in etchant — plus find basic etching safety precautions, design consider
…
Oct 26th 2021
Autumn Waterfall Earrings Tutorial
Created by: Polly Nobbs-LaRue Designer Tips3 sunny shades of orange crystal bicones cascade in a warm ombre waterfall, from Vintaj hammered brass rings.Make wire-wrapped loops using ball-end head pins and 10 crystal beads, then use large jump rings to cascade them from the Vintaj® ring.Gently slide the jump rings onto the hammered Vintaj ring, so you don't scratch the ring with the open edge of the jump rings.For tips on creating wire-wrapped loops and the best way to open and close jump
…
Aug 31st 2021
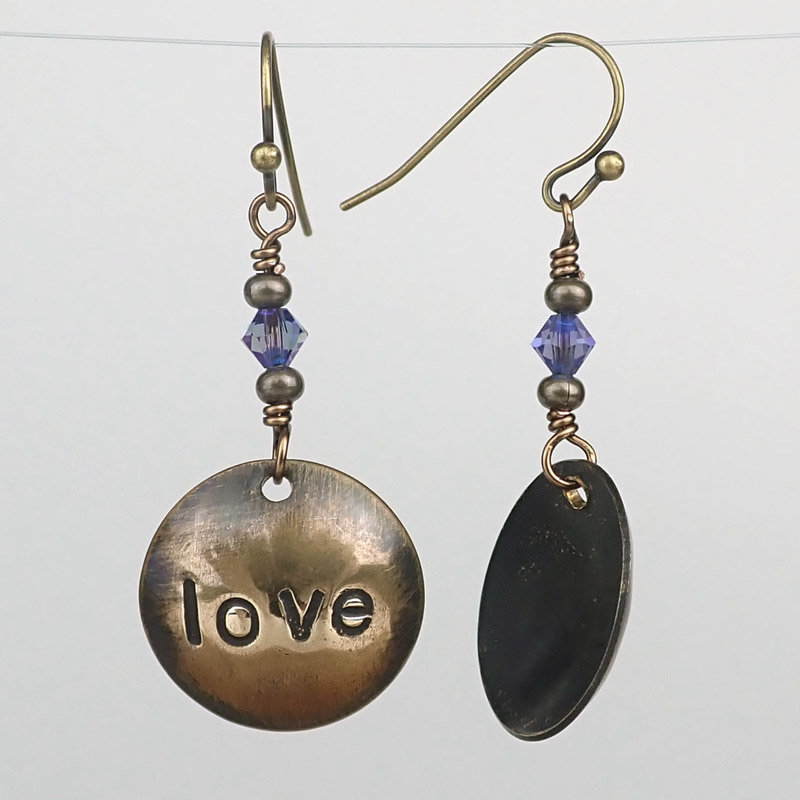
Dapped Love Earrings Tutorial
Designer TipsStamp "Love" or desired word or pattern on 19mm brass disk, and antique it using Novacan. (See Metal Stamping 101)Punch a hole near the top of both disks using the 1/16" side of the 2-hole punch, or your favorite plier punch.Dome the disk. See Blog Article: How to Dome and DapGive the domed disk a matte look using #0000 steel wool, or polish to a high shine with an Ultra polish pad.With one piece of wire, make a wrapped loop attached to the charm. Add a metal bead, crystal bead, and
…
Mar 31st 2021
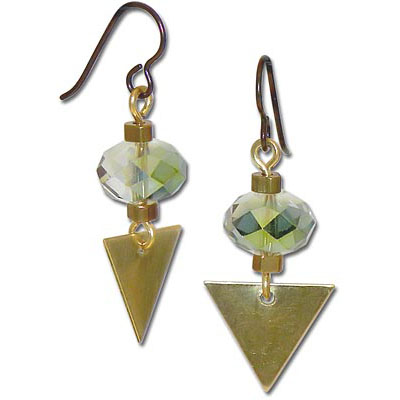
Brass Arrow Earrings Tutorial
Created by: Mollie ValenteDesigner TipsCut the wire in half and form an "eye" loop on one end of each wire.Flatten the loop by striking with a chasing hammer on a steel block.Add the following beads to each handmade eye pin: a brass heishi, a crystal rondelle, and a brass heishi.For each bead link, cut off the excess wire leaving just enough length to form a second eye; form the eye and flatten the loop.Punch a hole centered in the top side of the triangle.Twist open the eye of the eye pin, add
…
Jan 1st 2021
Tribal Fan Earrings Tutorial
Created by: Polly Nobbs-LaRueDesigner TipsDecide which direction to face the (reversible) ethnic fan connectors and charms, and lay out all pieces. Use a medium-large jump ring (approx. 7mm), attach each charm to the base of the fan connector. For best way to open and close loops, see Jump Ring Hint in Jewelry Basics 101 (PDF).Use a slightly smaller jump ring (about 5mm) to connect the earring drop-post to the fan.Use your favorite earring backs. This pair of earrings is a bit heavy, so earring
…
Jan 1st 2021
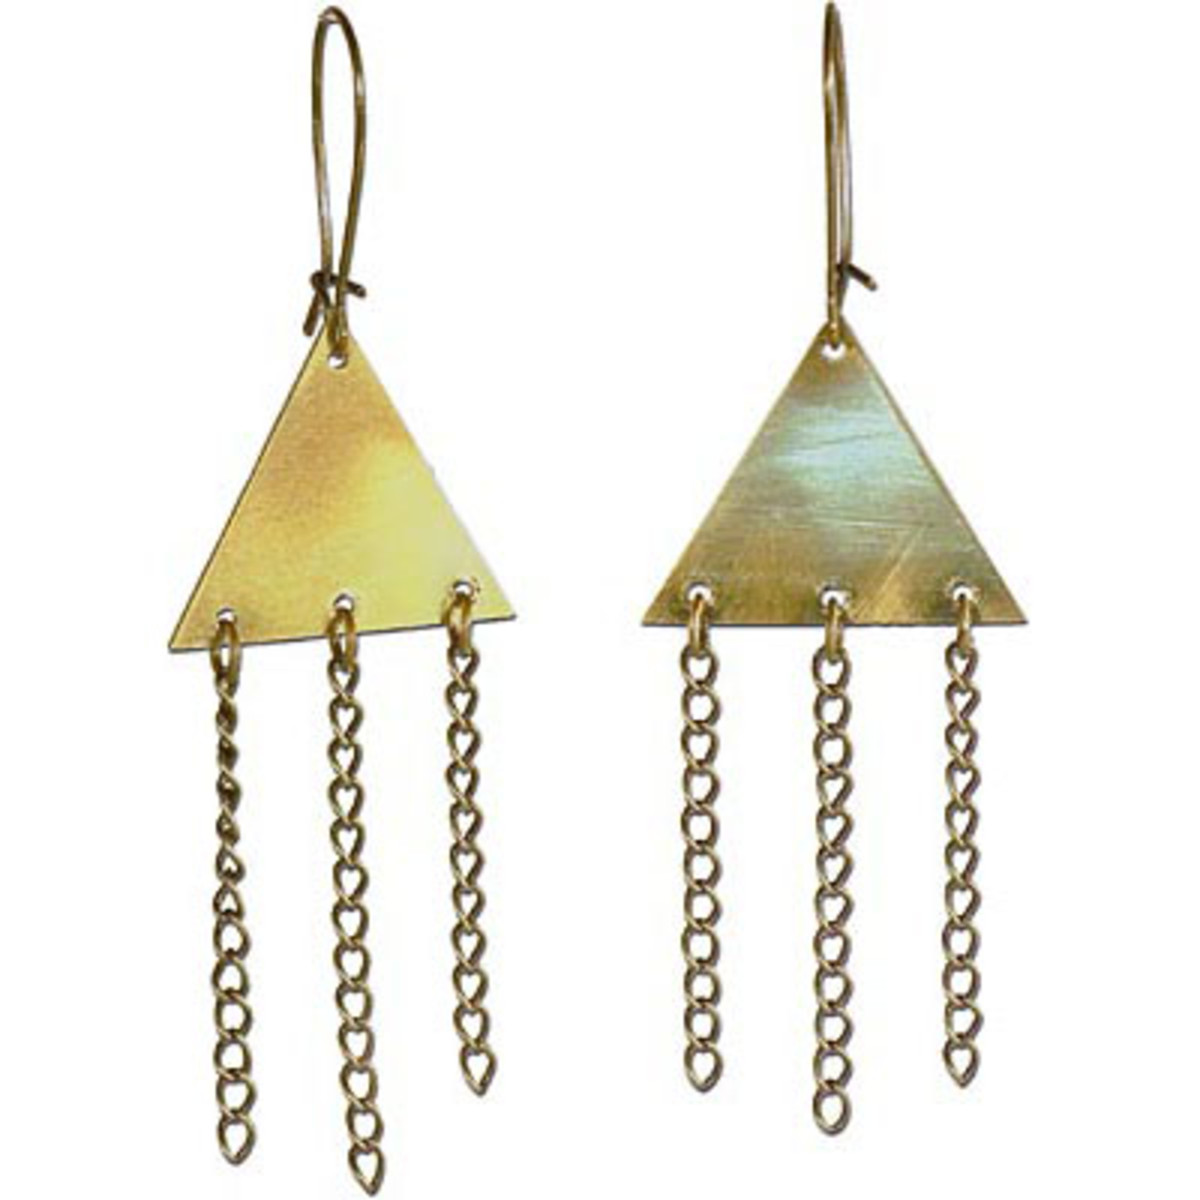
Witchy Earrings Tutorial
Created by: Jaci BostonDesigner TipsKeep the saw blade well lubricated to create ease while sawing.To avoid breaking your blades, keep the saw upright, without tilting, while you're sawing.For perfect hole placement on the triangle, take extra time and care by using a ruler to measure and mark up where you want to punch your holes.If you use a Sharpie® to mark up your metal, you can easily wipe it off with a polishing pad.Don't worry if the edges of your triangles are jagged, you can file them t
…
Jan 1st 2021
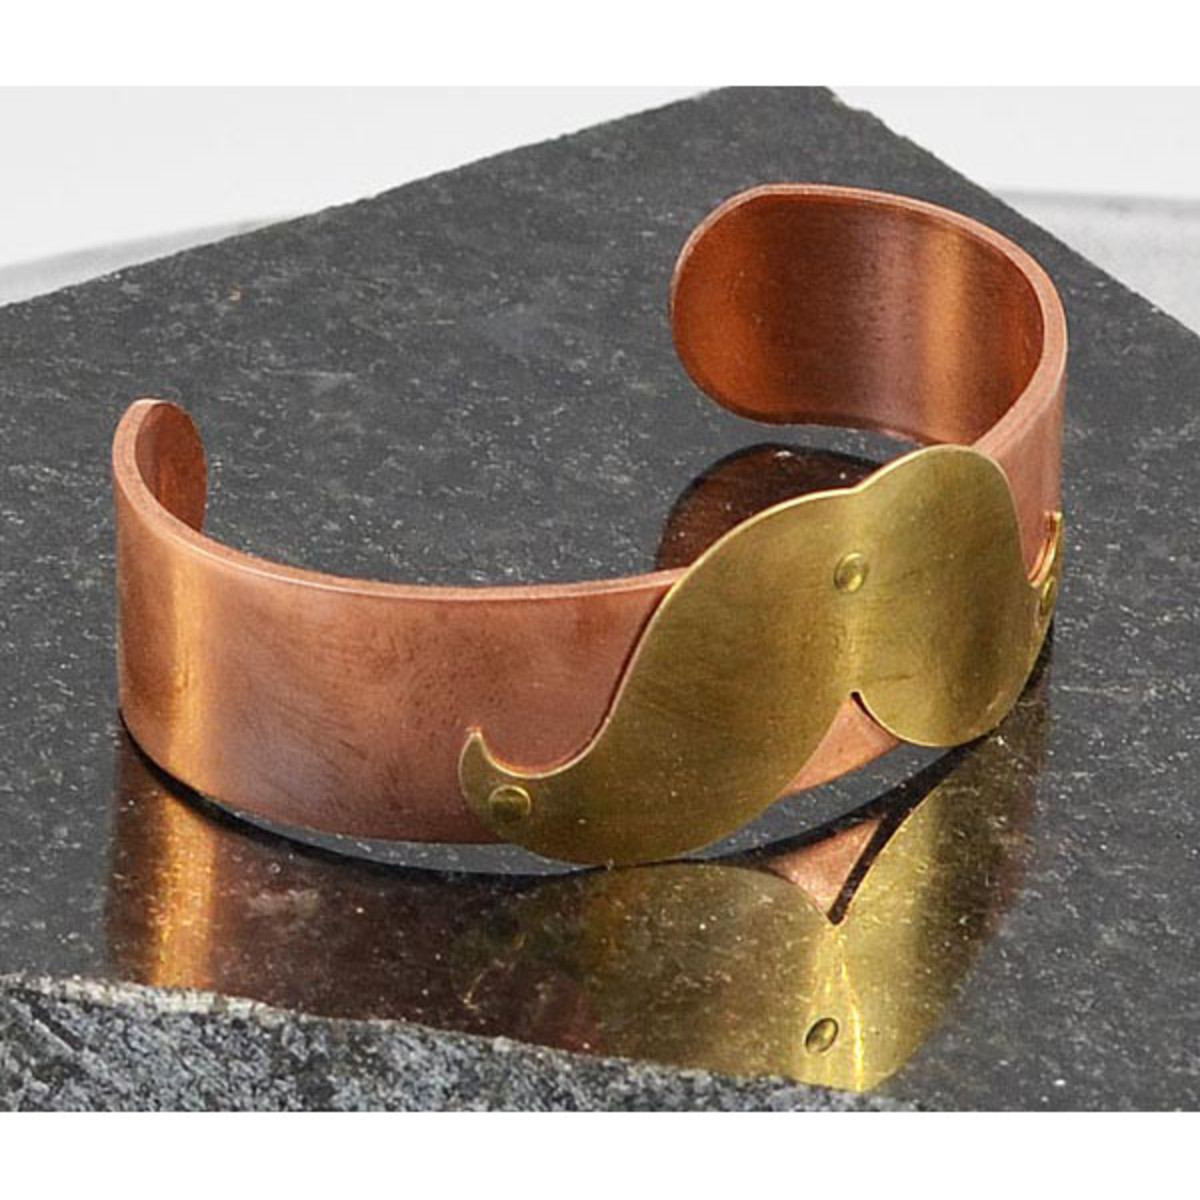
A Mustache For Your Wrist Cuff Bracelet Tutorial
Created by: Polly Nobbs-LaRueDesigner TipsAdjust bracelet to target wrist size/shape, because once the 2nd layer is riveted on, you will have limited adjustability.Texture or stamp the bracelet and/or mustache blank if desired. I simply scrubbed both with steel wool to eliminate minor scratches, and give a nice sheen.Use bracelet bending pliers and/or your fingers to bend mustache to match the curve of the bracelet. To prevent snagging when worn, fit it as close as you can, especially the tips.I
…
Jan 1st 2021


