Rings & Things Jewelry Blog
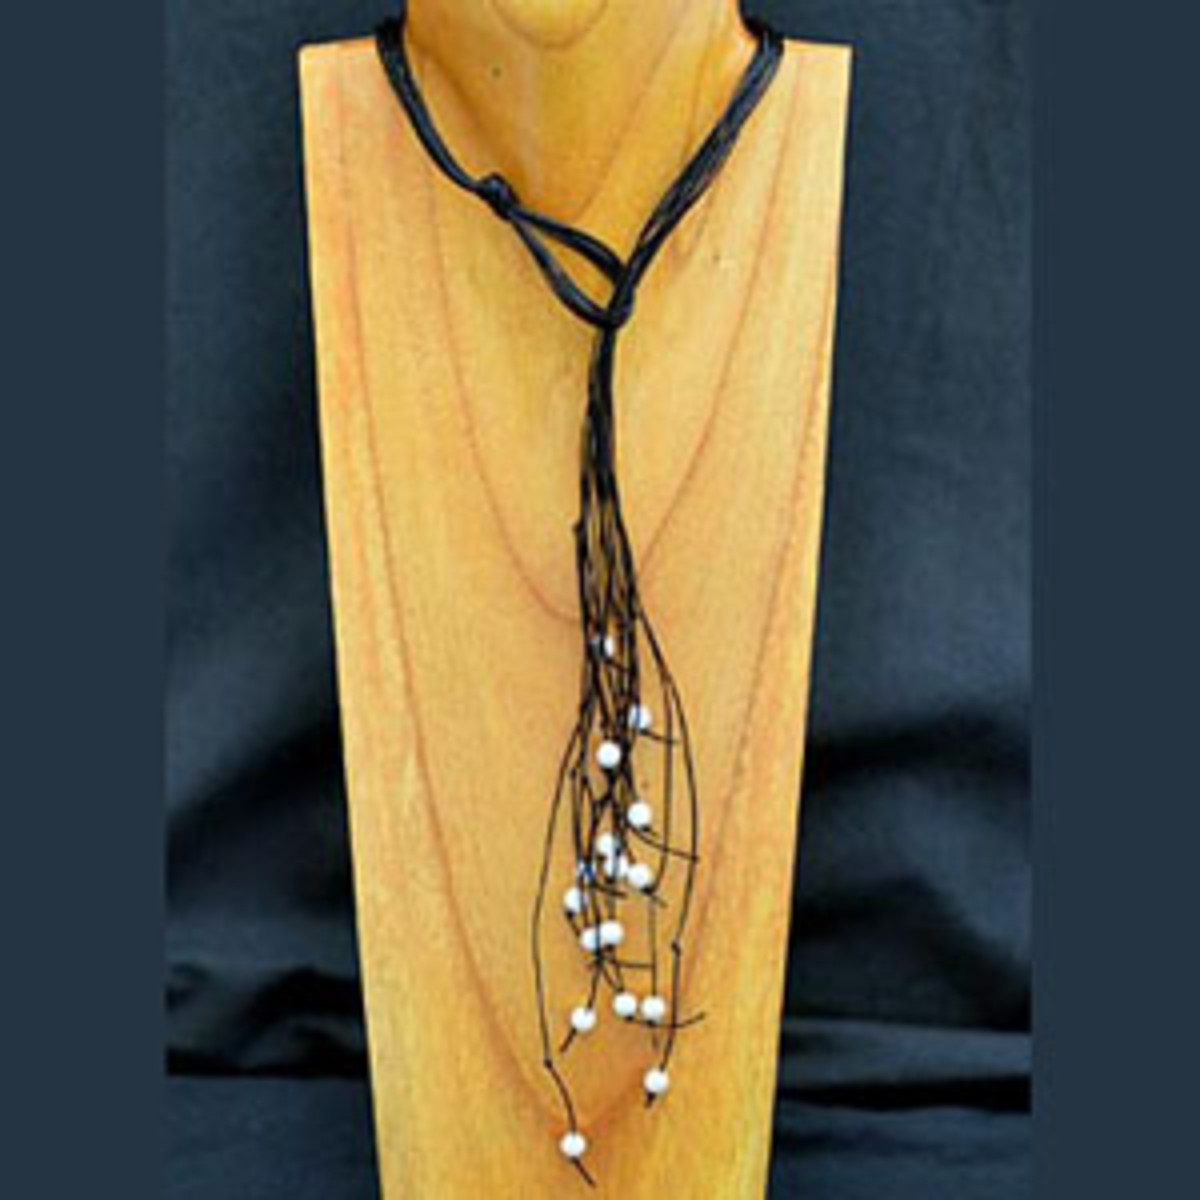
Corralled Pearls Necklace Tutorial
For their safety and your health, pearls and shells should always be drilled, reamed, etc underwater.Created by: Rita HutchinsonDesigner TipsCut a small piece of leather to test the hole sizes as you are reaming.Hold the pearl and bead reamer tip underwater, and ream in a back and forth motion, from both sides of the hole.Cut 8 lengths of leather approx. 48-52" each.Tie an overhand knot, about 3-5" from one end, slip on a pearl, and tie another knot to hold it in place. Repeat on the other end o
…
Jan 1st 2021
BeDazzled Slinky Bracelet Tutorial
Created by: Sondra BarringtonDesigner TipsUse 7 coils of anklet size to make this bracelet bangle. You can adjust the size of wire and numbers of coils any way you wish.Do not use your favorite jewelry cutter on memory wire. (Use a heavy duty cutter rated for steel wire.)This free-form design features the beads listed, in a randomly appealing manner. Add as many or as few beads as you would like to create your own custom bangle.A loop at each end keeps the beads on the wire and provides a nice w
…
Jan 1st 2021
Baroque Beauty Necklace Tutorial
Designer TipsUsing one eye pin, slide on one 6mm 5328 bicone bead and make a simple loop. Repeat 30 more times and set aside. New to making jewelry? See Jewelry Basics 101 (PDF).Using an eye pin, slide on a 5058 10mm bead and make a simple loop. Repeat 3 times and set aside.Using an eye pin, slide on a 5058 14mm bead and make a simple loop. Repeat 3 times and set aside.To create the outer strand, link together 3 bicone links, one 14mm baroque bead link, two bicone links, one 14mm baroque be
…
Jan 1st 2021
Cowrie Micro Macrame Bracelet Tutorial
Created by: Michelle HorningDesigner TipsFor step-by-step instructions on creating a macramé bracelet, see How to Macramé a Hemp Bracelet.The pattern for this bracelet is:5 P 5 P 5 P 5 P - 3 C 1 P 1 P 1 P 1 C 3 - P 5 P 5 P 5 P 5P = Picasso Bead, C = Cowrie BeadThe number listed above is the number of Square Knots (Remember that 1 square knot consists of 2 half knots)Make sure the shells are turned the same way. They are not symmetrical.When adding the Cowrie beads, pull the cord behind each bead
…
Jan 1st 2021
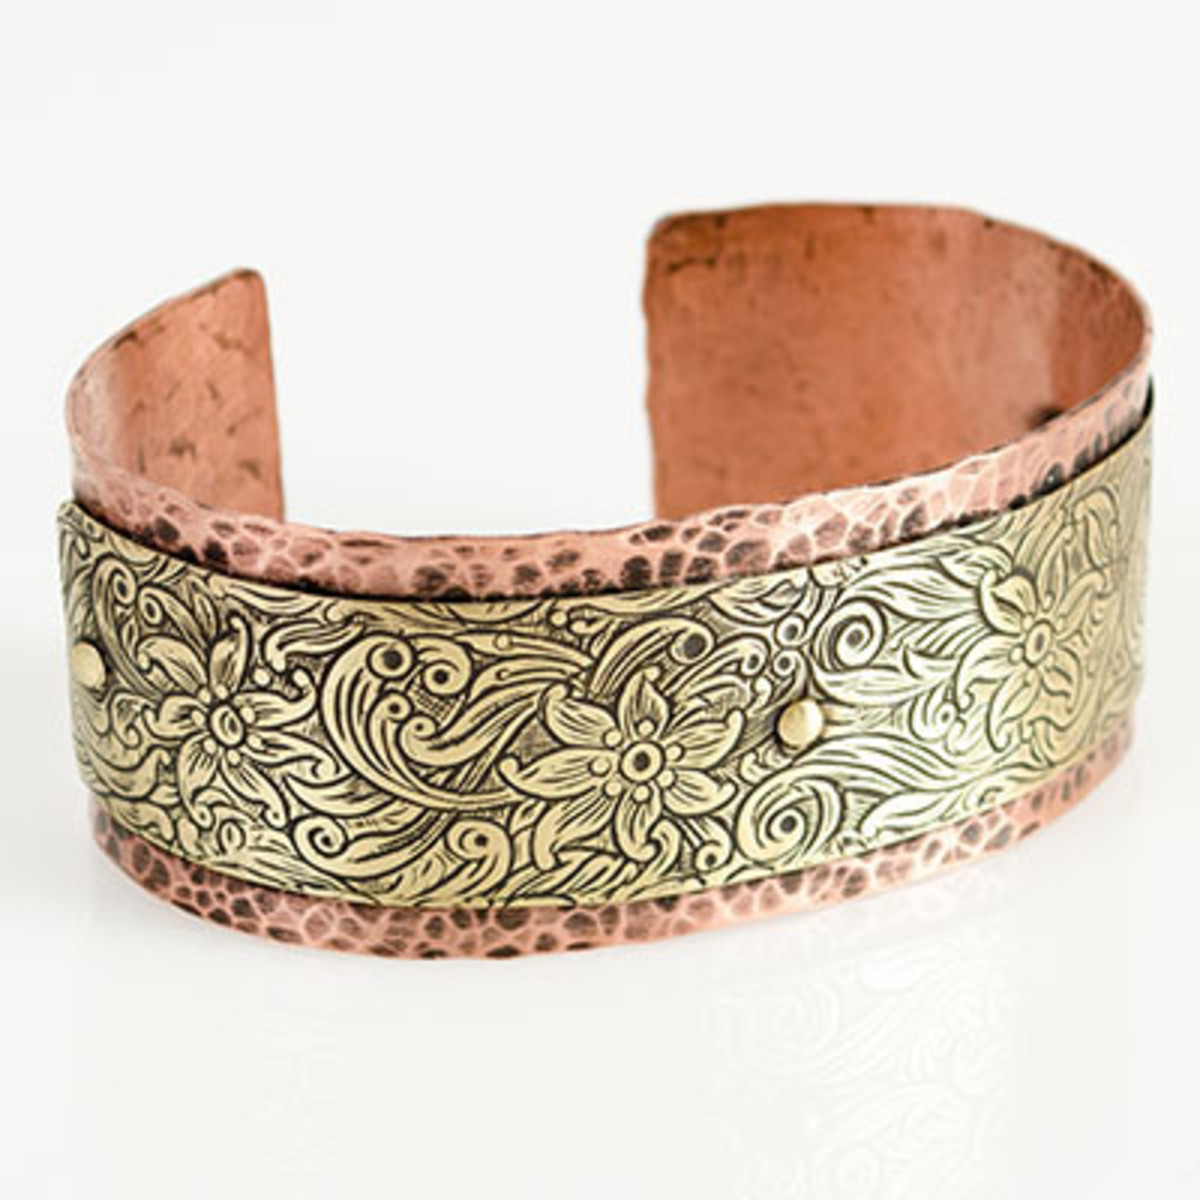
Cowgirl Cuff Bracelet Tutorial
Created by: Tiffany WhiteDesigner TipsUse the pein side (rounded) of your hammer to texturize the surface of the copper metal strip on the steel block.Using your metal shears, cut a 3/4 inch by 4 inch piece of patterned brass sheet metal.File the corners on both pieces of metal so they have a smooth round edge.Layer the brass piece on top of the copper piece and center it. Tape it together with transparent tape, but not in the center or on the edges.Mark 3 spots on the metal with a permanent mar
…
Jan 1st 2021
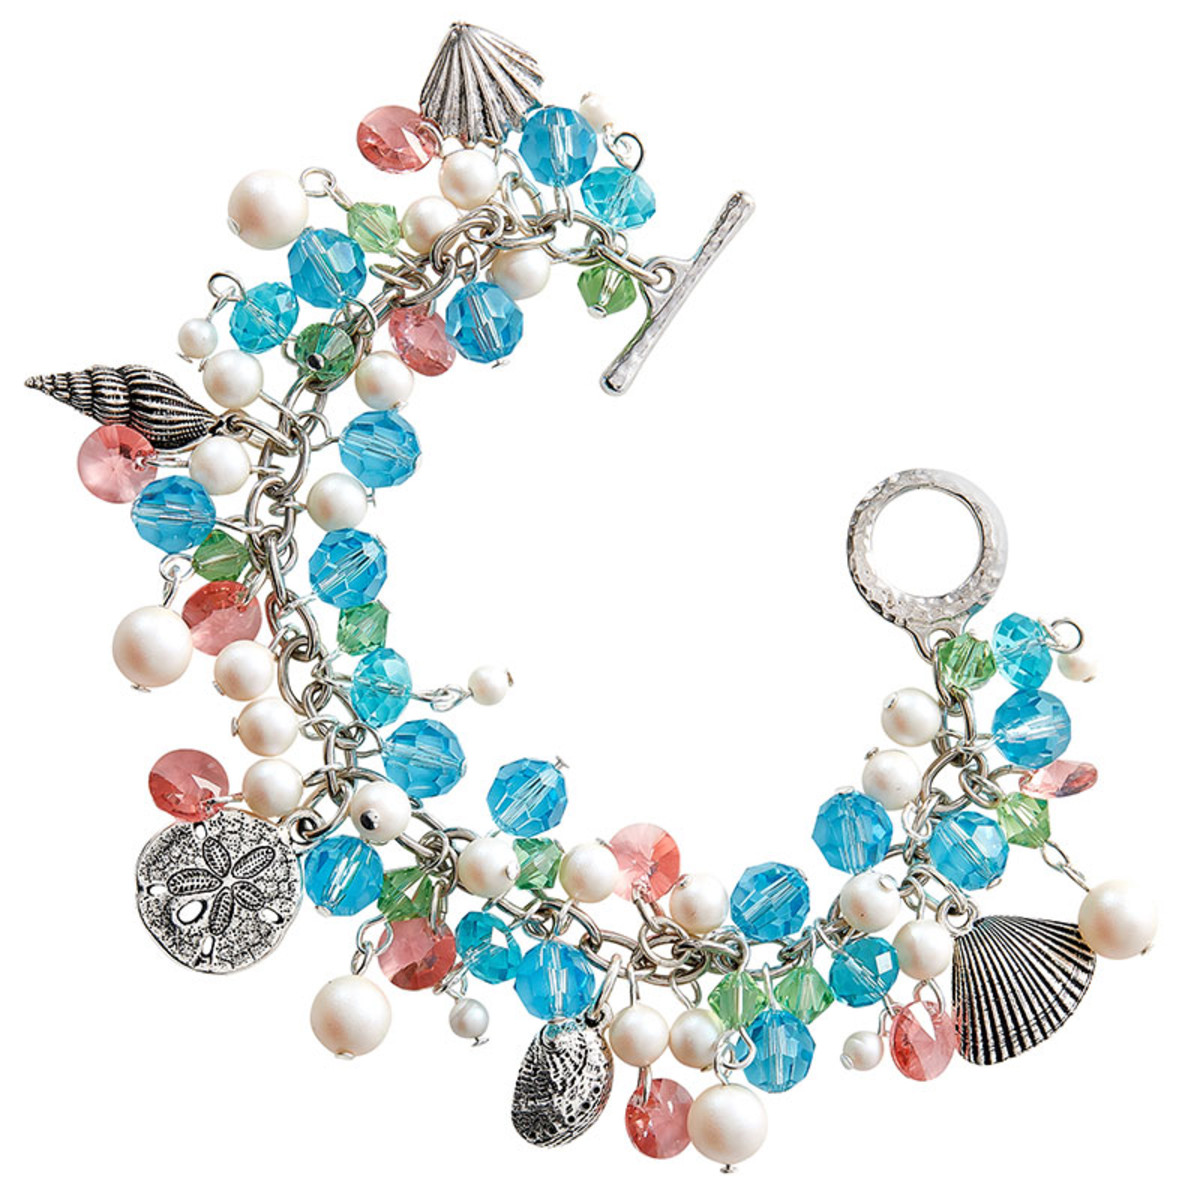
Costa Rica Bracelet Tutorial
Created by: Swarovski's Create Your Style Design TeamDesigner TipsIf using the bulk cable chain, measure desired length, use 2 pairs of chain-nose pliers to open link at desired length, attach one end of the toggle, and repeat for other end.Cut the wire into sixteen 1" pieces and set aside.Attach one jump ring on each sea life charm and set aside. For the shell bead slide it onto one head pin, make a simple loop and set aside.Using one head pin, slide on a 4mm pearl and make a simple loop. Using
…
Jan 1st 2021
Superstar Earrings Tutorial
Created by: Rita HutchinsonDesigner TipsThe WildFire™ cord has enough body to pass through the beads without a needle, but if you prefer, you can use a 4" Igolochkoy beadwork needle (#65-054) or other flexible needle.Tie off ends of cord in a double knot, and use a lighter or thread burner to sear the trimmed ends.Free Technique Sheets & How-TosBasic Jewelry-Making Technique Sheet (PDF)Suggested Supplies1 strand [use 60] #28-000-013-071 Bead, Glass, Faceted Round, 3mm (Limited Stock)or other
…
Jan 1st 2021
Constellation Pendulum Pendant Tutorial
Make this constellation pendant with crystal head pins and ball-end head pins for different sizes of stars, using Swarovski Ceralun Ceramic Epoxy Clay.Created by: Sondra BarringtonDesigner TipsBegin by choosing a constellation from a preferred book or website, to use as reference.Read our blog article:Ceralun Constellation Jewelry for step-by-step instructions on how to set head pins, swirl clay and more.You can make a larger (or more delicate) necklace by selecting a different bezel cup and cry
…
Jan 1st 2021
College Days Charm Bracelet Tutorial
Created by: Rita HutchinsonDesigner TipsGlue crystal rivolis into settings. Create divots in a piece of scrap Styrofoam, to allow settings to dry flat.Create wrapped loops (or simple loops) with the pearl peards, and attach all components with jump rings. For step-by-step instructions on creating loops, and best way to open and close loops, see Jewelry Basics 101 (PDF).Make sure the chain isn't twisted, and space your "one sided" components carefully, so they all face the same direction.A note a
…
Jan 1st 2021
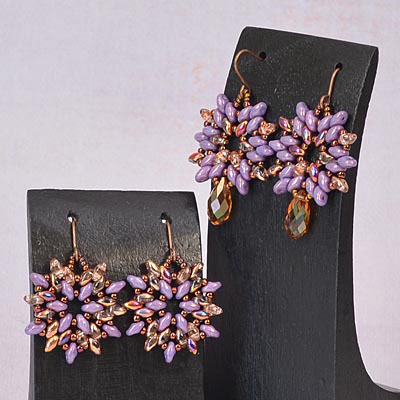
Alpine Flower SuperDuo Earring Tutorial
Created by: Amy MickelsonDesigner TipsThread needle onto comfortable length (36-48”) of bead cord and condition. Depending on the type of cording you choose, you may want to double it.Add 12 beads to the cord (alternating between one size 11 seed bead, and one SuperDuo).Leave about a 3-6” tail, form a circle and tie a surgeon’s knot to secure.Go back through all the beads a second time, bringing the cord out through a hole on a SuperDuo.Bring thread back through the top hole in the same SuperDuo
…
Jan 1st 2021


