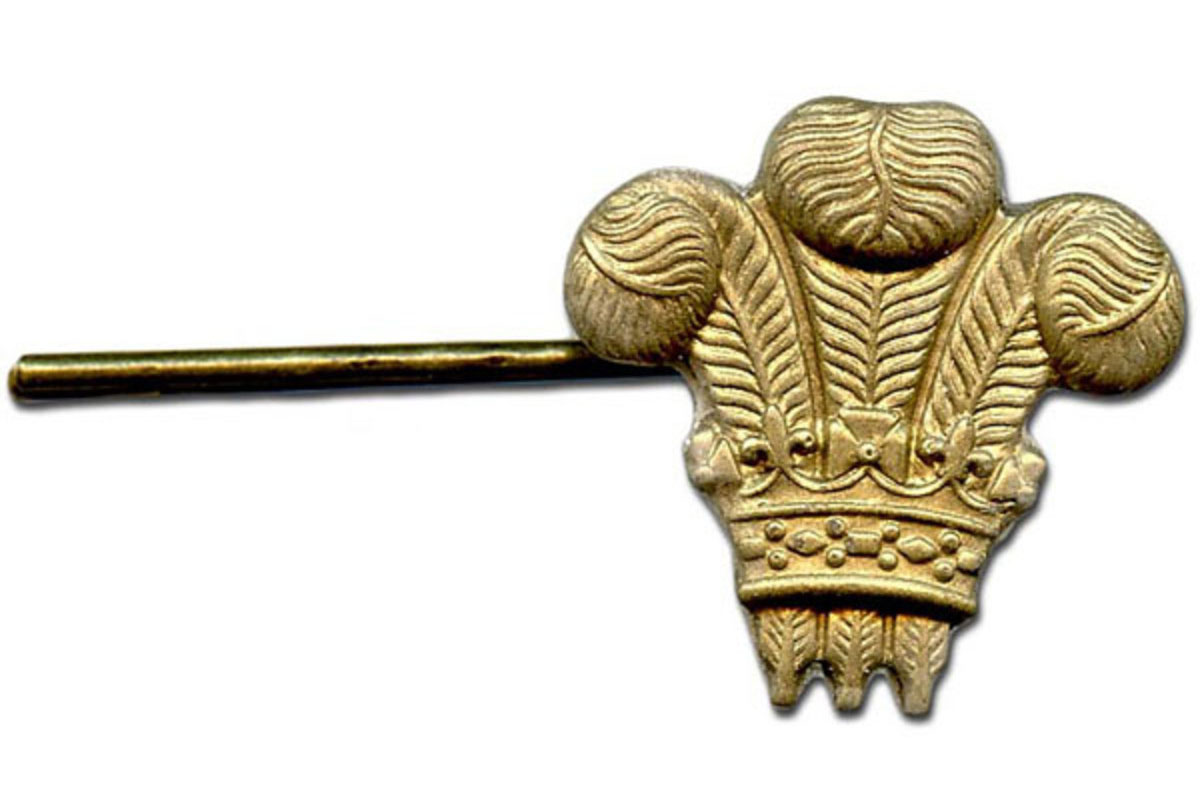
Crowned Bobby Pin Tutorial

Created by: Rita Hitchinson
Designer Tips
- Use a ready-made silicone mold of your choice or make your own mold with Amazing Mold Putty.
- Lightly dust the mold with metallic powder. Tap off excess.
- Prepare several molds at once. Since Amazing Resin cures quickly, you will want to do all your pouring at one time.
- If you over pour the resin, carefully shave of the excess with a hobby knife.
- Use the sanding sponge to rough up the back of the resin piece and the glue pad on the bobby pin. Use it to clean up edges of casting as needed.
- Because Amazing Resin is so lightweight, you can make a substantial piece without adding much weight.
Free Technique Sheets & How-Tos
Suggested Supplies
- 1 each #60-260 Adhesive, E-6000
- 1 each [use a dusting]#82-512 Alumilite Metallic Powder
- 1 each #82-544-11 Amazing Mold Putty
- 1 each [use 1/2 oz] #82-502-16 Amazing Resin, 16oz
- 1 0.5 gross [use 1] #30-822-6 Bobby Pin, 10mm Round Pad
Tools
- #69-257-0001 Sanding Sponges, 120-180 Grit
- #66-022 Tool, Hobby Knife
Additional Supplies
- Ready-made silicone mold (if you don't create your own)
- Small paintbrush
Jun 30th 2021
Our Bead Blog
-

Simply Springy 2-Hole Bracelet
Apr 28th 2025Designed by: Guest Designer Deb Floros Suggested Supplies 1 #61-840-50-01 Beadalon Cord, WildFire,
-

Exotic Statement Necklace
Apr 28th 2025Designed by: Guest Designer Deb Floros Suggested Supplies 1 #88-400-003-5 58x50mm Pewter Connector,
-

Rubber Tubing Necklace and Memory Wire Bracelet Set
Mar 21st 2025Designed by: Guest Designer Deb Floros Suggested Supplies 1 #61-622-02 2mm Rubber Cord, Bulk, for J