Rings & Things Jewelry Blog
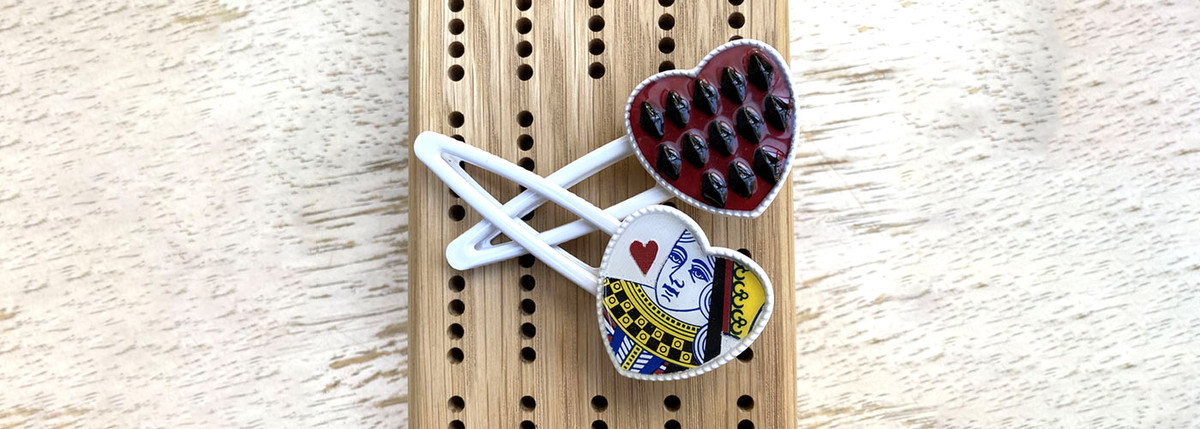
Well Suited Barrette Tutorial
Created by: Megan Holden Designer TipsClean bezels of barrettes with a clean, wet cloth and allow to dry.Paint the bottom of one barrette bezel with red paint, using smallest brush of Ranger set to ensure clean lines at the perimeter. Allow to dry and repeat with 2nd coat, dry thoroughly.Press small piece of paper around the perimeter of the bezel interior to make an impression for cutting a heart template. Cut heart template with scissors around crease lines (most likely will be a tad la
…
Feb 22nd 2023
Jewelry Design Gallery
Welcome to our new Jewelry Design Gallery! To browse jewelry ideas by category or theme, use the turquoise #tags below (#etched jewelry projects, #enamel projects, etc.) for all projects of a particular category. For a Jewelry Design Gallery / Resources search box, click here or press the turquoise "FREE JEWELRY PROJECTS" link near the bottom of any project's page. You might also like our blog (blog.rings-things.com), filled with step-by-step illustrated projects, and a spot for Q
…
Oct 28th 2021
Pleasant Dream Etched Barrette Tutorial
Created by: Rita Hutchinson Designer TipsCut your metal sheet to desired size and use a file to round the corners and smooth all edges.Clean with Penny Brite® Copper Cleaner and scrubby until water sheets off. Only handle by the edges from this point on.Stamp your design once, cleanly, and lift the stamp straight off. Allow the ink to dry without disturbing further. If needed or desired, touch up the inked design with black or red Sharpie® marker.Etch as directed following instruction
…
Oct 27th 2021
Campfire Skies - Riveted Barrette Tutorial
TierraCast's shimmering antique bronze leather, a hammer-textured spiral link, and shiny black rivets, combine to create a barrette that's perfect for Spring bonfires and Fall festivals. This securely riveted barrette project is quick and easy to make, and uses common tools that may already be in your craft room, or a relative's basement. Created by: Polly Nobbs-LaRue Designer TipsWrap one end of leather around end of barrette so it extends about 3mm past the hole on the underside o
…
Sep 29th 2021
Gear Head Bobby Pin Tutorial
Created by: Polly Nobbs-LaRue Designer Tips Always wear safety glasses when cutting, drilling or punching.The bobby pin is a little heavier gauge than recommended for the punch, so use a drill press if you have one, or punch very carefully (and be sure you know where you stored your replacement pin).Lay the sprocket and 25mm round blank on top of each other; use center punch to mark exact center of the blank. Punch or drill the blank.Lay components together, and rivet. The 1.8mm
…
Aug 31st 2021
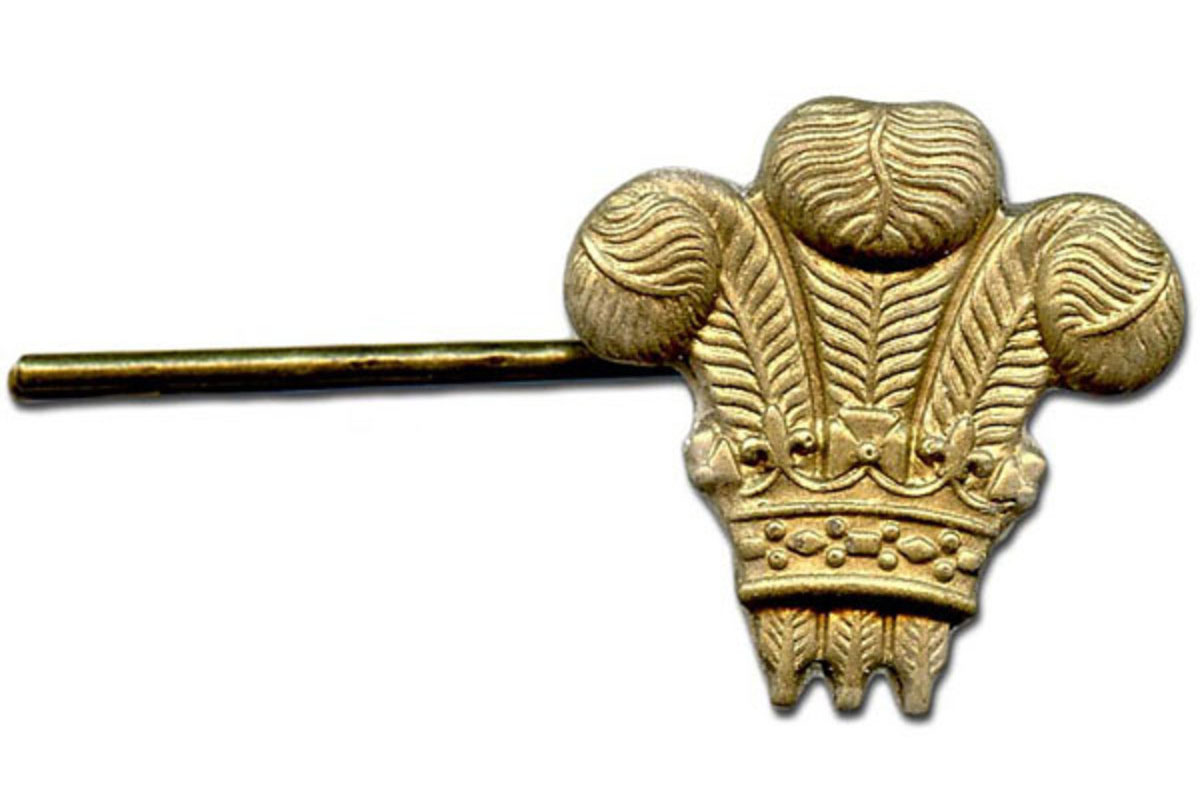
Crowned Bobby Pin Tutorial
Created by: Rita Hitchinson Designer TipsUse a ready-made silicone mold of your choice or make your own mold with Amazing Mold Putty.Lightly dust the mold with metallic powder. Tap off excess.Prepare several molds at once. Since Amazing Resin cures quickly, you will want to do all your pouring at one time.If you over pour the resin, carefully shave of the excess with a hobby knife.Use the sanding sponge to rough up the back of the resin piece and the glue pad on the bobby pin. Use it to c
…
Jun 30th 2021
Can Can Flowers Bobby Pins Tutorial
Created by: Toni Plastino Designer Tips Cut and flatten aluminum soda cans of your choice. Pick ones with interesting colors and patterns.Cut flower shapes with craft punches.Paint the flowers with Liquid Polyclay™. Place them on wax paper on a cookie sheet and bake according to the manufacturer's directions. This coating makes the flowers feel rubbery, reduces sharp edges, and prevents scratching.Punch holes in flowers, add them to a head pin and stack as shown.Glue in place with E
…
May 31st 2021
Skullhead Barrette Tutorial
Created by: Rita Hutchinson Designer Tips Cut your metal sheet to desired size and use a file to round the corners and smooth all edges.Clean with Penny Brite® Copper Cleaner and scrubby until water sheets off. Only handle by the edges from this point on.Stamp your design once, cleanly, and lift the stamp straight off. Allow the ink to dry without disturbing further. If needed or desired, touch up the inked design with black or red Sharpie® marker.Etch as directed following instruction
…
Jan 1st 2021
Good Thoughts Barrette Tutorial
Created by: Polly Nobbs-LaRue Designer TipsThe original alligator clip used for this barrette is no longer available, but our new French-style barrette backs are more secure (hold better in hair) and now have a good hole for riveting.A fine-point Sharpie is about the perfect minimum width for etched designs with ferric chloride.With the fine-point Sharpie, draw a line about 90mm from the end of the copper strip. (About 5mm or 1/4" longer than the barrette back). Sketch your rough design, keeping
…
Jan 1st 2021


