Rings & Things Jewelry Blog
Cowrie Micro Macrame Bracelet Tutorial
Created by: Michelle HorningDesigner TipsFor step-by-step instructions on creating a macramé bracelet, see How to Macramé a Hemp Bracelet.The pattern for this bracelet is:5 P 5 P 5 P 5 P - 3 C 1 P 1 P 1 P 1 C 3 - P 5 P 5 P 5 P 5P = Picasso Bead, C = Cowrie BeadThe number listed above is the number of Square Knots (Remember that 1 square knot consists of 2 half knots)Make sure the shells are turned the same way. They are not symmetrical.When adding the Cowrie beads, pull the cord behind each bead
…
Jan 1st 2021
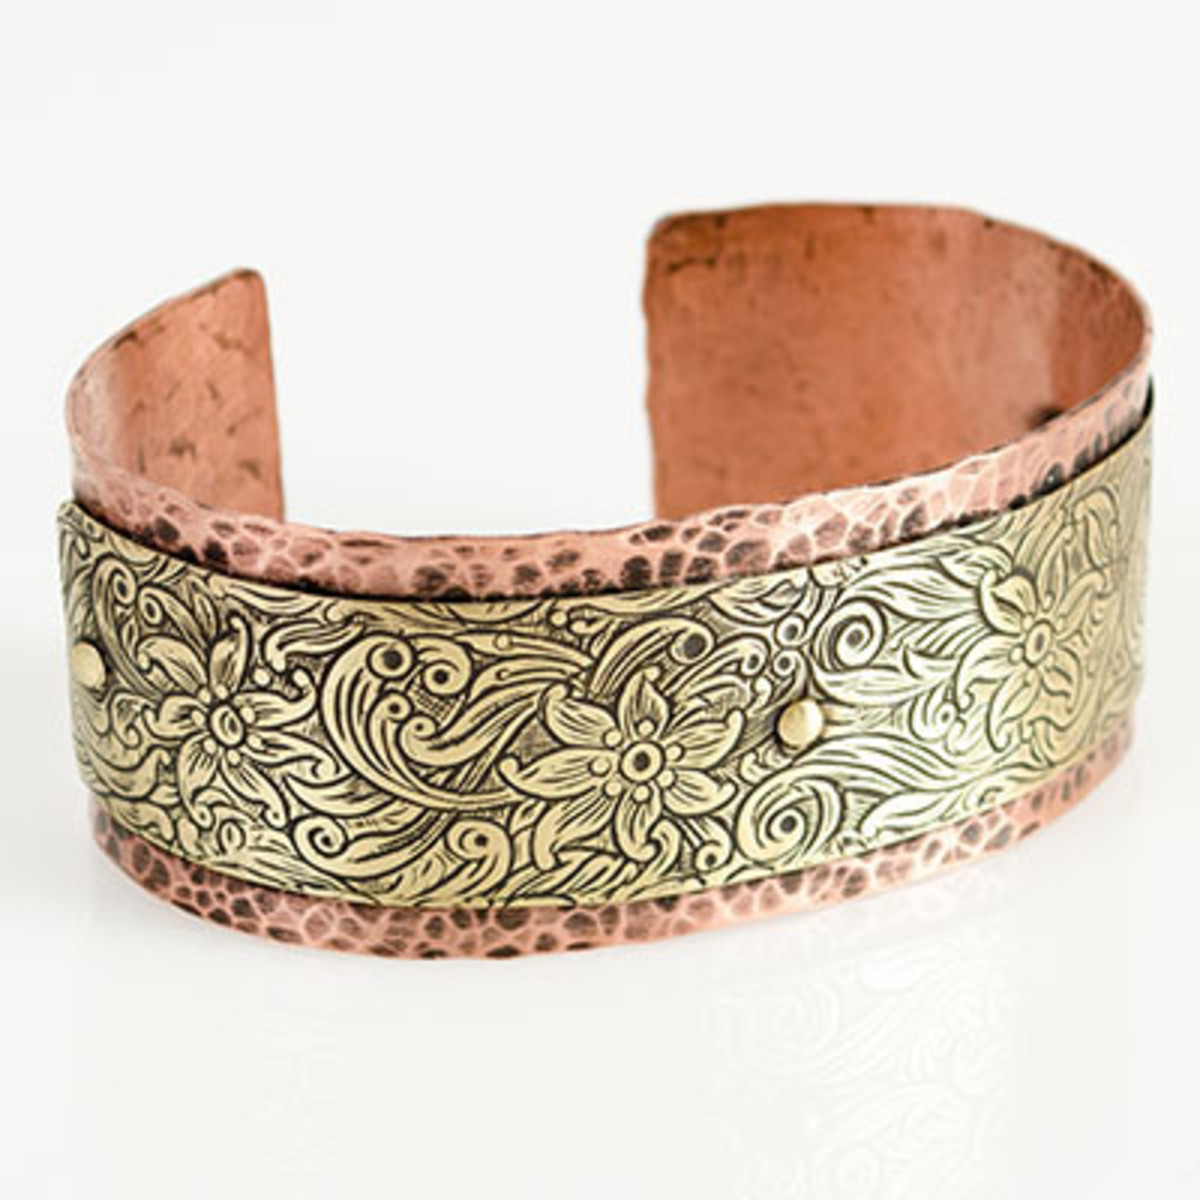
Cowgirl Cuff Bracelet Tutorial
Created by: Tiffany WhiteDesigner TipsUse the pein side (rounded) of your hammer to texturize the surface of the copper metal strip on the steel block.Using your metal shears, cut a 3/4 inch by 4 inch piece of patterned brass sheet metal.File the corners on both pieces of metal so they have a smooth round edge.Layer the brass piece on top of the copper piece and center it. Tape it together with transparent tape, but not in the center or on the edges.Mark 3 spots on the metal with a permanent mar
…
Jan 1st 2021
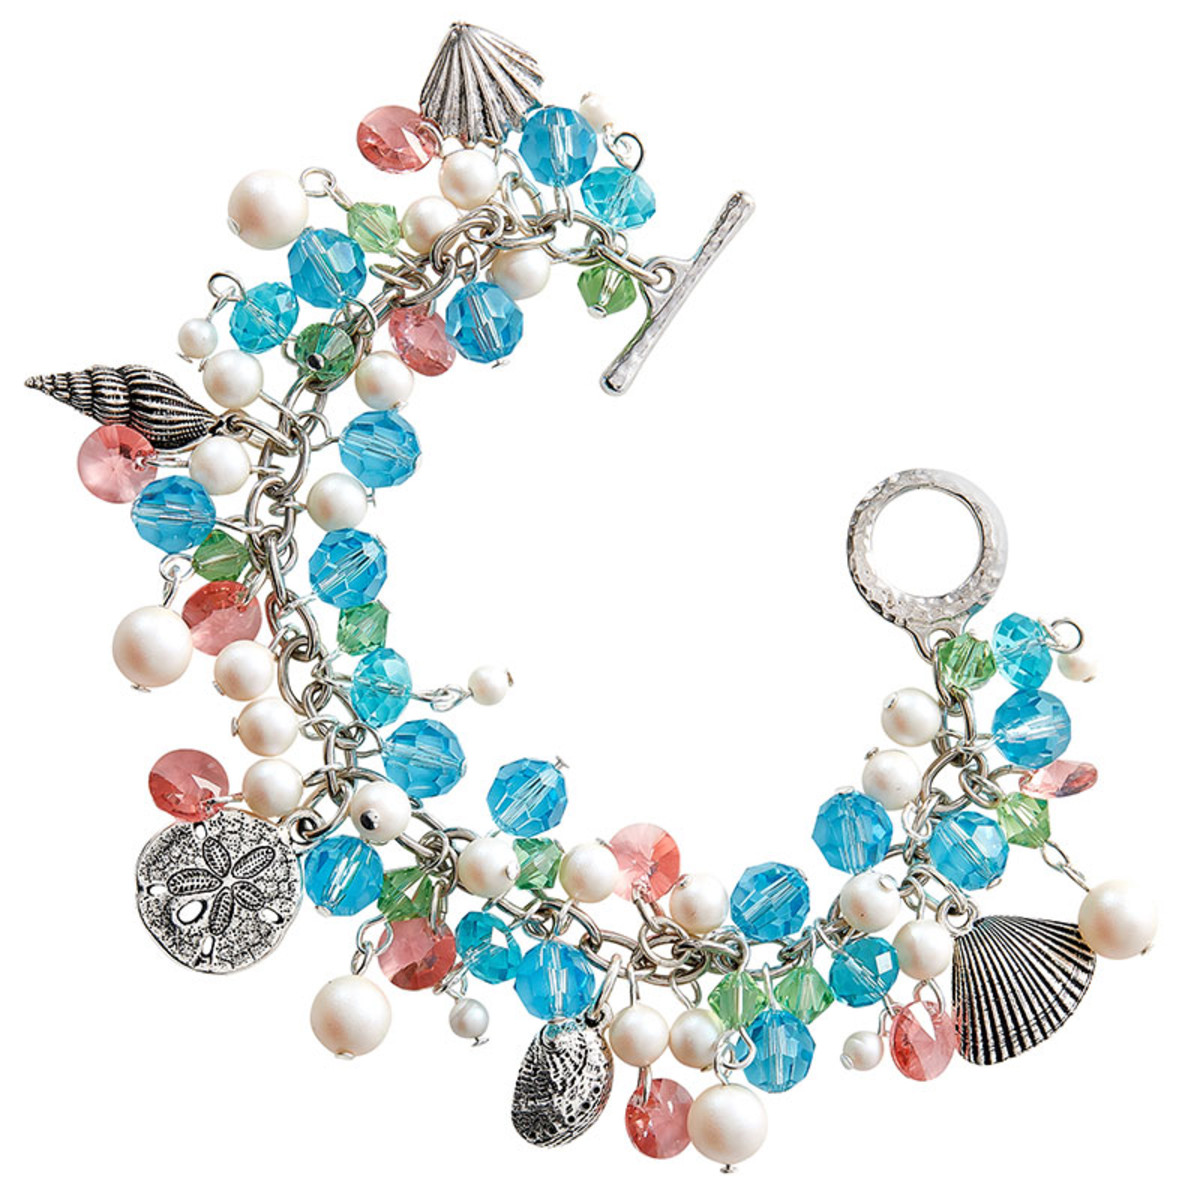
Costa Rica Bracelet Tutorial
Created by: Swarovski's Create Your Style Design TeamDesigner TipsIf using the bulk cable chain, measure desired length, use 2 pairs of chain-nose pliers to open link at desired length, attach one end of the toggle, and repeat for other end.Cut the wire into sixteen 1" pieces and set aside.Attach one jump ring on each sea life charm and set aside. For the shell bead slide it onto one head pin, make a simple loop and set aside.Using one head pin, slide on a 4mm pearl and make a simple loop. Using
…
Jan 1st 2021
College Days Charm Bracelet Tutorial
Created by: Rita HutchinsonDesigner TipsGlue crystal rivolis into settings. Create divots in a piece of scrap Styrofoam, to allow settings to dry flat.Create wrapped loops (or simple loops) with the pearl peards, and attach all components with jump rings. For step-by-step instructions on creating loops, and best way to open and close loops, see Jewelry Basics 101 (PDF).Make sure the chain isn't twisted, and space your "one sided" components carefully, so they all face the same direction.A note a
…
Jan 1st 2021
Classic Bridal Bracelet Tutorial
coming soon / upgrade in progress - this project will return to our website asap
Jan 1st 2021
Men's Cross Bracelet Tutorial
Created by: Valorie Nygaard-PouzarDesigner TipsCut the leather at an angle to assist in fitting two ends through the hole of the cross connector. For a better grip on the end of the leather, consider using serrated flat-nose pliers to pull the leather through the hole.Loop the leather ends through to make a lark's-head knot.String the beads onto the leather cord.For added strength, add a dab of Bead Fix to the leather ends before crimping.Crimp by squeezing the center of the crimp firmly with r
…
Jan 1st 2021
Great Odin's Raven Viking Knit Bracelet Tutorial
Created by: Jaci BostonDesigner TipsFollow the instructions that come with the Lazee Daizee™ to create two Viking knit sections for the bracelet.The Lazee Daizee™ accommodates various sizes of wire. I chose the 26-gauge for it's flexibility and overall ease to use.Beware of kinking of the wire. It can get extremely difficult to knit if the wire is kinked and may actually break mid knit.Don't get discouraged! If it doesn't look perfect, you're doing just fine! The Viking knit is going to look slo
…
Jan 1st 2021
Golden Lotus Bracelet Tutorial
Created by: Summer MelaasDesigner TipsFor step-by-step instructions on crimping, wire wrapping and using jump rings, see Jewelry Basics 101 (PDF).Place a wire guard on the hammered round link.Crimp about 1 foot of Soft Flex wire through wire guard.String a bead cap, a 6mm crystal, a bead cap, 3 gemstone beads, a spacer, a 4mm crystal, a spacer, 3 gemstone beads, a bead cap, a 6mm crystal, a bead cap, a spacer, a 4mm crystal, and a final spacer.Use another wire guard and crimp tube, and crimp to
…
Jan 1st 2021
grrrrr / breathe bracelet tutorials
Created by: Polly Nobbs-LaRueDesigner TipsUse a ruler and Sharpie to draw a dot or line in the middle if the bracelet. Write your word or phrase on a piece of paper, about the size you'll be stamping, and keep it where it's easy to see. Find the middle letter and start stamping from the middle outward to the ends, to keep your design symmetrical.Try to keep your stamp strength consistent so some letters aren't deeper than others.Before using a letter that's easy to mix up, do a test stamp on a s
…
Jan 1st 2021
Love Lifted Me - Bracelet Tutorial
Supplies listed will make a 7"" bracelet from end to end.Created by: the Swarovski Create Your Style Design TeamDesigner TipsAttach an approximately 5mm jump ring to the Spiral Heart charm and set aside.New to jewelry-making? For most secure way way to open and close jump rings, plus step-by-step instructions on stringing and crimping, see Jewelry Basics 101 (PDF).Using the 10"" piece of beading wire, make a loop and use one crimp bead to crimp the lobster clasp at one end.String on in order: ch
…
Feb 14th 2020


