Rings & Things Jewelry Blog
It's So Fluffy! Bracelet Tutorial
The unicorn charm pictured in this bracelet is a limited-edition charm. When it's gone, please see link at bottom of page, for more fantastical charms and beads including unicorns, dragons, gargoyles, fairies, m...Created by: Bridget AustinDesigner TipsInstructions and diagrams for using the Endless Loom can be found on the product packaging.See our blog post for step-by-step illustrations (and Q & A) for How to make wrapped leather braceletsStart with extra leather and thread. Cutting off a
…
Jan 1st 2021
Interchangeable Bracelet Tutorial
All chain and settings used below are in Antique Brass, but Silver Plate and Antique Copper settings are also available!Created by: Bridget AustinDesigner TipsUse chain nose pliers or a burnishing tool to fold the prongs down and set a stone into its bezel. Attach jump rings to the setting and attach loops of the toggle clasps to each side. For best way to open and close loops, see Jump Ring Hint in Jewelry Basics 101 (PDF)If desired, set another stone, adding loops from another pair of toggles.
…
Jan 1st 2021
Costa Rica Sunset Bracelet Tutorial
This style of jewelry has a variety of names, including "hand chain" and "pirate bracelet". Whatever the name, we think you'll love the colors!Created by: Veronica GreenwoodDesigner TipsCut 2 feet of wire, and wrap (lash) around one side of cut-out on connector. Add one 4mm round crystal and wrap wire 3 times. Add one 3mm crystal, wrap 3 times, add another 4mm round, wrap 3 times, add final 3mm crystal, wrap 3 times, trim end, and tuck in neatly where it won't catch or scratch. Repeat on the oth
…
Jan 1st 2021
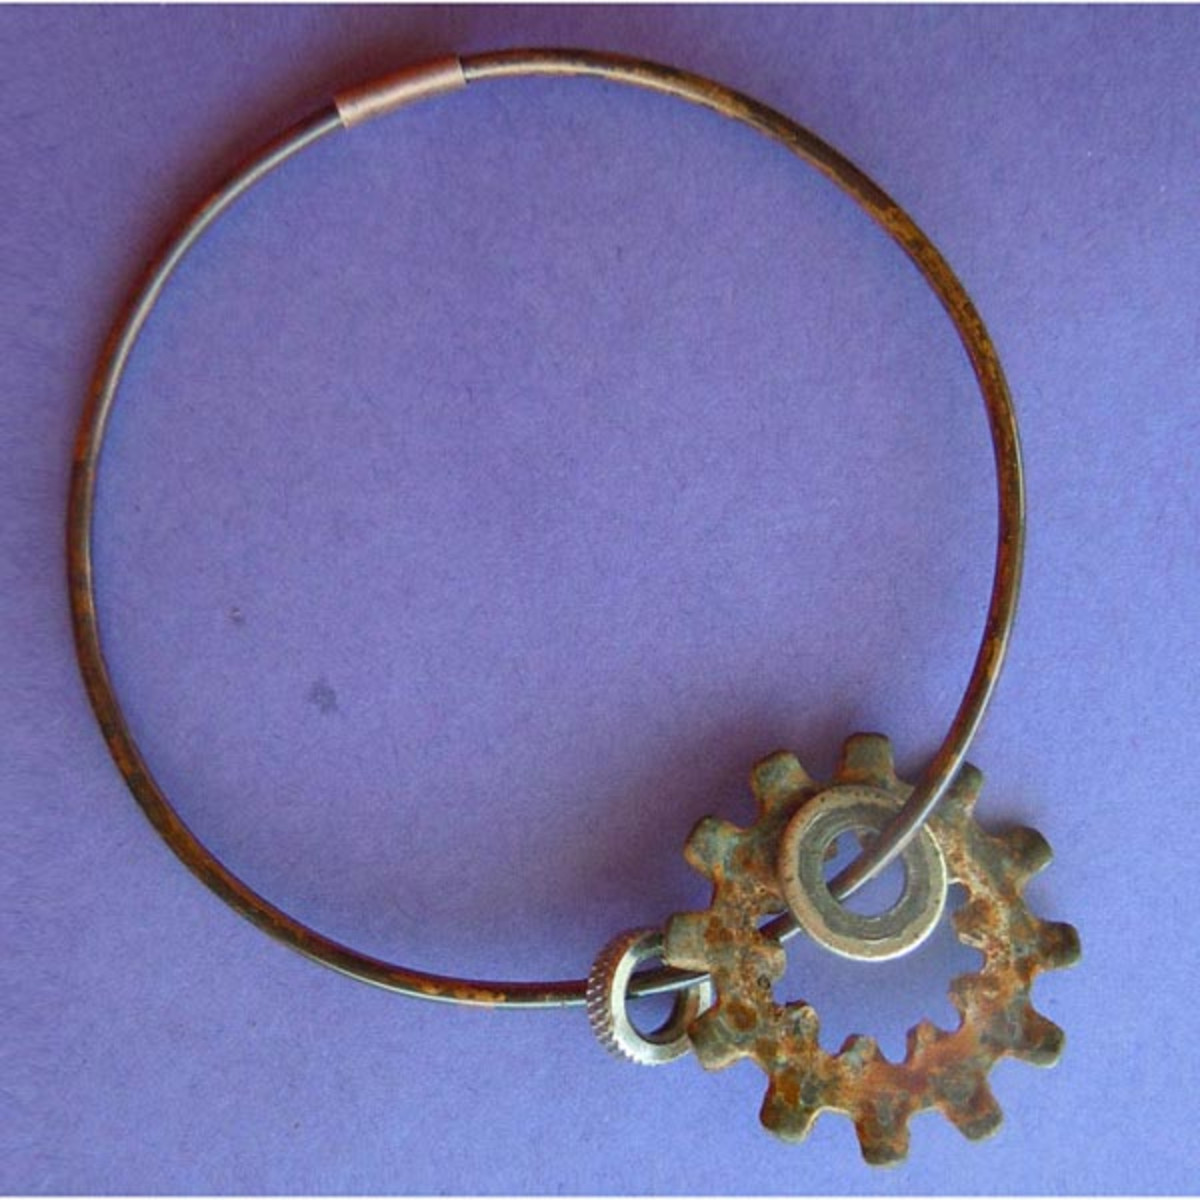
Not-So-Shiny Bangle Bracelet
Created by: Polly Nobbs-LaRueDesigner TipsUse heavy-duty flush cutters to cut approximately 1 loop from the spool of 12-gauge antiqued copper wire. Make sure both ends are cut flat (flush) so they fit together well inside the crimp.Slide nuts, washers, large-hole beads, holey found objects, etc onto the wire.Place one end of wire half-way into crimp connector. Place other side of wire in the opposite end so wires meet in the middle.Use the back notch of the Mighty Crimping Pliers, to gently - bu
…
Jan 1st 2021
Pearl and Tassel Charm Leather Bracelet Tutorial
Created by: Sondra Barrington Designer TipsThe ring connector is the focal of this bracelet. For a more free-flowing design, attach charms to the leather cording.Wire-wrap a pearl bead with a large loop, directly onto the large ring connector. (You may need to use a heishi bead to hold the pearl onto the head pin.) For step-by-step wire-wrapped loop instructions, see Jewelry Basics 101 (PDF).Cut leather flush (flat) after measuring. Insert leather into the cord end, and gently but firm
…
Jan 1st 2021
Lucky Penny Bracelet Tutorial
Created by: Tiffany White Designer TipsFind pennies in the years of your choice.Clean the pennies with Penny Brite®.Using a permanent marker or Stamp Enamel, cover the surface of each penny in permanent ink. Allow them to dry.Using a sanding pad or steel wool, remove the the permanent ink, leaving some in the indents, so the design really pops.Attach the pennies and copper buttons to the disk on the bracelets with E-6000 or 2-part epoxy. Allow the bracelet to dry overnight before wearing.
…
Jan 1st 2021
Wonder Woman Riveted Cuff Bracelet Tutorial
Created by: Polly Nobbs-LaRueDesigner TipsThis bracelet is super fast and fun to make, once you have the necessary tools.The Domed Piercing Base allows you to pierce the domed bracelet without leaving a dent or divot.The Reverse Riveting accessory is the answer to a problem: It allows you to rivet curved items, keeping the nice rivet head on the top side (outside) of the bracelet or ring.Put a few strips of double-stick (2-sided) tape on the top of the bracelet and lay out the design.Gently shap
…
Jan 1st 2021
Two-Hole Rulla Wrap Bracelet Tutorial
Created by: Amy MickelsonDesigner TipsUse a cloth/soft tape measure to determine the desired number of wraps and the length of bead cable or cord.Double the length of beading cord and add about 6".Create a loop with size 11 seed beads to fit the button.String rullas on the bead cord with two size 11 seed beads in between each rulla.Use 2 crimp tubes to finish the bracelet.This project uses an entire tube of rullas (approx 220 beads), measures approximately 42" long and wraps 5 times around an 8"
…
Jan 1st 2021
Twilight Tide Pool Bracelet Tutorial
Created by: Polly Nobbs-LaRueDesigner Tips Memory wire is steel, and unkind to most jewelry tools. Use heavy-duty flush cutters to cut the desired length: Most memory wire bracelets are 3-5 coils. The design pictured is about 3.5 coils. Tip: Flush cutters cut the wire flat, rather than pointed, so you don't have to file the end flat (flush).Use memory-wire bending pliers (or other strong round-nose pliers) to make a loop at one end of the wire. Close the loop tightly, or the triangle beads will
…
Jan 1st 2021
Silken Bouquet Bracelet Tutorial
Created by: Rita HutchinsonDesigner TipsDetermine desired length of finished bracelet.Subtract 1 1/4" from total desired length for connector piece.Keeping toggle clasp parts attached, remove center section of toggle chain bracelet leaving equal lengths of chain for either side of the bracelet. You do not have to cut the chain links. You can open them like a jump ring and use this chain section for another project.Attach the connecter to center section of chain and check fit before proceeding.Wi
…
Jan 1st 2021


