Rings & Things Jewelry Blog
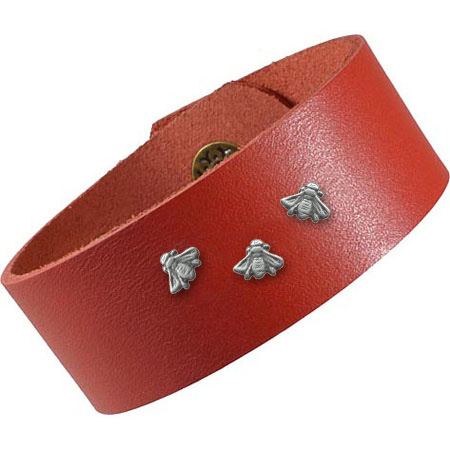
Fly Bee! Bracelet Tutorial
Created by: Polly Nobbs-LaRueDesigner TipsPunch 1/16" holes in the bracelet where you want to place the rivets.Run the first rivet through the leather, place a washer on it, and use a fine-point Sharpie to mark a line on the rivet shaft about 1mm past the washer.Use heavy-duty flush cutters (or a jewelers saw) to cut at this line. Be sure to cut nice and flat (parallel with the rivet head). File flat if necessary.Place the bracelet rivet-head-down on the rubber side of a steel/rubber bench block
…
Jan 1st 2021
Lucky Nugget Bracelet Tutorial
Created by: Rita HutchinsonDesigner TipsString and center 39 beads on the cord. Tie a knot at each end to hold them in place.String 40th bead as an adjuster bead for the bracelet. To assist in getting the second end through the bead, trim at an angle, and pull through with tweezers once you get the end through.Determine length needed to adjust bracelet over hand. Allow 1" extra on each end, knot and trim.Suggested Supplies1 strand [use 40] #26-830-4 Bead, Faceted Cube, 2.5mm1 spool [use 18"] #61
…
Jan 1st 2021
Lego® My Bracelet Tutorial
Created by: Nathan Jessen Designer TipsDisk-and-loop bracelet forms are perfect for gluing relatively flat beads, bottle caps and other found objects to the surface of each pad.With several different styles, lengths and plating options to choose from, you're bound to fall in love with the versatility of these fun findings.Use a superglue type of adhesive or, for the most durable hold, a 2-part epoxy such as Epoxy 330 (60-230)Stretch and secure the bracelet ends to cardboard with tape. This preve
…
Jan 1st 2021
Infinitely Simple Seed Bead Bracelet Tutorial
Created by: Veronica Greenwood Designer TipsThese bracelets follow the step-by-step illustrated instructions from Tiffany's 2015 Beaded Infinity Knot Bracelets project in Rings & Things' blog, but updated with new colors, and with tiny faceted gemstones mixed in with the seed beads. One other change, is that Veronica used 6mm gemstone beads at the end, instead of covering the crimp beads with a crimp cover.There's no right or wrong combination -- use 1 or 2 colors, or a whole omb
…
Jan 1st 2021
Infinite Path Bracelet Tutorial
Created by: Kameron FoxDesigner TipsThese earrings and matching bracelet were created using the step by step instructions on page 92 of Beautiful Wire Jewelry for Beaders: Creative Wirework Projects for all Levels (#62-879>62-879 ) by Irina Miech.Create four “S” shaped pieces using bail-making pliers and 18-gauge wire.File the ends smooth with a file and cup bur.Hammer the components flat.Before attaching the crystals, the bronze knots were tumbled for 3 hours to clean, shine and remove rough
…
Jan 1st 2021
In the Moment Leather Cuff Bracelet Tutorial
Created by: Mollie Valente Designer TipsCustomize the word blank:Place the word blank on the steel block and create a dappled texture with the ball peen side of the chasing hammer.Use the bracelet-bending pliers to curve the word band.Apply Vintaj® Patina™ to the words and use a damp paper towel or baby wipe to remove the excess.Finish the bracelet:Use a ruler and hobby knife to cut the leather strip to length.Measure and mark the leather strip for placement of the word blank holes (2mm)
…
Jan 1st 2021
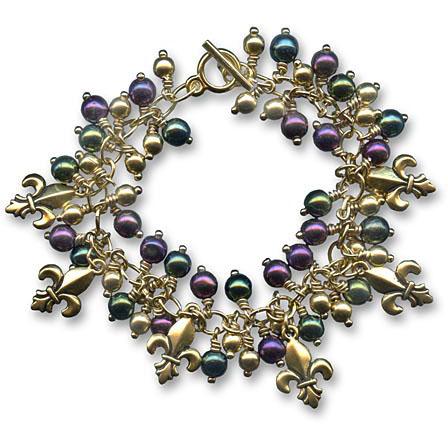
Fat Tuesday Bracelet Tutorial
Created by: Tiffany White Designer Tips Assemble all glass, brass and pearl beads on head pins. (Use round glass beads or Swarovski crystal beads, or both.) Secure with wrapped loops.Attach all charms to round brass jump rings.Attach charms and bead dangles to bracelet one at a time using oval jump rings:Place two brass dangles on an oval jump ring.On the next jump ring place one of each color glass dangles.On the next link, place one brass dangle and one fleur-de-lis charm.Repeat patt
…
Jan 1st 2021
Hot Pink Fat Bird Bracelet
We no longer stock the day-glo colors of rubber tubing, but this is still a fun bracelet when strung with basic black rubber tubing.Created by: Rita HutchinsonDesigner TipsStart by threading the rubber tubing onto the coil of memory wire. When you have covered the desired amount (1-1/2 coils in this case), cut the memory wire from the coil with the heavy-duty cutters.With scissors, trim the excess tubing from the other end of the memory wire. This will allow you to use the exact amount of tubing
…
Jan 1st 2021
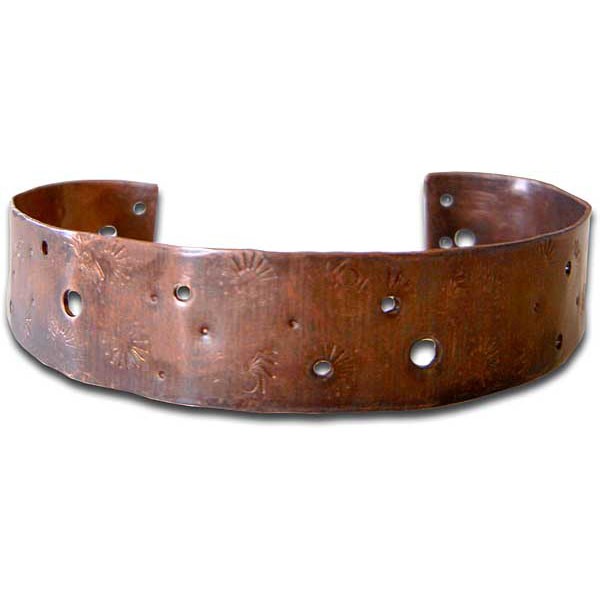
Hidden Ecosystem Cuff Bracelet Tutorial
Created by: Cindy Morris Designer Tips Stamp, hammer and punch holes in the copper until you are satisfied.File any sharp edges.Wrap the strip around a small bottle (aspirin size works well).Bend the ends in about ½ turn with the Wrap n Tap pliers (or use a pipe or mandrel).To patina: Put enough hot water in a bowl to fully submerge the bracelet. Add a tiny spoonful of LOS gel and stir. Put your bracelet in, pull it out after it oxidizes.Buff the bracelet with the polishing cloth.Optio
…
Jan 1st 2021
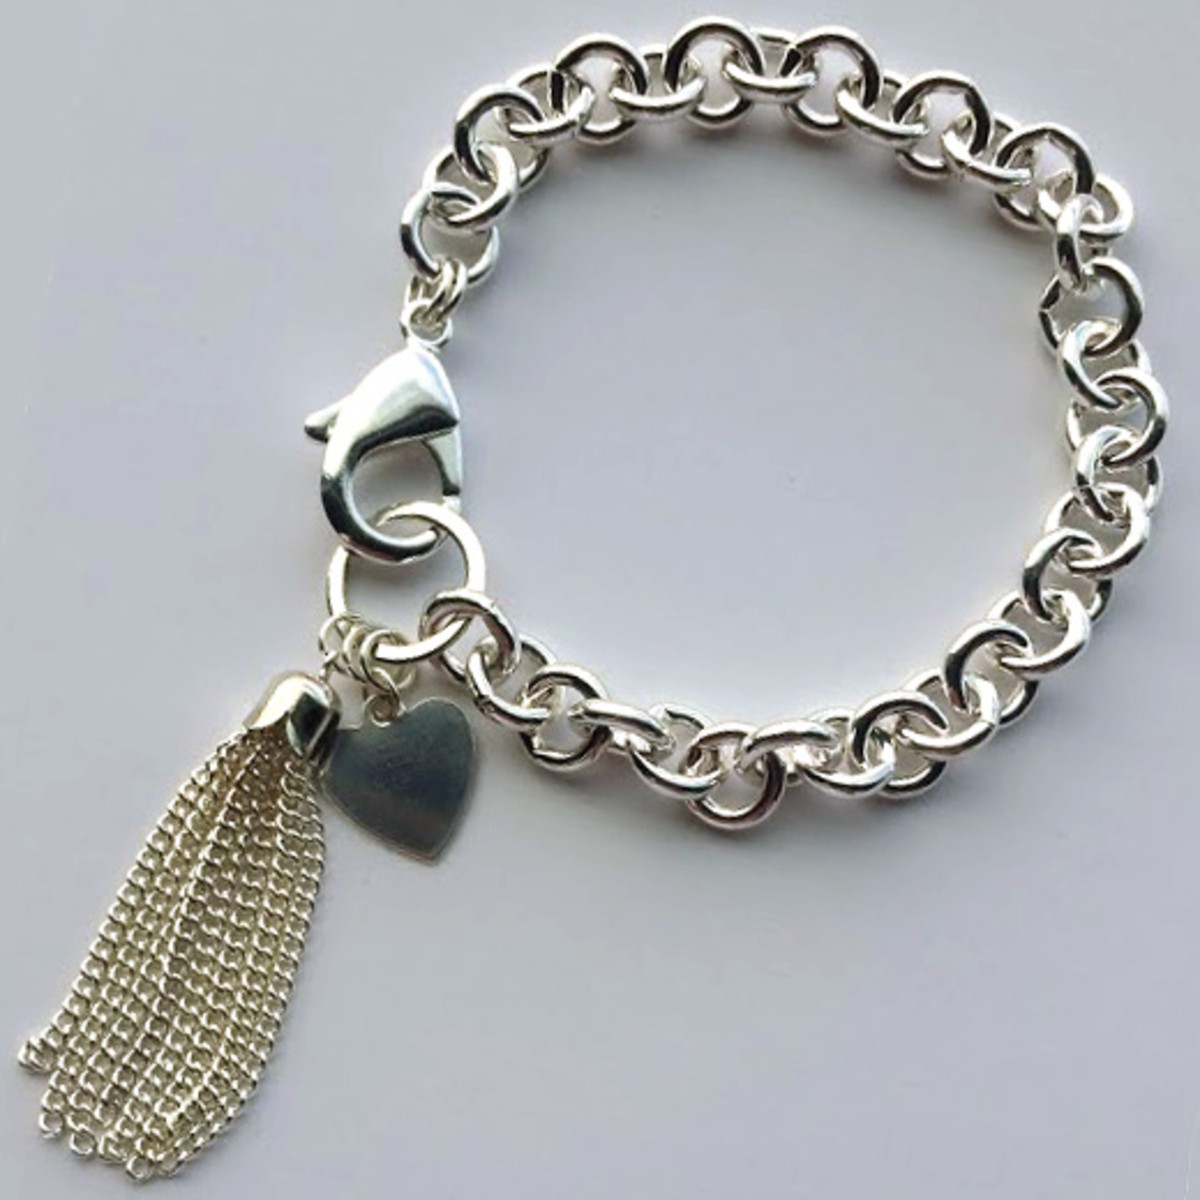
Heart Tag and Tassel Chain - Silver Bracelet Tutorial
Chain bracelets adorned with a simple heart charm continue to be popular. The sterling silver heart blank was intentionally left blank, but could easily be stamped or engraved. You can further customize this design by using different styles of chain, or tassels made of different materials! These bracelets are fun and easy to make, and make great gifts for the minimalist in your life.Created by: Sondra BarringtonDesigner TipsInstead of cutting chains, use 2 pairs of chain-nose pliers to open a fi
…
Jan 1st 2021


