Rings & Things Jewelry Blog
Simple Infinity Adjustable Hemp Bracelet Tutorial
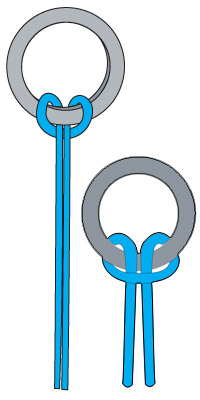
This bracelet is inexpensive to make, and unisex in design.Created by: Michelle HorningDesigner TipsFor step by step macramé knotting instructions, see our
…
Feb 1st 2021
Smokey Macrame Adjustable Bracelet Tutorial
Created by: Michelle HorningDesigner TipsFor step by step macramé knotting instructions, see our blog article: DIY Shamballa-Style Macrame Bracelet Tutorial.Beads can be strung onto the bottom of the anchor cords before anchoring to the board, and slid into place as you workTight knots make it difficult to sew the tails back into them, and you can break your needle. You will most likely need to use pliers to get the needle through. Make sure to sew the tail back through the entire section of kno
…
Feb 1st 2021
Remember to Breathe Bracelet Tutorial
TierraCast's "Breathe" link pairs perfectly with dumortierite, which is frequently used to release fear, bring courage into one's life, and boost creativity and expression. Created by: Michelle Horning Designer Tips For step by step macramé knotting instructions, see our blog article: DIY Shamballa-Style Macrame Bracelet Tutorial.When using a link, cut the anchor cord in half, and attach each half to the link with a lark's head knot.Cut your working cord in half, too. Pick a side, b
…
Feb 1st 2021
Custom Anniversary Bracelet Tutorial
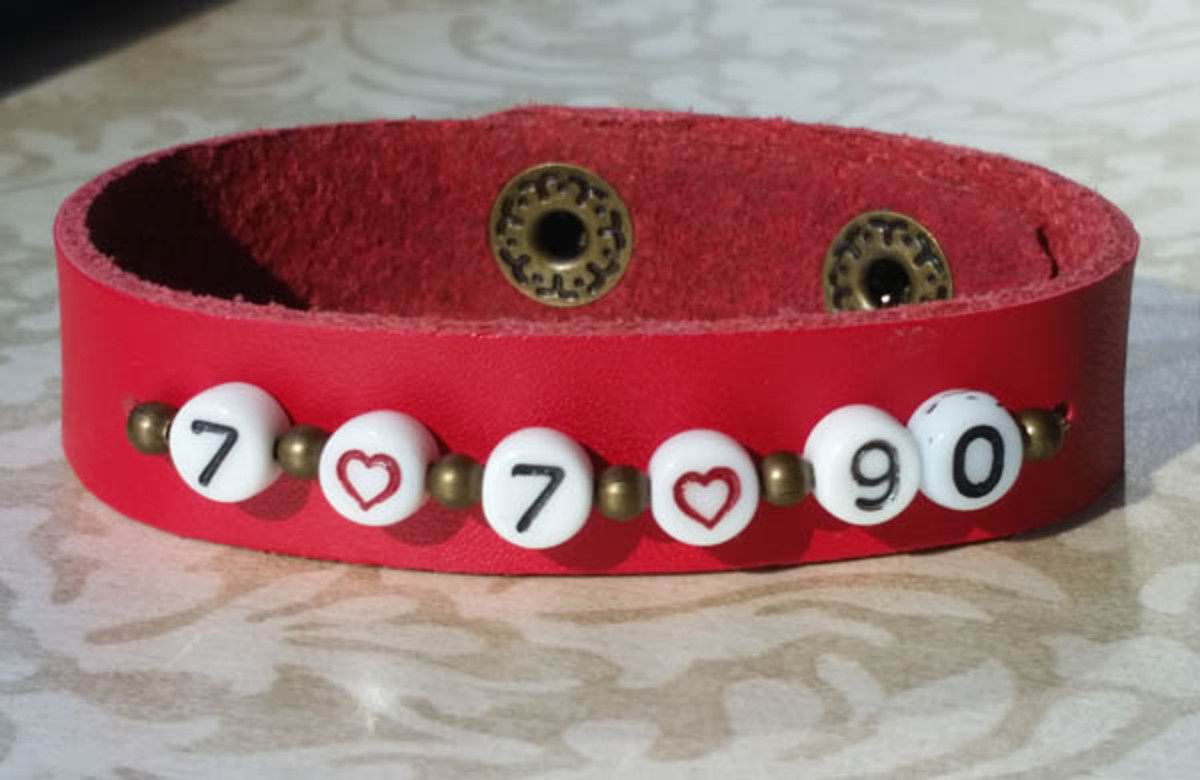
Learn how to make a leather anniversary bracelet using porcelain number beads to "spell out" a custom anniversary date (7/7/90).Created by: Polly Nobbs-LaRueDesigner TipsUse a finished leather bracelet blank, or create the bracelet from scratch using a leather strip and clasp of your choice.Select your beads: Here I used black & white porcelain number beads, red & white porcelain heart beads, and 2mm round brass spacer beads.I used 26g non-tarnish brass Artistic wire to "stitch" the bead
…
Jan 25th 2021
Copper & Purple Love - Bracelet Tutorial
Created by: Polly Nobbs-LaRueDesigner Tips
Set link on leather bracelet, and use a sharp pencil, or fine-point non-smudging marker, to make a dot at each spot to punch.Rotate leather hole punch to smallest setting, and carefully punch holes.Click into the rivet below, and follow the steps in the "more details" section for setting these 2-part rivets.Optional: Use bracelet-bending pliers to gently shape the link into a smooth wrist-shaped arc.For more information about riveting, download and pri
…
Jan 25th 2021
Red Hot Love Bracelet Tutorial
Take our inexpensive rough-looking raw brass bracelet, and learn how easy it is to add color and a high shine! Created by: Rita HutchinsonDesigner TipsRemove age patina and minor blemishes from the bangle bracelet, with ultrafine sanding sponge.Shake Ranger ""patina"" well and apply to imprinted portions of the bracelet. Lightly remove excess with baby wipe. Allow to dry.Remove dried-on ""patina"" that is outside of the imprinted area with sanding sponges (I also used my fingernails).Sand with u
…
Jan 25th 2021
Pretty in Pink Bracelet Tutorial
Created by: The Swarovski Design Team Designer TipsFor best way to open and close loops, see Jump Ring Hint in Jewelry Basics 101 (PDF). Suggested Supplies1 6-pack #02-088-34-182 Swarovski 34ss Indian Pink 2088 Xirius Rose Flat-Back Crystals, No Hotfix7 dozen (use 78 pcs) #05-000-04-182 Swarovski 5000 Faceted Round Beads, 4mm - Indian Pink4 dozen (use 47 pcs) #05-000-06-182 Swarovski 5000 Faceted Round Beads, 6mm - Indian Pink6 each #41-864-12-3&nbs
…
Jan 1st 2021
Metallo Elemento Bracelet Tutorial
Created by: Polly Nobbs-LaRue Designer Tips For a small wrist (shown), cut 2 pieces of leather each 5" long. For a standard men's bracelet, cut 2 pieces each 6" long. or measure the wrist size you want, add 4" (for the riveted overlap portions), and divide in half.Adjust rotary punch to 2.5mm.Wrap one end of the leather strap around the centerpiece, overlapping leather by approximately 1". This gives you room to safely set the rivet without hitting the gemstone or crystal centerp
…
Jan 1st 2021
Mehandi Coil Bracelet Tutorial
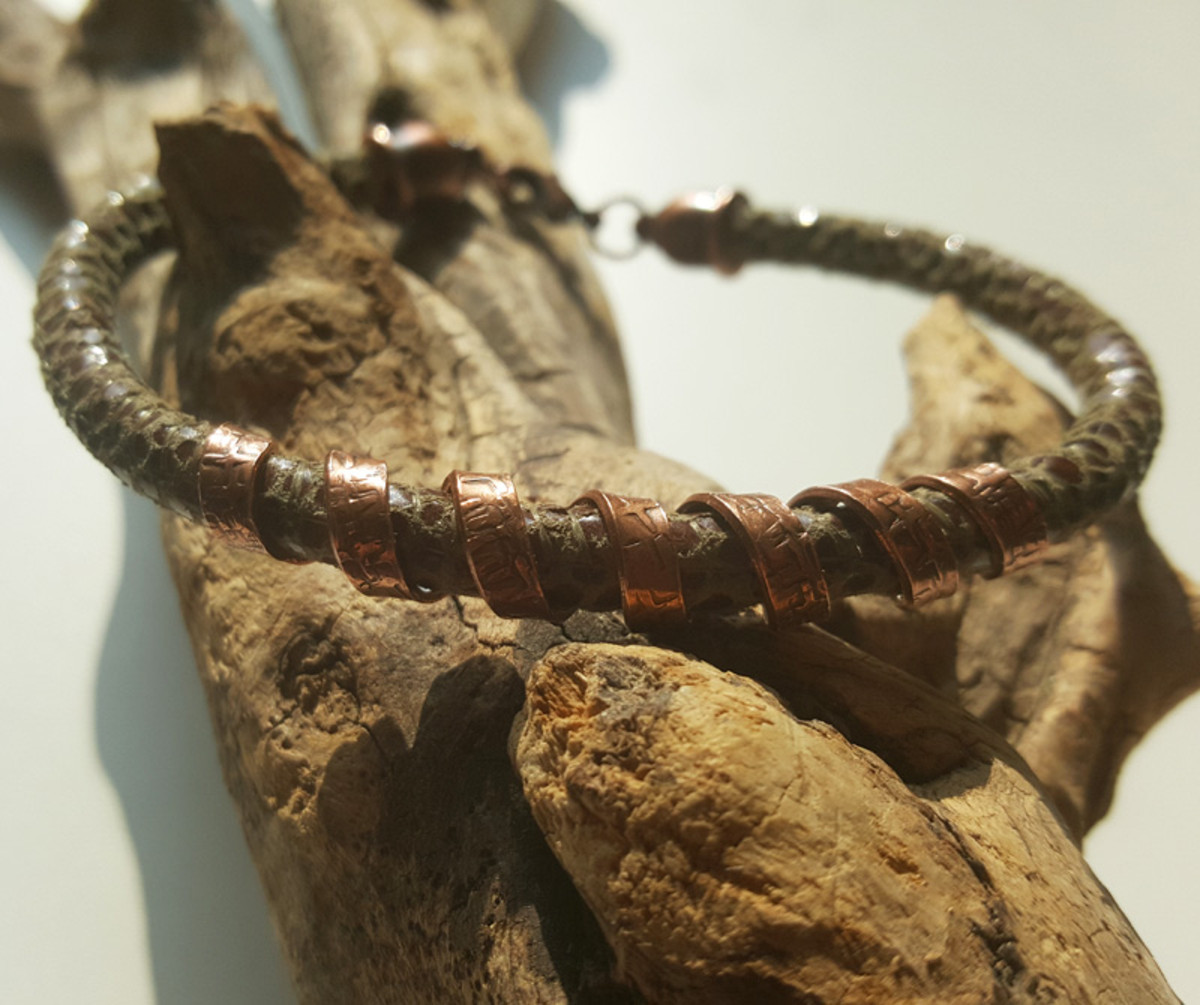
Created by: Rita HutchinsonDesigner TipsUse shears to cut flat wire. Texture as desired with texturing hammer or metal stamps.Create coil by wrapping at an angle around large barrel of bail making pliers (coil from the tip toward the handle to allow entire length to be done).Gently adjust the shape of the coil to match the bend of a wrist.Antique the coil and rinse, then tumble to a high shine. This also will remove sharp ends on the wire.Apply coil to suede cord and cut cord to desired length.
…
Jan 1st 2021
Flying the Nest - Nest Bracelet Tutorial
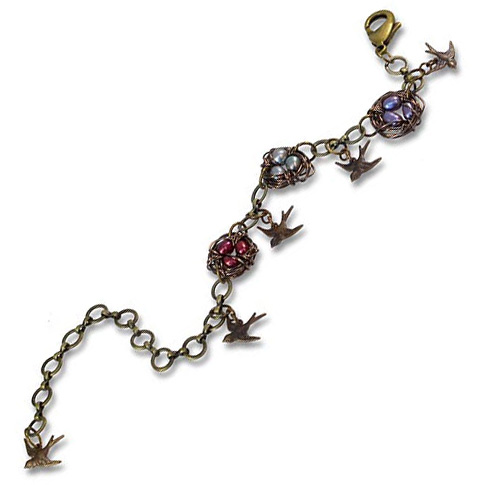
Created by: Kayla HeflingDesigner TipsCreate the bird nests. For step by step instructions with images, see the How To Make A Wire Bird Nest blog post.Use 22-26 gauge wire depending on the hole size of the beads you choose for the "bird eggs".This style of wire-wrapped birds nest "baskets" work great for bracelets, earrings and pendants, because they don't have a closed-off back. You can see the bird eggs from both sides of the charm.Use jump rings to connect bird charms and nests to chain segme
…
Jan 1st 2021


