Rings & Things Jewelry Blog
Golden Sunshine Bracelet Tutorial
Created by: Janet Boyington Designer TipsCut three 10" strands of gold Beadalon stringing wire. My bracelet measures about 6.5" when competed and ready to wear. Plan accordingly for larger wrist sizes.String all three wires in a pleasing pattern, using alternating arrangements of Citrine, seed beads, Preciosa crystals and pearls. Utilize bead stoppers to keep beads in place as you design your patterns.When each strand is to your liking, crimp each end (on one side) to the decorative go
…
Sep 30th 2021
Gemstone Chakra Bracelet Tutorial
Created by: Michelle HorningDesigner TipsCut a length of stretchy cord about 6" longer than you'll need for the finished bracelet, to make it easy to tie the finishing knot. Double the cord if doubled cord will fit through all your beads. Add beads in desired pattern starting with a few of the black beads:The bracelet pictured is made with twenty 8mm gemstone beads, and perfectly fits a 6" wrist.To make the same length bracelet with 6mm beads, use 26 or 27 gemstone beads.To make the same length
…
Sep 30th 2021
I Love My Cat Bracelet Tutorial
Created by: Tracy Proctor of TierraCastDesigner TipsPre-stretch cord by pulling firmly from both ends a few times.Attach small binder clip or bead stopper 2-3” from one end of stretch cord.On other end of cord string bail, *one 4mm bead and one paw bead*. Repeat * through * three times.String 32 4mm gemstones or firepolish glass beads of your choice. (Tip: Three 4mm gemstones or Czech beads equals approx. 1/2". Instructions create a 7" bracelet. Adjust bead count accordingly for desired size.)Re
…
Sep 30th 2021
Isla Tortuga Bracelet Tutorial
Created by: Veronica Greenwood Designer TipsChoose the size of chaton to nestle into the center of your succulent charm. Using the GS Hypo Cement add a little glue in the center of your charm and place your chaton. Set aside to dry.Cut approximately 9" of leather.Slide one barrel bead and your button, onto the leather. Go back through your barrel bead, and using needle-nose pliers, crimp the barrel bead to create a secure loop at one end of the cord.Slide your three pearls onto the leathe
…
Sep 30th 2021
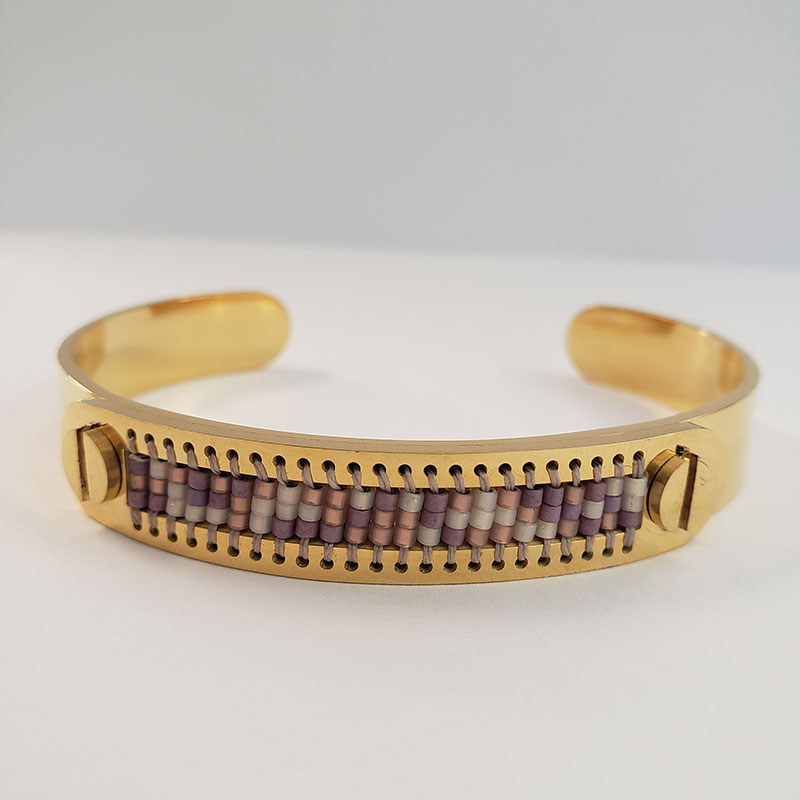
Neutral Centerline Cuff Tutorial
No fancy beading techniques or knots required -- If you can string beads with a needle and thread, you can create lovely designs with these bracelets! Created by: Veronica Greenwood Designer TipsStretch and wax 1 yard of Beige 1-G thread, or use .006" Fireline. Follow instructions in this video, or the PDFs below, to add Delicas in desired pattern to the bracelet.You'll have plenty of left-over beads of each color after making this project. Suggested Supplies 1
…
Sep 30th 2021
Sunrise Centerline Bracelet Tutorial
No fancy beading techniques or knots required -- If you can string beads with a needle and thread, you can create lovely designs with these bracelets!Created by: Veronica GreenwoodDesigner TipsStretch and wax 1 yard of Beige 1-G thread, or use .006" Fireline. Follow instructions in this video, or the PDFs below, to add Delicas in desired pattern to the bracelet.For a closer look at the colors in this bracelet pattern, see alternate image here.Suggested SuppliesYou'll have plenty of left-over bea
…
Sep 30th 2021
Sliding Knot Bracelet Tutorial
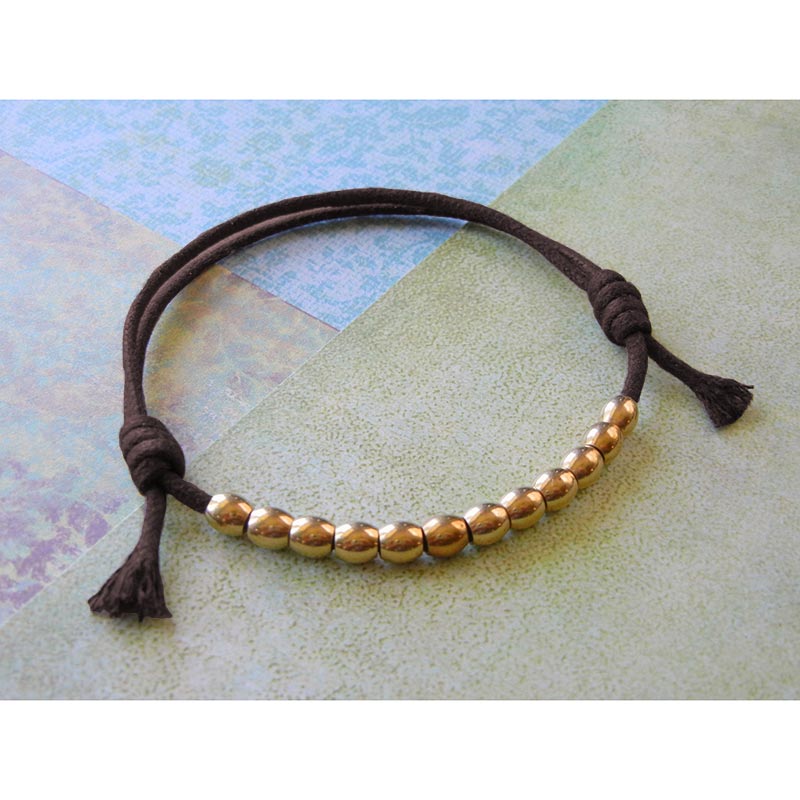
Created by: Mollie ValenteDesigner TipsTying a sliding knot may sound tricky, but with a little practice it's not. Rather than trying to recreate the instructions here with just words, please see our step-by-step illustrated blog article @ blog.rings-things.com/2019/08/jewelry-making-diy-sliding-knot-necklace-cordSuggested Supplies1mm or 2mm Leather or Waxed Cotton Cord, such as #61-542Large-Hole beads, such as #26-114ToolsScissors
…
Sep 30th 2021
Avocado Dorado Cuff Bracelet Tutorial
Created by: Polly Nobbs-LaRueDesigner TipsSolder Brass Ninja Star* to Copper Disk:If the copper or brass shapes are bent, straighten them with a steel block and nylon or rawhide mallet. (Solder doesn't fill gaps.)File/sand/polish to any rough edges or deep scratches.Snip 5-10 tiny (1-2mm long) pieces of solder into a small bowl.Use a small paintbrush to coat the back of the brass "ninja star", and the front of the copper disk with flux. (You may need to mix the flux to a more paste-like consiste
…
Sep 22nd 2021
Upcycled Cog Bracelet Tutorial
Created by: Polly Nobbs-LaRueDesigner TipsWhenever walking, watch for unusual/interesting metal objects on the ground! When they are an unknown metal, do not try antiquing them or punching holes with your jewelry tools. Aluminum may cause undesirable (toxic) chemical reactions, and steel is likely to break your jewelry tools. As a safer alternative, wrap with cord, wire or leather.Cut the snaps off the 1/2" wrap bracelet and fold one end around the edge of the tribuckle's smaller hole. Mark the
…
Aug 31st 2021
Arrow - Etched Copper Bracelet Tutorial
Created by: Summer MelaasDesigner TipsOptional: Punch a hole in the corner of the blank, following instructions in hole-punch below. After completing bracelet, dangle a charm or beaded dangle of your choice from the corner.Etch bracelet, using etching tutorial below. You can draw a design with Sharpie, or use your favorite rubber stamps, or print an image on PNP film using a laser printer.Bend bracelet, following instructions included with EZ-Bender. To finish shaping the ends, bracelet may need
…
May 26th 2021


