Rings & Things Jewelry Blog
Soar With Me Cuff Bracelet Tutorial
Created by: Valorie Nygaard-PouzarDesigner TipsPatina, seal and use bracelet-bending pliers to apply a gentle curve to the metal sparrow before riveting it to the leather.For hints on applying Vintaj patina, see blog post: Customizing Tim Holtz idea-ology® Word Bands for a Handmade Look.To prevent the rivet from slipping through the leather, add washers or rivet accents to the backside of the leather. Rivet accents are ready-to-use with no need to measure or cut the perfect hole size, but they a
…
Feb 22nd 2023
I love My Dog Bracelet Tutorial
Created by: TierraCastDesigner TipsPre-stretch cord by pulling firmly from both ends a few times.Attach small binder clip or bead stopper 2-3" from one end of stretch cord.On other end of cord string bail, *one 4mm bead and one paw bead*. Repeat * through * three times.String 32 4mm gemstones or firepolish glass beads of your choice. (Tip: Three 4mm gemstones or Czech beads equals approx. 1/2". Instructions create a 7" bracelet. Adjust bead count accordingly for desired size.)Remove bead stopper
…
Jan 1st 2022
Sour Patch Bracelet Tutorial
Created by: Rita Hutchinson 12mm #4470 Cushion Squares by Swarovski are nearly gone, but these settings also work with most other brands of 12mm cushion squares. Shop remaining colors while they last!Designer TipsFor step-by-step instructions on wire-wrapping loops, and best way to open and close jump rings, see Jewelry Basics 101 (PDF)Set the crystals in the bezel settings, and press prongs down smoothly over the stones using the nylon jaw pliers.Link settings together with jump rings
…
Jan 1st 2022
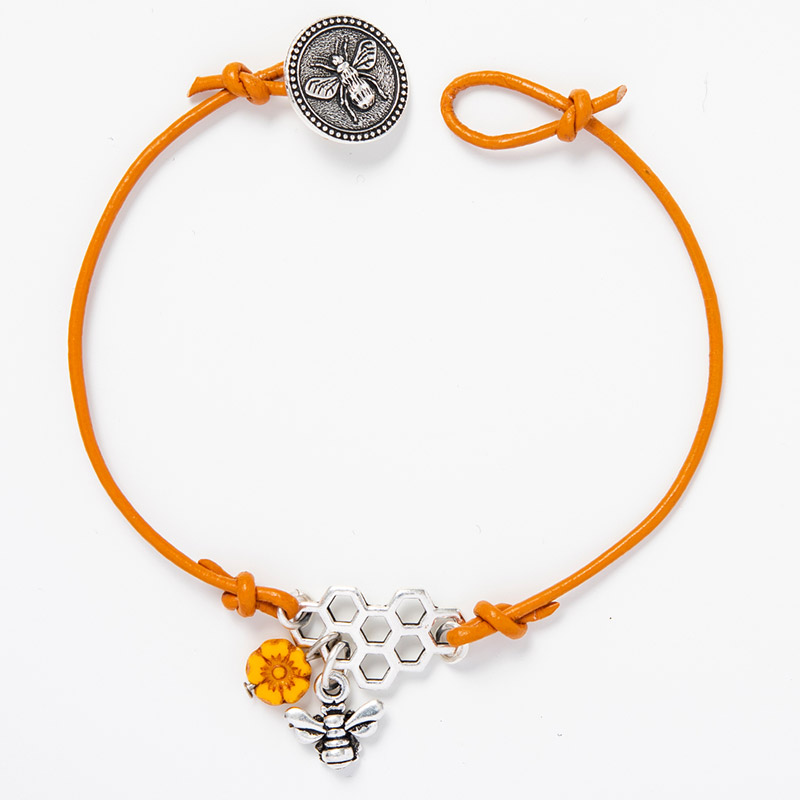
TierraCast Bee Bracelet Tutorial
Created by: TierraCastDesigner TipsCut 20" of 1.5mm cord in your choice of color and cut again into 2 pieces, one 12" and one 8".Feed one open end of each cord through each end of honeycomb link (as shown in picture), secure with knot by wrapping working end around cord and forming overhand knot, aiming tail away from loop. Secure with glue after final tightening.For left side of bracelet (button end), feed free 8" long cord end through shank of the button and tie knot.For right side of bracelet
…
Jan 1st 2022
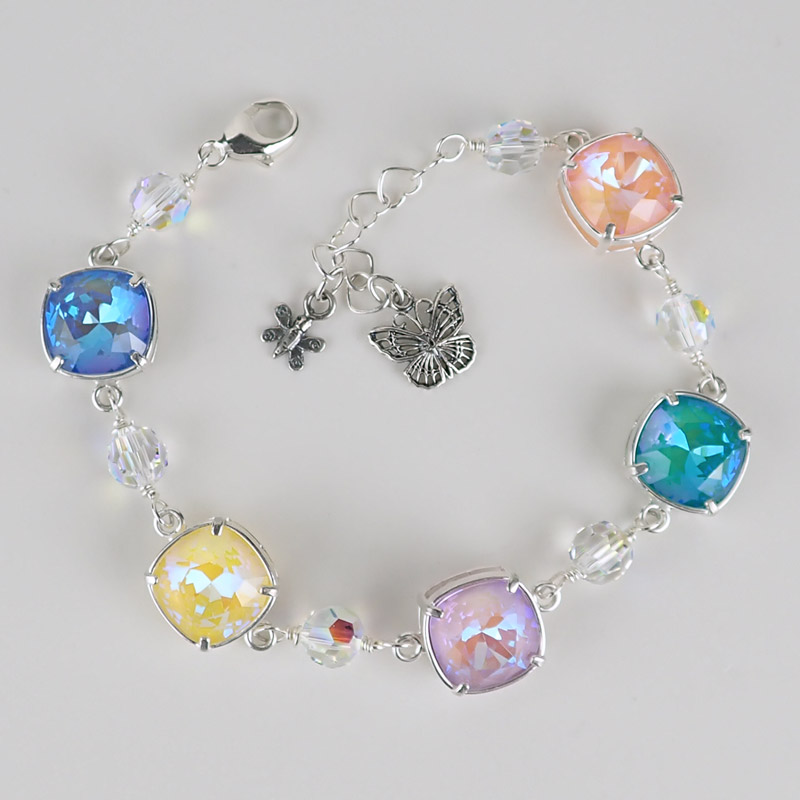
Springtime Serenade Bracelet Tutorial
Created by: Veronica Greenwood Designer TipsPlace one 10mm crystal into one bezel setting and use needle nose pliers to gently bend prongs over crystal. Repeat for all five colors.Using the 24 gauge wire and 6mm round crystal beads, link the bezel settings together (see Jewelry Basics 101 PDF).On one side add the lobster to the crystal link.On the other side add 1in of chain to the crystal link.Using the oval jump rings attach the two butterfly charms to the chain.The lobster clasp c
…
Jan 1st 2022
Tri-Tone Cuff Bracelet Tutorial
Created by: Rita Hutchinson Designer TipsUsing a pre-cut and finished bracelet blank, and precut 6" patterned wire makes this bracelet assemble in a snap!Apply pattern to copper blank with desired metal stamps.Add patina to patterned wire and bracelet blank. Rinse and dry. Highlight with sanding sponges and polishing pad.Add hole to each end of copper blank (at least 1/4" from the end). Use large side of double hole punch.Use EZ-Bender to form cuff shape with bracelet blank and with brass
…
Jan 1st 2022
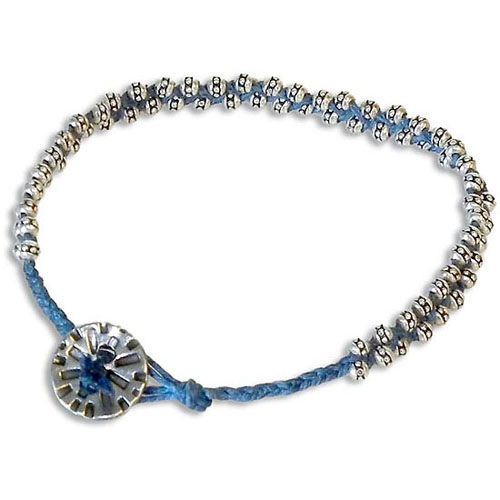
Thin Blue Line Friendship Bracelet Tutorial
Created by: Amy MickelsonDesigner TipsCreate a loop large enough for the button to go through.A clipboard works well to anchor knotting projects. Clamp the loop under the clip.Braid a 3-strand braid with the cord for about 1" or as long as desired.String equal quantities of the beads on all 3 strands of cord. Secure each cord end with an overhand knot to keep the beads from falling off. Adding all the beads at once is easier than holding your work and trying to thread a bead on a cord as you go.
…
Jan 1st 2022
Tranquil Spangle Bracelet Tutorial
Created by: Polly Nobbs-LaRue Designer TipsDetermine desired bracelet length; add one inch. Cut a piece of cord 4 times this length. (7" bracelet + 1" = 8". 8" x 4 = 32")String the cord through the loop portion of the clasp. Center the clasp on the cord. Tie two overhand knots and check to see if your rondelles will face the right direction.String one cord through the left side of a rondelle, and the other cord through the right side. Pull tight (but not too tight). Does your bead
…
Jan 1st 2022
The Imp Bracelet Tutorial
Created by: Rita HutchinsonDesigner TipsPlan out design, and stamp words and symbols. ("I Drink and I Know Things" is a quote from Game of Thrones, and the colors used here are the colors of house Lannister.)New to metal stamping? See Metal Stamping 101Texture the blank with rounded end of chasing hammer.Apply stamp enamel per package instructions.Punch holes in bracelet with Euro Power Punch (note – The rivet length allows them to go through thicker materials; they will spin around in the cuff.
…
Jan 1st 2022
Steel Empire Chain Maille Bracelet Tutorial
Created by: Rita HutchinsonDesigner TipsThis is a variation of the standard Byzantine weave, called Byzantine with 3 connectors. I wanted to use all stainless steel for this bracelet, but the aspect ratio (wire diameter vs inside diameter) of the 6mm stainless steel jump rings would have created a loose weave if I had followed the normal Byzantine weave pattern. By adding the 3rd connector, the weave becomes tighter and sturdier.Weave Got Mail Byzantine kits, or some Chain Mail books, provide st
…
Jan 1st 2022


