Rings & Things Jewelry Blog
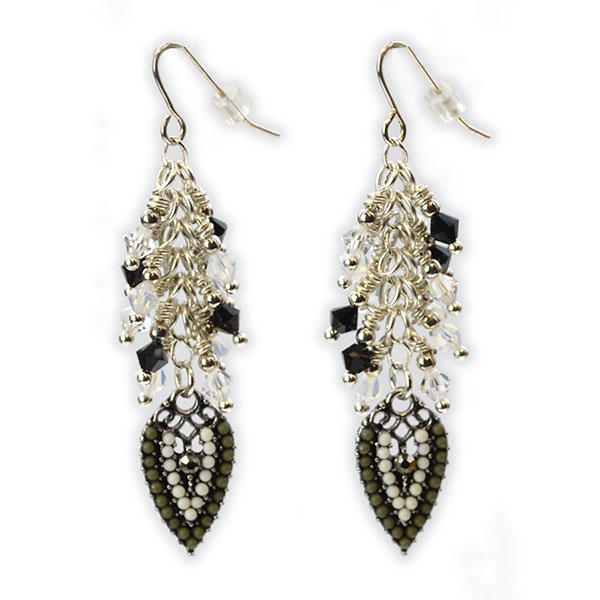
All Black and White Earrings Tutorial
Created by: Rita HutchinsonDesigner TipsCut chain to a length of 8 links. Attach one end to earwire for ease in handling.Create dangles with crystal beads and round metal beads, and wire wrap directly to the chain. Add 12 dangles to chain. New to jewelry-making? For step-by-step instructions on making wire-wrapped loops, and most secure way to open and close jump rings, see Jewelry Basics 101 (PDF).Little-known trick: Crimp Pliers are handy for tucking in trimmed ends of wire when making wire-wr
…
Aug 31st 2021
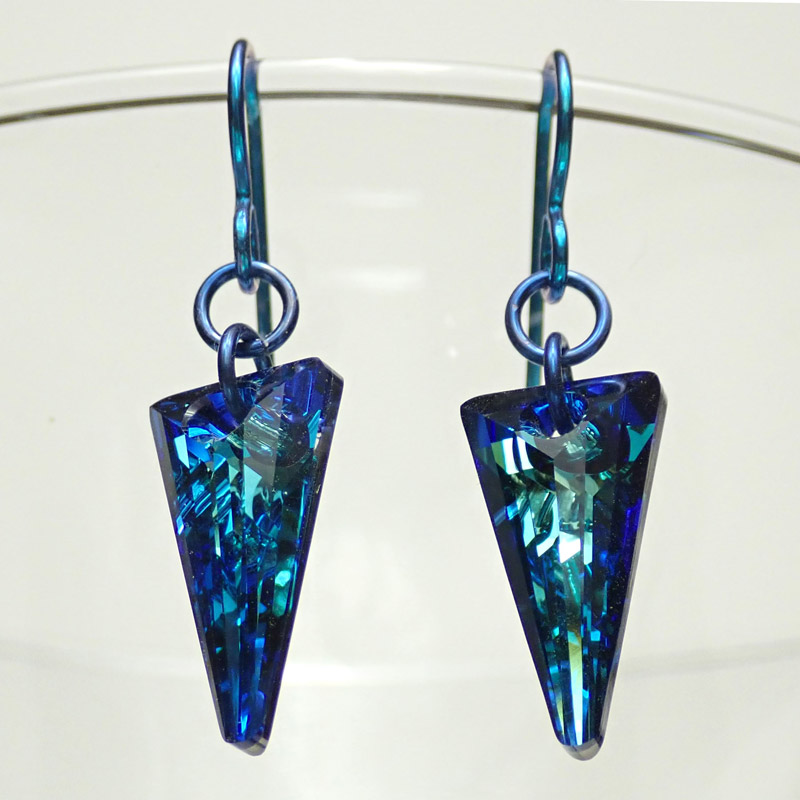
Bermuda Triangle Earrings Tutorial
No mysteries here, just a simple design with a stunning color effect. Bermuda Blue, with its intense flashes of teal and deep blues, has been one of our favorites from Swarovski since we first added it in the 80's. Created by: Rita Hutchinson Designer TipsUsing both the teal and blue Niobium picks up the various shades that are in the Bermuda blue crystals. Simply use jump rings to connect the Bermuda Blue crystals to the ear wires. For best way to open and close loops, see J
…
Aug 31st 2021
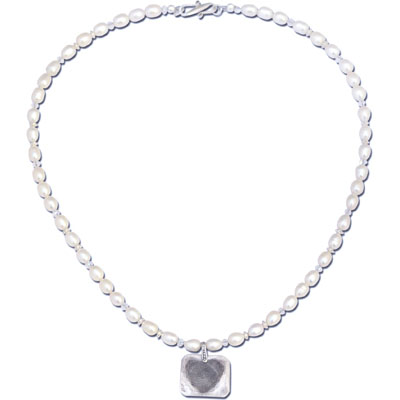
Becoming One Necklace Tutorial
Created by: Rita HutchinsonDesigner TipsTo make the fingerprint heart pendant, form the desired pendant shape in silver metal clay. Allow it to dry, and pre-finish, then spritz thoroughly with distilled water. Allow the water to permeate the pendant before applying fingerprints.Thoroughly dry the pendant before firing.Once fired, patina the metal clay pendant to highlight the fingerprint.Use the regular crimping pliers to smoothly close the crimp covers.Free Technique Sheets & How-TosBeading
…
Aug 31st 2021
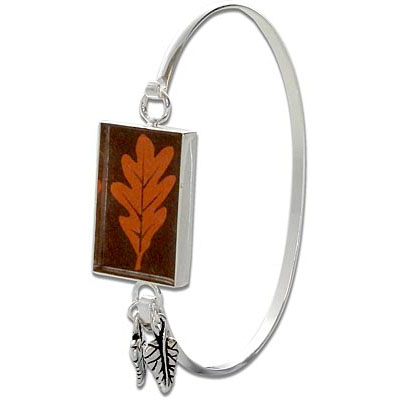
All Fall Resin Bracelet Tutorial
Created by: Rita Hutchinson Designer TipsGently reshape longer loop of the cuff bracelet with round nose pliers to prevent bezel piece from inadvertently detaching.This combination of large bezel and large cuff makes an extra-large bracelet. Use smaller bezel and/or smaller cuff as needed.Use instructions in Epoxy Resin Tip Sheet (PDF) to set and seal a favorite image in the bezel.Use jump rings to attach charms to one loop of the bezel (the loop that you're attaching to the lon
…
Aug 31st 2021
Bead Curtain Earrings Tutorial
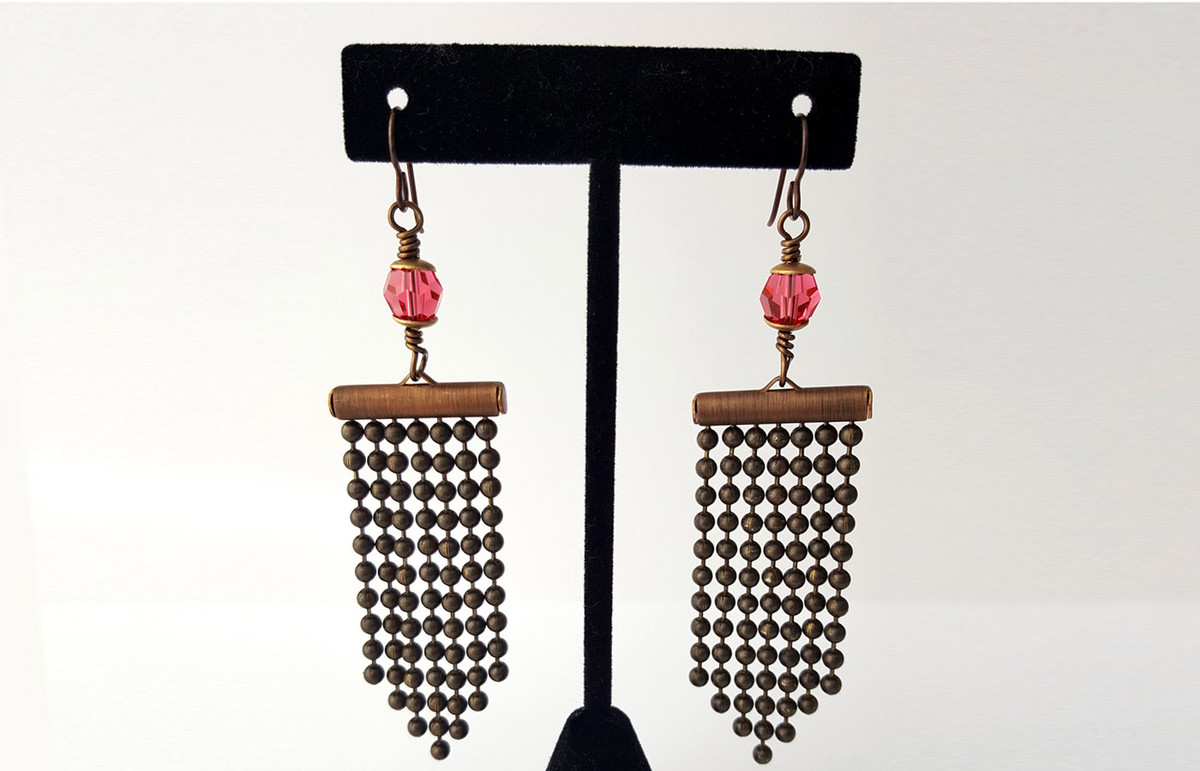
Learn to make unusual chain fringe earrings with a dash of crystal. FREE Jewelry Tutorials. No blinkin ads. No login required. Created by: Rita Hutchinson Designer TipsThe bead pod just barely fits the 3.2mm ball chain. You may have to do some extra pushing to get the first ball into the opening.Do not precut the ball chain - slide the end ball into the pod, then cut to length. Using the remainder, slide the end ball into the pod next to the first one, and cut one ball longer. Repeat 2
…
May 31st 2021
Aurora Sprinkles Earrings Tutorial
Created by: Rita Hutchinson Designer TipsCut bezel strip to size (one 8-12" piece) and flatten/ work harden with nylon hammer.Add texture to both sides of bezel strip with texture stamping hammer and included "sprinkles" design stamp. (The wire may distort somewhat. Don’t be concerned, this will not be noticeable at the end.)Cut textured bezel strip in half.If you don’t have a tumbler, use Novacan to antique the wire at this step, and polish the high points with steel wool.Wrap 1 textured
…
Feb 1st 2021
Astral Love Resin Necklace Tutorial
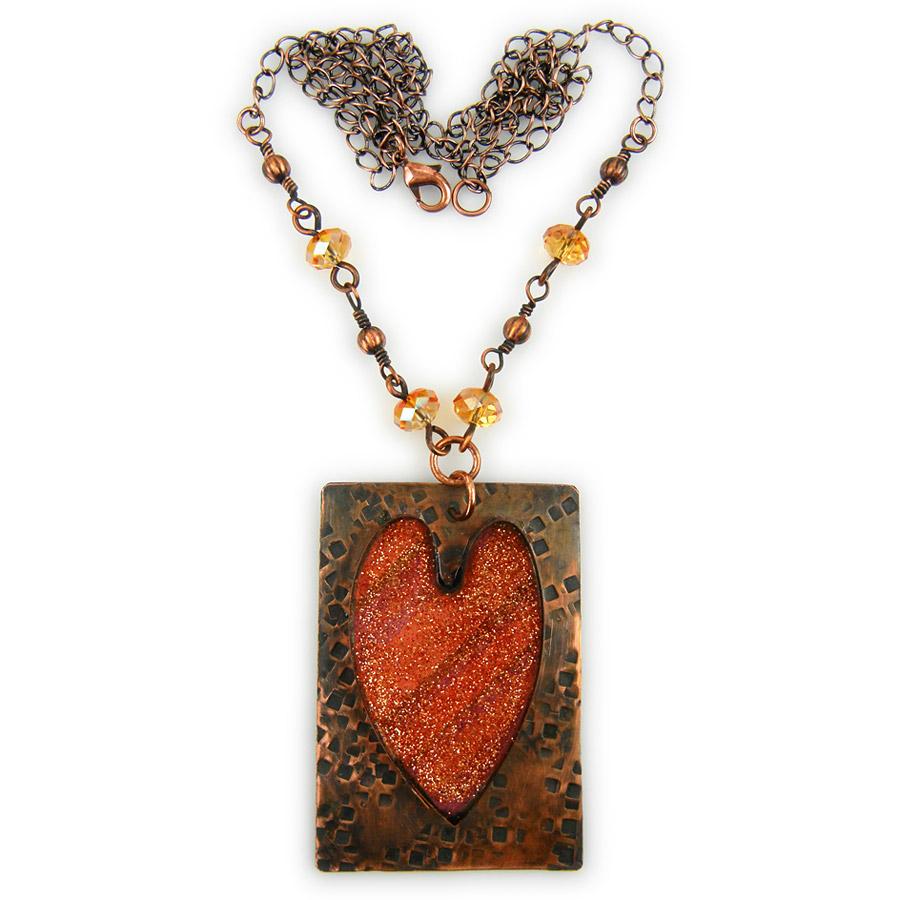
Created by: Rita HutchinsonDesigner TipsSee instruction page for making no-solder bezels.Cut paper to match bezel wire shape.Seal paper and adhere to inside of bezel.Mix a small batch of resin and pour a starting layer.When first pour is cured, mix a new batch (add glitter), and pour to fill the bezel.Create decorative section of chain with crystal and metal beads. The crystals are on thicker wire with simple loops. The corrugated beads are on 24-gauge wire with wrapped loops. Wrap the beaded se
…
Jan 25th 2021
Bermuda Crescent Earrings Tutorial
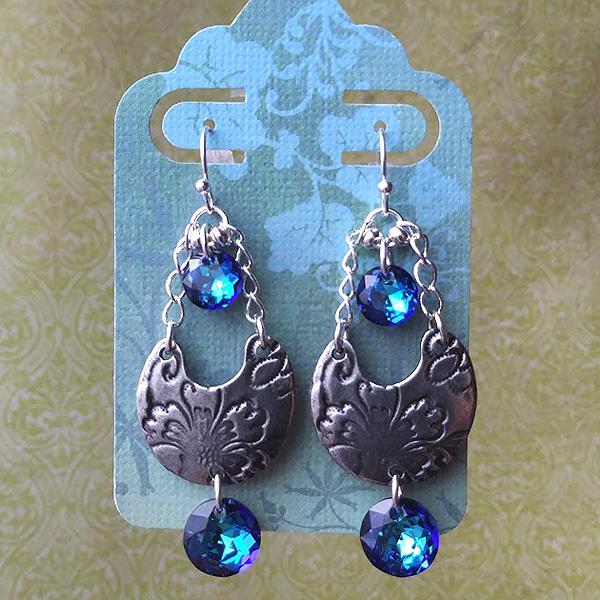
Created by: Rita HutchinsonDesigner TipsCut 4 lengths of chain, each 4 links long.Use 4.5mm jump rings to attach chain to the top holes of the crescent link. For best way to open and close loops, see Jump Ring Hint in Jewelry Basics 101 (PDF)Add two rondelle beads to a 5mm jump ring and then link the top of the two chains together and attach to the earwire.Use a 5mm jump ring to suspend an 8mm crystal pendant between the two beads on the jump ring attached to the earwire.Use another jump ring to
…
Jan 1st 2021
Angel in Training Earring Tutorial
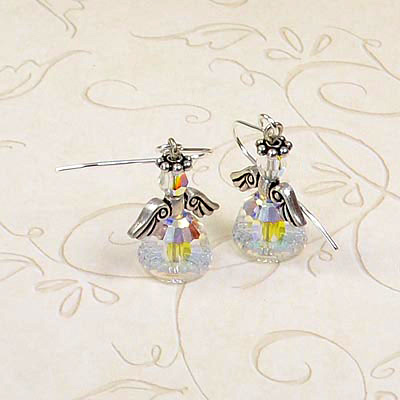
Created by: Rita HutchinsonDesigner TipsAdd crystals, angels wing beads and spacers to head pins and finish with a simple loop.Because the large end of the dome beads are concave, it can be tricky to measure and cut the headpin for making your loop. Press thumb or other finger against the head of the pin, to pull it up to the inside of the dome for best results.Use any ear wire you like with these designs.These designs can be made as a pendant, by only making one.Free Technique Sheets & How
…
Jan 1st 2021
Artemis Christmas Tree Earrings Tutorial
A jewelry project from Rings & Things, based on a holiday earrings design from CREATE YOUR STYLE. Created by: Rita Hutchinson.Designer TipsFill the large end of the artemis bead with the 8mm puffed rondelle / briolette bead. This allows the 4mm rondelle tree trunk to be visible. Use Bronze Shade, Smoky Topaz, Golden Shadow or any of your favorite Swarovski crystal golden-brown shades of crystal.Add beads in this order to a head pin, 4mm cube bead, 8mm 5040 briolette / rondelle, 17mm Artemis,
…
Dec 1st 2020

