Rings & Things Jewelry Blog
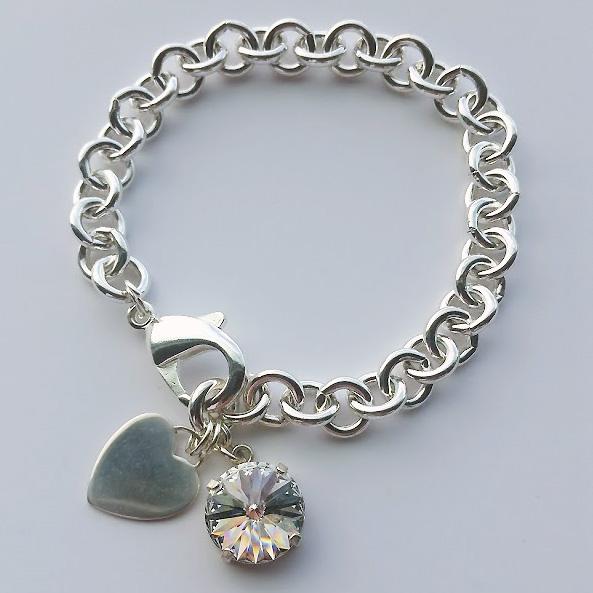
April Love - Bracelet Tutorial
Created by: Sondra Barrington How can I customize thee? Let me count the ways... Designer Tips Chain bracelets adorned with a simple heart charm continue to be popular. The sterling silver heart blank was intentionally left blank, but could easily be stamped or engraved to further customize.You can also customize this design by using a different colored Swarovski rivoli stone (clear symbolizes Diamond, April's birthstone), or different styles of chain. These bracelets are fun an
…
Jun 7th 2021
Abby's Earrings Tutorial
Created by: Lindsey Green Designer Tips Use three layers of Magic-Glos UV Resin to create the look of the crystal rivoli standing free in the bezel cup earrings.A piece of Styrofoam® or sponge material works great to keep the jewelry in place. Simply stick the post of the earring into the styrofoam or sponge to keep the jewelry level.Add a base layer of resin to the bezel cup and then cure it with the UV light.After the first layer is dry, pour a second layer into the bezel.
…
Jan 1st 2021
Cool Your Jets Magnetic Men's Earring Tutorial
Created by: Laurae SatherDesigner TipsCut the post portion off the rivoli earring finding.File the back until you have an approximately 4-5mm flat spot (about the same diameter as the earring magnet).Mix two-part epoxy according to manufacturer's directions.Apply epoxy to the flat portion of the rivoli setting, and place 1 part of the magnet set on the glued area.Once thoroughly cured, mix more epoxy and glue the rivoli into a rivoli setting. Set aside to cure.To wear, place the other part of th
…
Jan 1st 2021
College Days Charm Bracelet Tutorial
Created by: Rita HutchinsonDesigner TipsGlue crystal rivolis into settings. Create divots in a piece of scrap Styrofoam, to allow settings to dry flat.Create wrapped loops (or simple loops) with the pearl peards, and attach all components with jump rings. For step-by-step instructions on creating loops, and best way to open and close loops, see Jewelry Basics 101 (PDF).Make sure the chain isn't twisted, and space your "one sided" components carefully, so they all face the same direction.A note a
…
Jan 1st 2021
A Ring A Day...
A ring a day keeps the doctor away: Chase the winter blues away with this trio of tropical colored rings!Designer TipsUsing the ring finding, place one fancy stone inside setting. Using nylon-jaw pliers, gently push prongs over stone all around the stone. To keep the stone centered, don't set tightly at first: do a little from the "north" and "south" then a little from the "east" and "west", then repeat.Finish by going all the way around for the final tightening. You can also use a burnishing to
…
Jan 1st 2021


