Rings & Things Jewelry Blog
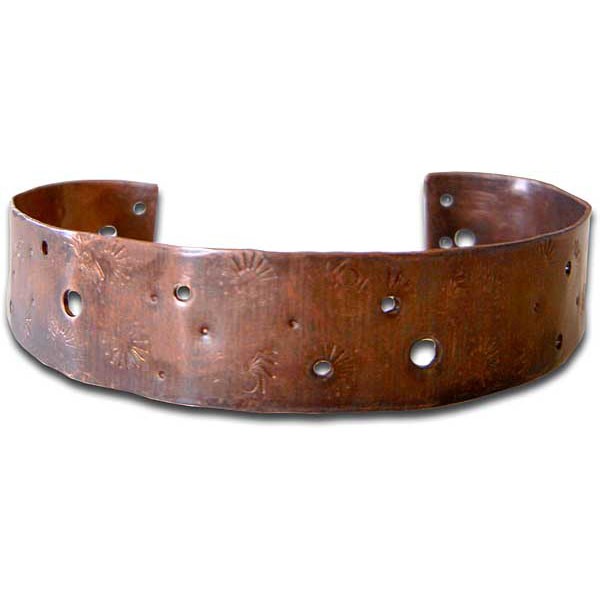
Hidden Ecosystem Cuff Bracelet Tutorial
Created by: Cindy Morris Designer Tips Stamp, hammer and punch holes in the copper until you are satisfied.File any sharp edges.Wrap the strip around a small bottle (aspirin size works well).Bend the ends in about ½ turn with the Wrap n Tap pliers (or use a pipe or mandrel).To patina: Put enough hot water in a bowl to fully submerge the bracelet. Add a tiny spoonful of LOS gel and stir. Put your bracelet in, pull it out after it oxidizes.Buff the bracelet with the polishing cloth.Optio
…
Jan 1st 2021
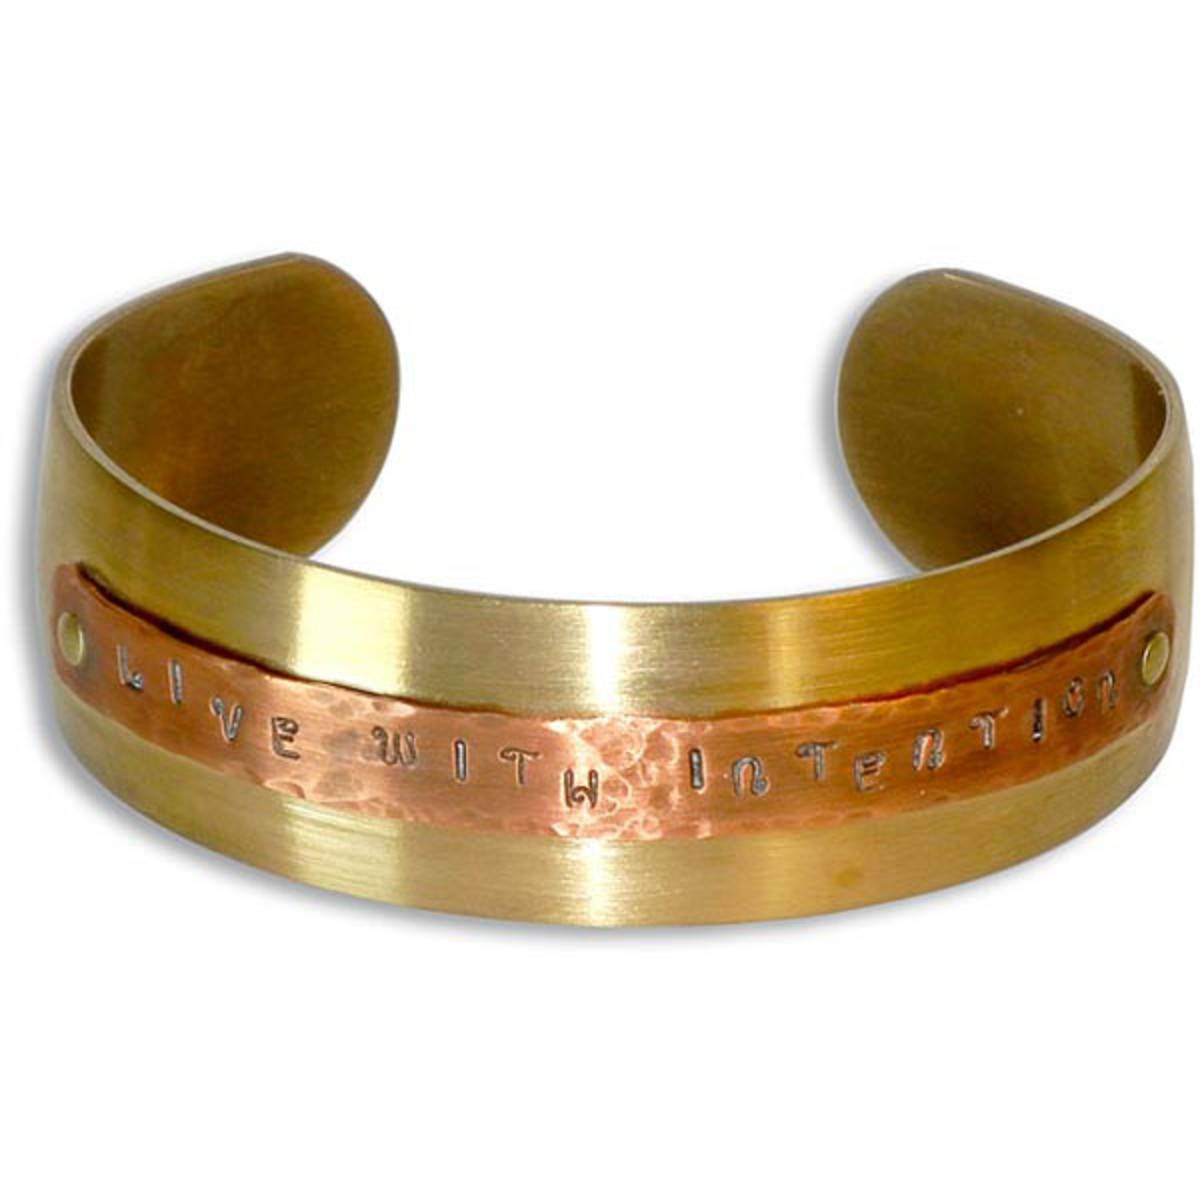
Live With Intention Cuff Tutorial
Created by: Polly Nobbs-LaRueDesigner TipsStamp favorite quotes on inexpensive easy-to-use strips of precut copper, then rivet them to sturdy brass cuff bracelets. If you make a mistake when stamping on the copper strip, it's a much less expensive mistake than a mis-stamp on a specialty blank or bracelet.Stamp a phrase on the the 24-gauge copper bracelet strip. With metal shears, cut to length (keep approximately 6mm or 1/4" extra at each end for riveting) and gently round the corners. And textu
…
Jan 1st 2021
Happy Brass Bracelet Tutorial
Created by: Janet BoyingtonDesigner TipsIf you're new to metal stamping, first take a look at the step-by-step instructions in our free Metal Stamping 101 PDF.Plan pattern -- some designers prefer to stamp the middle letter first, and then work outward to the edges to make sure their words and phrases are centered.14-ga brass is a little harder than some other stamping blanks, so use a 2lb brass hammer and stamp firmly. Janet used the 3mm (approx. 1/8") Uppercase Siena stamp set and it worked gr
…
Jan 1st 2021
Moonshine Earrings Tutorial
Created by: Summer MelaasDesigner TipsPunch a hole in the top center of each mason jar blank (available in copper, brass and sterling silver). If desired, tumble-polish or sand the blanks to remove any surface blemishes.Stamp desired pattern on each charm. New to metal stamping? See Metal Stamping 101.Apply Stamp Enamel per package instructions.Cut approx. 2"of 22-gauge wire, add a turquoise rondelle bead, and either make simple wire loops at each end, or create a wire-wrapped connector to conne
…
Jan 1st 2021
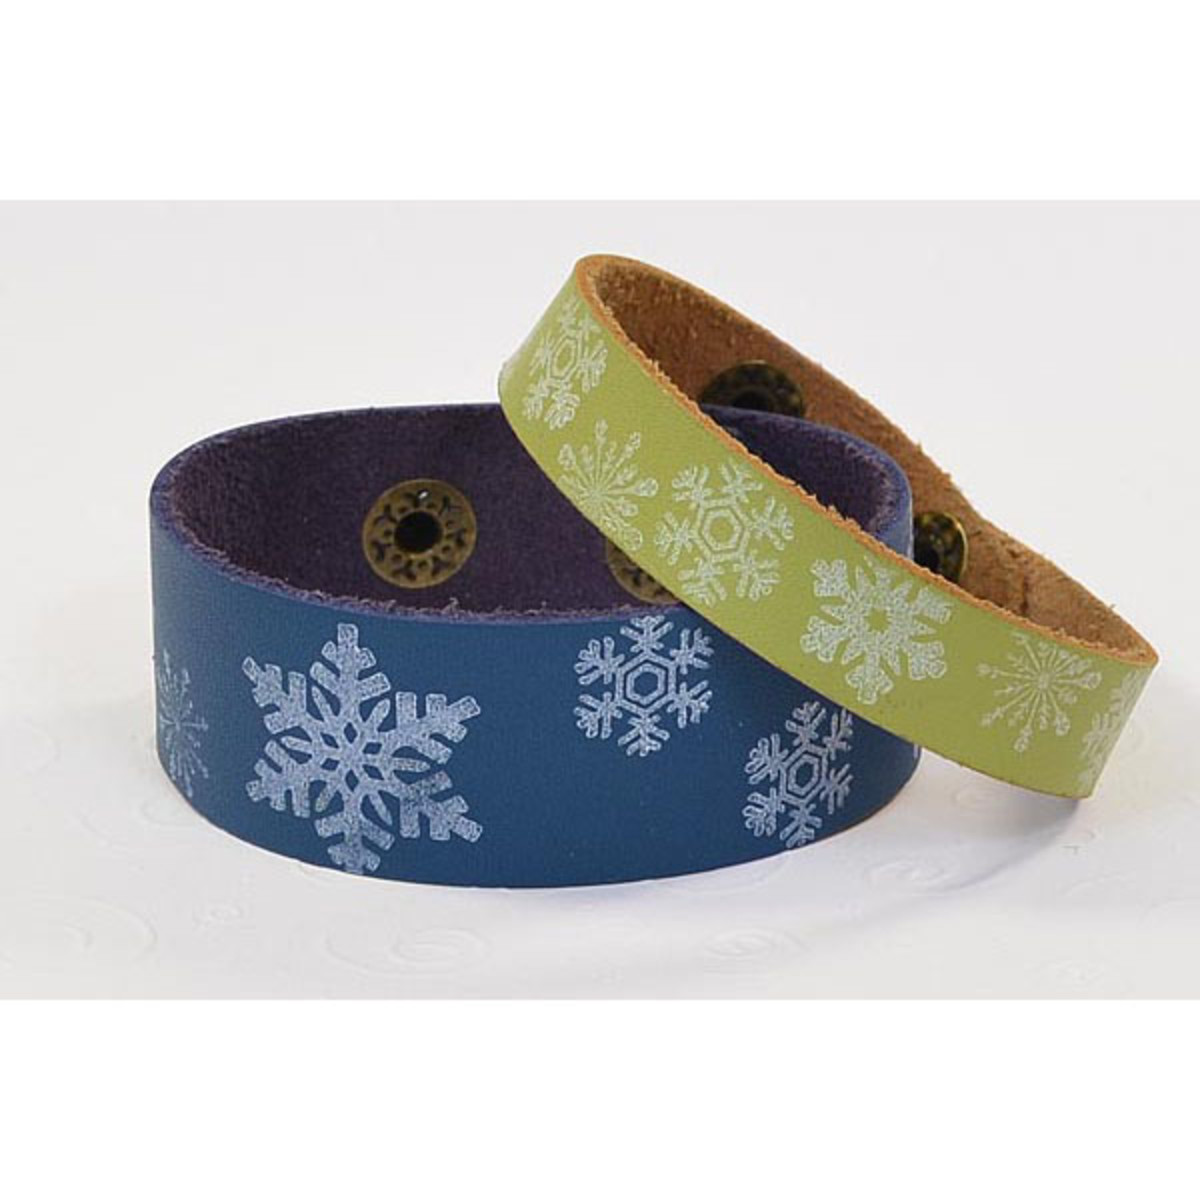
Wintry Mix Ink Stamped Leather Bracelets Tutorial
Created by: Amy MickelsonDesigner TipsUse StazOn® ink and rubber stamps of your choice to create a festive bracelet in minutes.Choose from ready-made leather bracelets or leather strips.Since the StazOn ink is permanent, there is no need to apply a sealer to the bracelet. (We only have black StazOn, but odds are, that if you have rubber stamps, you also have a good stash of other permanent ink pads nearby...)For a step-by-step tutorial with pictures, see the Easy to Make Rubber Stamped Leather B
…
Jan 1st 2021
REACH Stamped Aluminum Cuff Bracelet Tutorial
Created by: Polly Nobbs-LaRueDesigner TipsTo get a feel for the aluminum, firmly stamp the star in a few spots. For a detailed tutorial on metal stamping, see Metal Stamping 101 (PDF).Stamp the word REACH. With a light touch, use the thinnest center punch to stamp a small star point in a few spots. Note: Some of letters ended up a little "light" so I used the point as a design element to extend the missed spots of the letters.Use a ball pein hammer (or the round side of a chasing hammer) to text
…
Jan 1st 2021
grrrrr / breathe bracelet tutorials
Created by: Polly Nobbs-LaRueDesigner TipsUse a ruler and Sharpie to draw a dot or line in the middle if the bracelet. Write your word or phrase on a piece of paper, about the size you'll be stamping, and keep it where it's easy to see. Find the middle letter and start stamping from the middle outward to the ends, to keep your design symmetrical.Try to keep your stamp strength consistent so some letters aren't deeper than others.Before using a letter that's easy to mix up, do a test stamp on a s
…
Jan 1st 2021


