Rings & Things Jewelry Blog
Bejeweled Necklace Tutorial
Created by: Cindy Morris Designer TipsClose the hoop. Lash the rhinestone chain onto the hoop using Artistic Wire, wrapping around the hoop twice between each link of chain.Start and end the chain over the opening of the (now closed) hoop. Trim ends when done.The last link on each end will not lie quite flat, so tie the lark’s head knot over this spot to hide them.Make sure your cord lengths are equal before attaching cord ends and clasp.Free Technique Sheets & How-TosBasic Jewelry-Maki
…
Oct 1st 2021
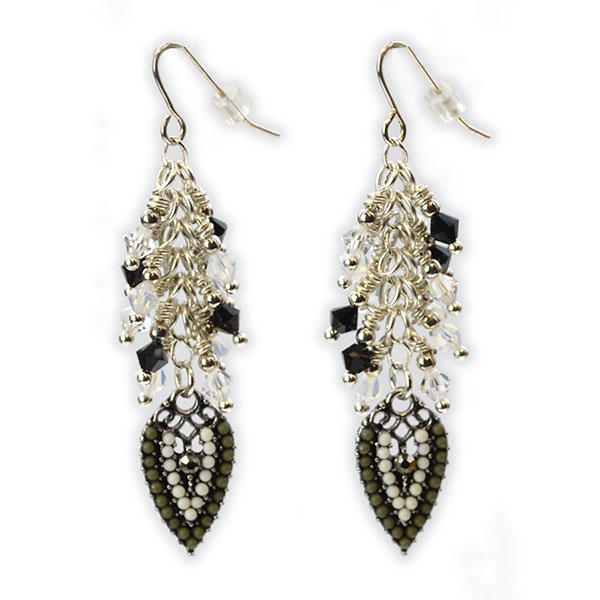
All Black and White Earrings Tutorial
Created by: Rita HutchinsonDesigner TipsCut chain to a length of 8 links. Attach one end to earwire for ease in handling.Create dangles with crystal beads and round metal beads, and wire wrap directly to the chain. Add 12 dangles to chain. New to jewelry-making? For step-by-step instructions on making wire-wrapped loops, and most secure way to open and close jump rings, see Jewelry Basics 101 (PDF).Little-known trick: Crimp Pliers are handy for tucking in trimmed ends of wire when making wire-wr
…
Aug 31st 2021
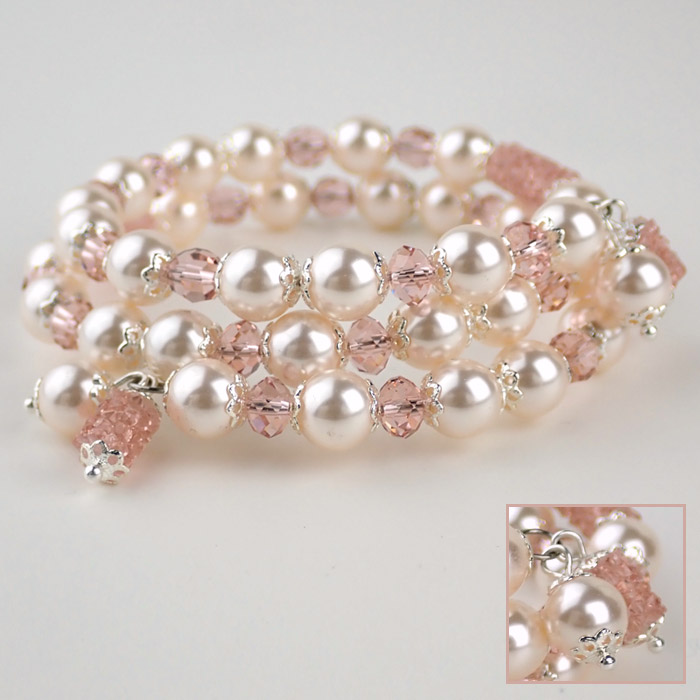
Blushing Bride Bracelet Tutorial
Delicate-looking filigree bead caps give this memory-wire bracelet the crowning touch. Created by: Rita Hutchinson Designer TipsAdd bead caps to each end of (2) 8mm fine rocks tubes and string each on a headpin; trim and loop. For step-by-step looping instructions, see Jewelry Basics 101 (PDF).Add bead caps to each side of (2) crystal pearls and string each on a headpin; trim and loop.Lay out desired pattern on bead mat. The pattern here adds bead caps to each crystal pearl and to the
…
Aug 31st 2021
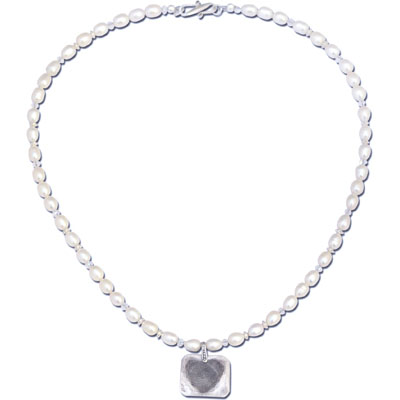
Becoming One Necklace Tutorial
Created by: Rita HutchinsonDesigner TipsTo make the fingerprint heart pendant, form the desired pendant shape in silver metal clay. Allow it to dry, and pre-finish, then spritz thoroughly with distilled water. Allow the water to permeate the pendant before applying fingerprints.Thoroughly dry the pendant before firing.Once fired, patina the metal clay pendant to highlight the fingerprint.Use the regular crimping pliers to smoothly close the crimp covers.Free Technique Sheets & How-TosBeading
…
Aug 31st 2021
Ava's Big Day Bridal Set Tutorial
Created by: Valorie Nygaard-Pouzar Designer Tips Determine placement of the stamped letters on metal charm, or paper.Carefully stamp the blank.Antique the charm so the impressions are more pronounced.Gently sand and polish.Attach to jump ring & chain.Make a pearl dangle, and slide onto the chain.For earrings, make two pearl dangles like the one for the necklace and attach to ear wires.Pendants for the bride and bridesmaids are elegant jewelry, as well as keepsakes that will last
…
Jul 18th 2021
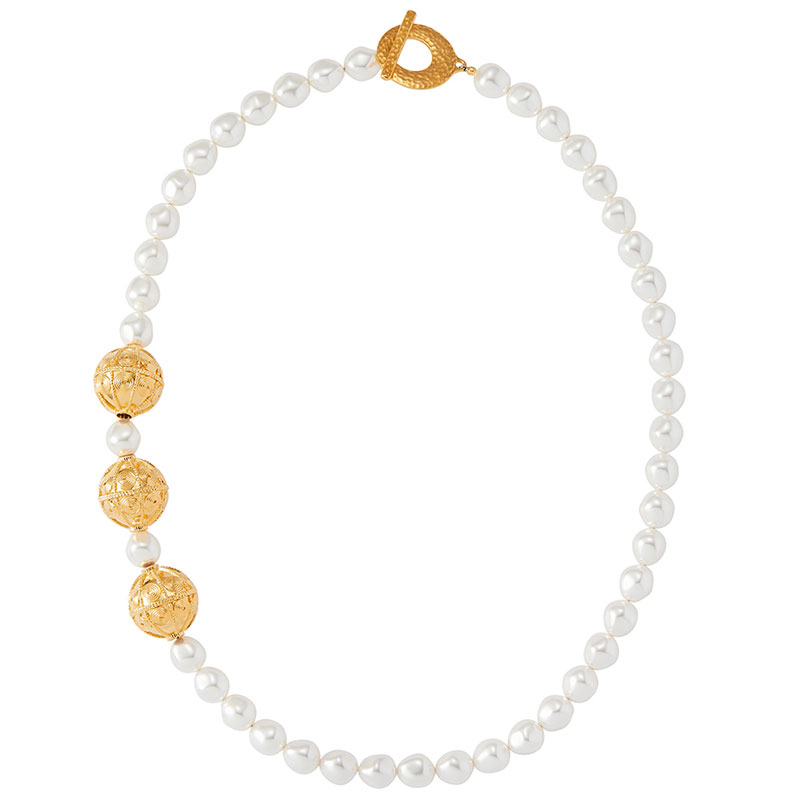
Baroque Beauty Pearl Necklace Tutorial
Modified from a design created by Swarovski's Create Your Style Design Team Designer TipsUsing beading wire, slip on one crimp bead and one end of the Maker's Toggle, and crimp to close. Add crimp cover. New to jewelry-making? See Jewelry Basics 101 (PDF).String beads in desired pattern. For a 16-18" necklace, string number of beads shown (44 pearls total). For a 24" necklace, string 40 pearls for the longer section, and 15 pearls for the shorter section. Exact quantity may
…
May 31st 2021
Ava's Ladies in Waiting Bridesmaid Necklaces Tutorial
Created by: Valorie Nygaard-Pouzar Designer TipsCarefully stamp the metal blank.Antique the charm so the impressions are more pronounced.Gently sand and polish.Attach to jump ring & chain.Make a pearl dangle, and slide onto the chain.Pendants for the bride and bridesmaids are elegant jewelry, as well as keepsakes that will last forever. For the bride's jewelry, see Ava's Big Day Bridal Set. Free Technique Sheets & How-TosJewelry Basics 101 (PDF)Metal Stamping 101 (PDF
…
Jan 1st 2021


