Rings & Things Jewelry Blog
Gemstone Index: Apatite
Apatite Gemstone Beads from Rings & Things: The name apatite is quite appropriate, considering this mineral makes up the teeth in all vertebrate animals (and teeth are used to satisfy one's appetite!). In fact, it comprises more than 60% of the bones and teeth in humans, fish, birds, cows, and even mammoths and dinosaurs. Apatite is a calcium phosphate that is typically green, but also can be blue, yellow, reddish-brown, violet, yellow-green ("asparagus stone"), colorless or multicolored.
…
Aug 15th 2022
Gemstone Index: Jade
For centuries, the word jade applied to green gemstones brought to Europe from China and Central America. It wasn't until 1863 that society realized the term "jade" was being applied to two different minerals. These two gemstones, nephrite and jadeite, are relatively hard to distinguish from each other, and both are still called jade. Varieties of serpentine have also been confused with jade throughout history, and some serpentine is still called jade. In fact, the Chinese word for jade is appli
…
Jul 1st 2022
I love My Dog Bracelet Tutorial
Created by: TierraCastDesigner TipsPre-stretch cord by pulling firmly from both ends a few times.Attach small binder clip or bead stopper 2-3" from one end of stretch cord.On other end of cord string bail, *one 4mm bead and one paw bead*. Repeat * through * three times.String 32 4mm gemstones or firepolish glass beads of your choice. (Tip: Three 4mm gemstones or Czech beads equals approx. 1/2". Instructions create a 7" bracelet. Adjust bead count accordingly for desired size.)Remove bead stopper
…
Jan 1st 2022
Emma Dog Tag Tutorial
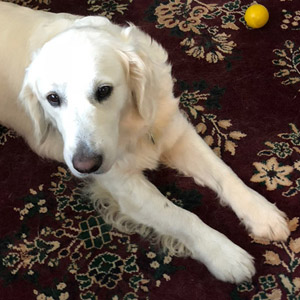
Emma is in our warehouse daily, and I wanted to honor her with some Jewelry.Created by: Rita HutchinsonDesigner TipsNew to stamping? See Metal Stamping 101.The 3mm Bridgette stamp set allowed a long phone number and a name to fit perfectly.Use Enamel Marker to make the stamped letters show up. Remove excess "enamel" with paper towel.When the piece is completely dry, highlight with the polishing pad. (Do not get pads wet, or they become ineffective).Suggested Supplies1 4-pack (use 1 set) #44-775-
…
Jan 1st 2022
Black Bandit Bracelet Tutorial
Created by: Cindy MorrisDesigner TipsUse your favorite 8mm beads and adjust the number of beads for a perfect fit. The finished length of this bracelet is 8.5".Crimp or knot the Beadalon ends (it doesn't matter what color crimps you use, because they are hidden inside the Bead Bandit). For step-by-step instructions, see how the bracelet is made on our blog post: The Bead Bandit: Make Masculine Beaded Men’s Jewelry!Free Technique Sheets & How-TosBasic Jewelry-Making Technique Sheet (PDF)Beadi
…
Jan 1st 2022
Hearts Across the States Keychain Tutorial
Created by: Janet BoyingtonDesigner TipsStamp hearts in desired locations on USA blank, and then use the "." (period) from the punctuation set to connect the hearts. (New to metal stamping? See Metal Stamping 101)If necessary, use nylon or rawhide hammer to re-flatten the blank.Punch hole (For proper technique, see Learn More tab of hole punch.)Patina with Novacan.If needed, sand blank to remove any large scratches.Polish to a mirror finish with Ultra polishing pad.Use split ring pliers to add s
…
Jan 1st 2022
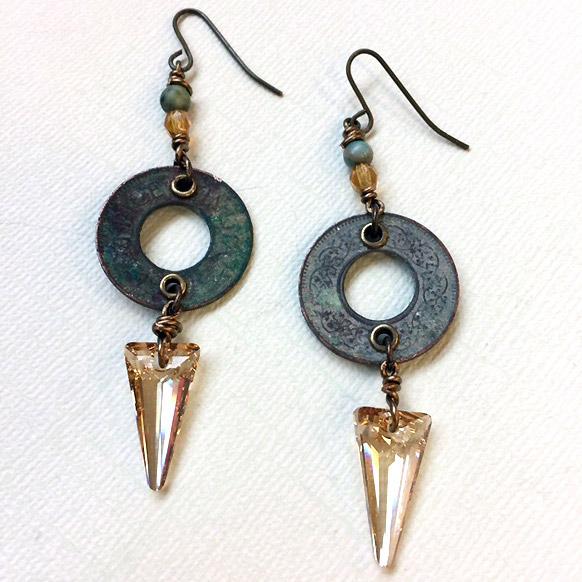
Passage To India - Coin Earrings Tutorial
These verdigris coin earrings are a beautiful combination of metal and gemstones, with a hint of sparkle. This beginner project requires only a few basic jewelry-making tools and can be completed quickly.Created by: Debbie NelsonDesigner TipsUsing the larger side of the hole punch, punch 2 holes in each coin. Add eyelet using the eyelet setter and anvil. Wire wrap the crystal spike and attach to coin using a jump ring. For step-by-step instructions on making wire wrapped loops, and best way to o
…
Jan 1st 2022
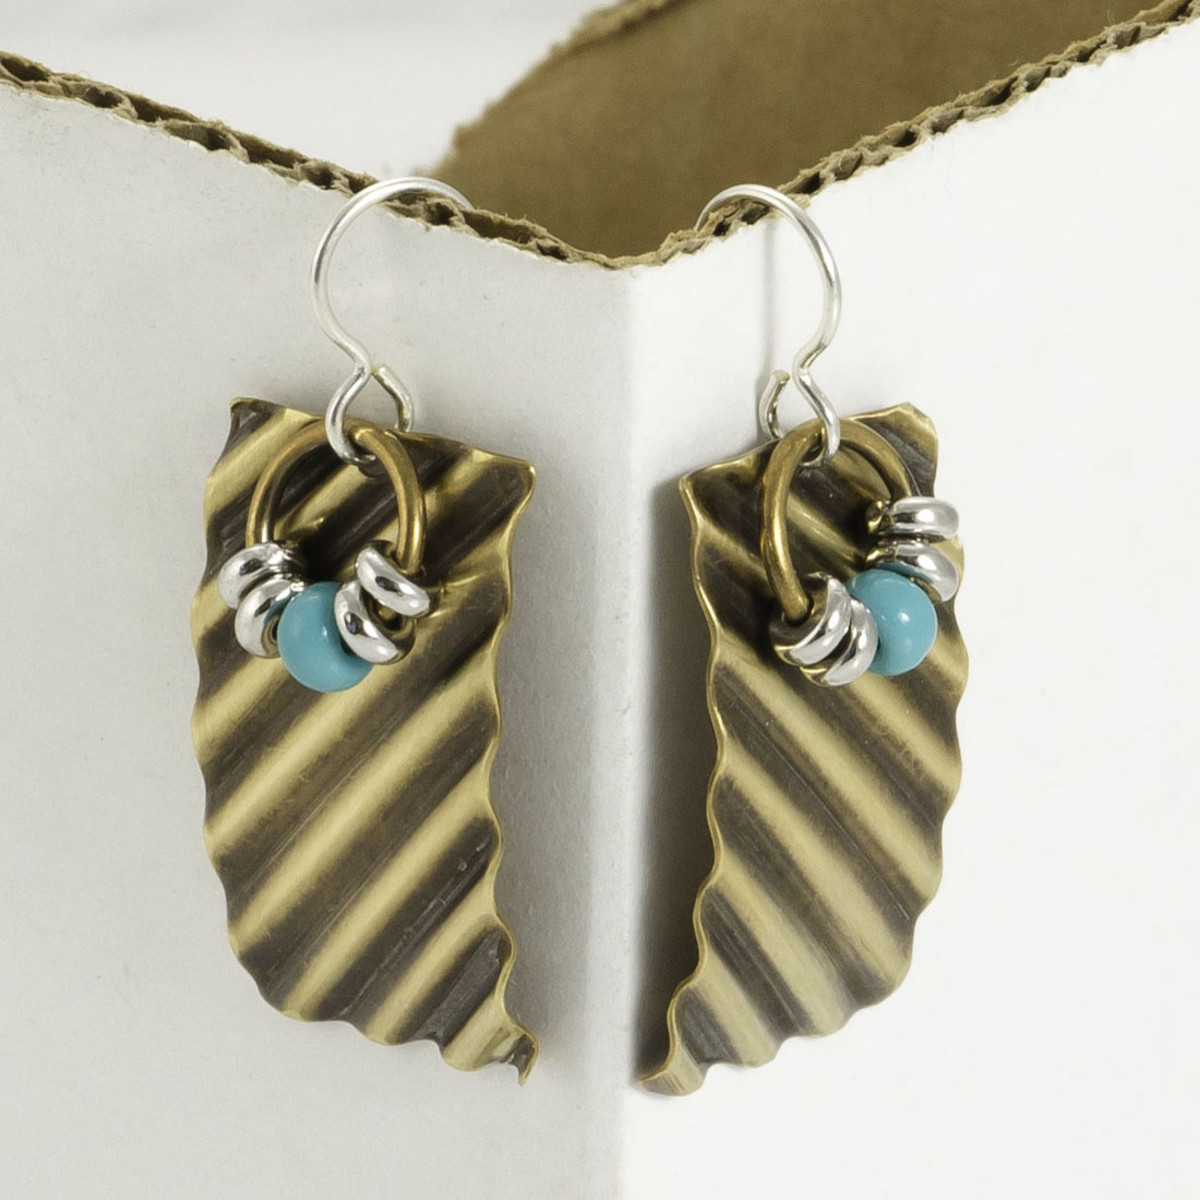
On the Bias Corrugated Metal Earring Tutorial
Created by: Mollie ValenteDesigner TipsCorrugate the metal blanks by feeding them through the Tube-Wringer® on the diagonal. Squeeze the hand grip to maintain even pressure while turning the turn key.TIP: Wear rubber-coated work gloves when using the Tube-Wringer. They cushion your hands and improve the grip!Use a 3M™ superfine sanding sponge (500-600 grit) and a Brilliant polishing cloth to polish the high points of corrugated blank.Gently curve the corrugated blank using the bracelet bending p
…
Jan 1st 2022
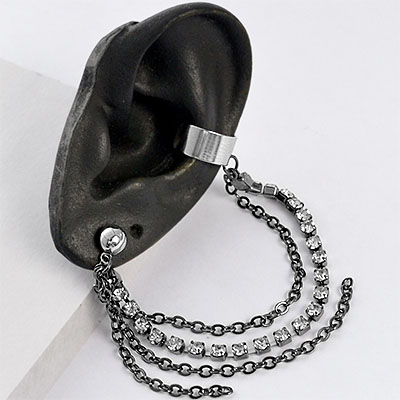
Ode to Bajor Ear Cuff Tutorial
Created by: Amy Mickelson Designer TipsCut chain pieces to desired length.Slip the chain ends under the last rhinestone links on each end of the rhinestone chain, and use chain-nose pliers to fold the prongs over the edges of the stones.Use oval jump rings to attach the chain to the ear cuff and loop on ball post.New to jewelry-making? For most secure way to open and close jump rings, see: Basic Jewelry-Making Technique Sheet (PDF) Suggested Supplies1 0.5 gross [use 1]
…
Jan 1st 2022
Happy Travelers Earrings Tutorial
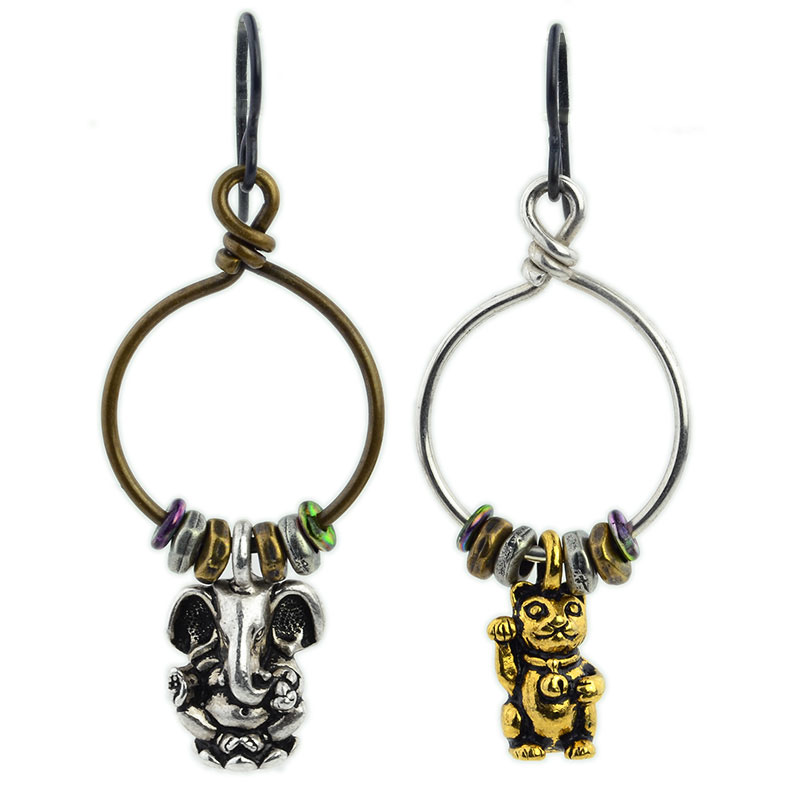
As the Remover of Obstacles, and Lord of Beginnings, Ganesh is a popular charm or talisman for travelers. Combine this auspicious symbol with Maneki Neko, the beckoning kitty who welcomes good fortune and friends, and you have a winning combination to wear while planning future travel, even if you can't travel anywhere exciting right now. Created by: Polly Nobbs-LaRue Designer TipsSqueeze the charm holder to unhook it.These Czech "O" beads usually fit over the hook of the wire hoop,
…
Jan 1st 2022


