Rings & Things Jewelry Blog
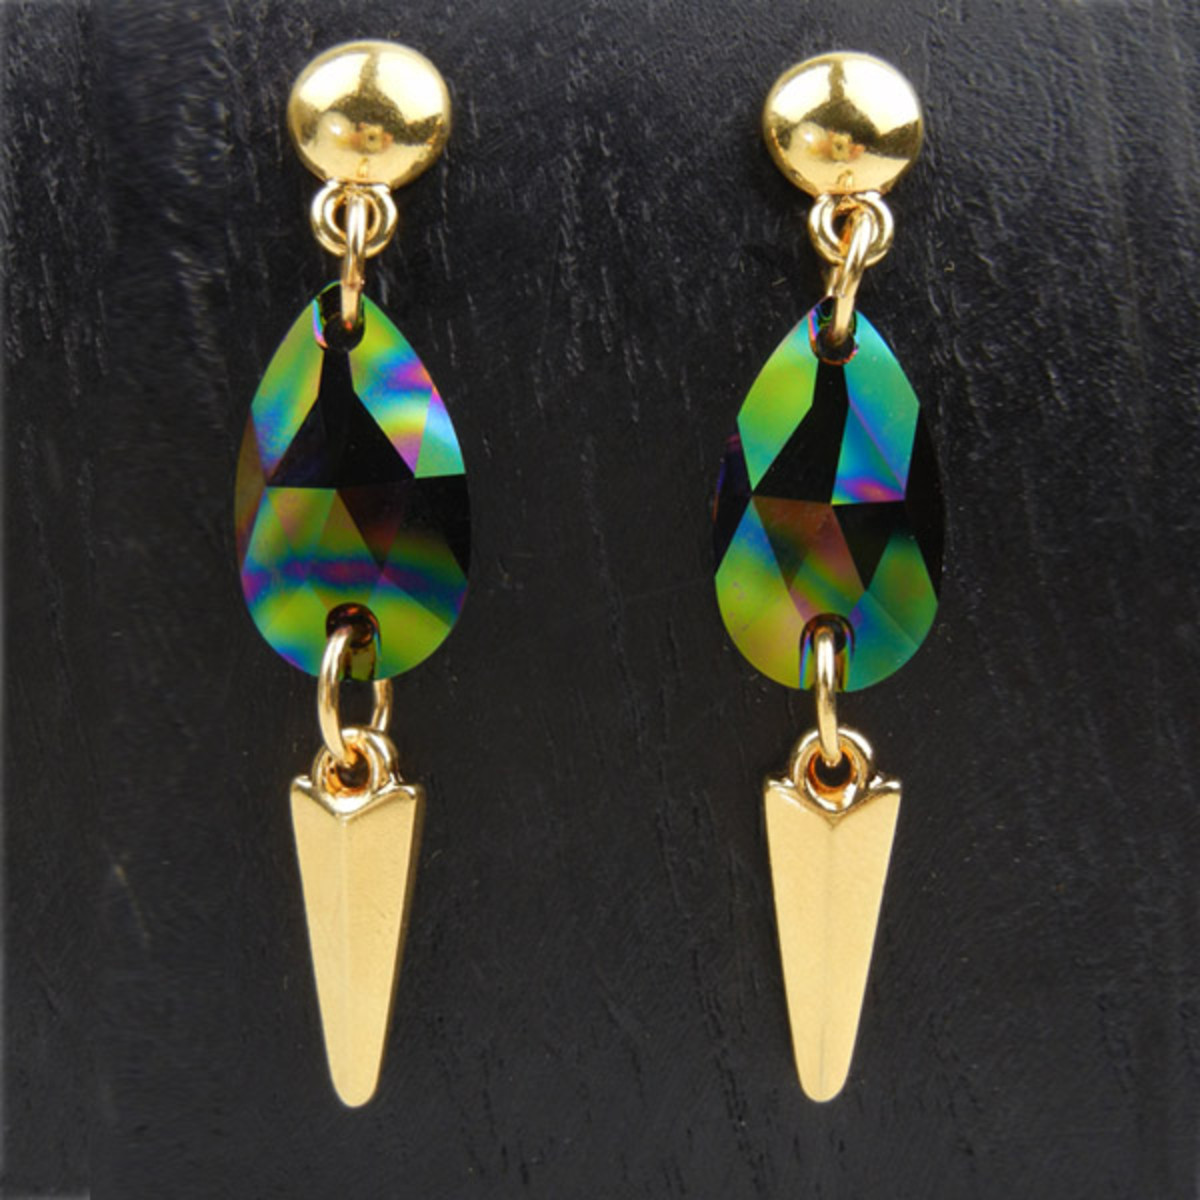
Geometric Rainbow Gold Earrings Tutorial
Quick tutorial on professional techniques for making a simple geometric pair of earrings with a half-ball drop-post, Swarovski crystal rainbow dark teardrop, and TierraCast gold plated dagger charm. Always FREE Jewelry Tutorials at rings-things.com. No blinkin ads. No login required.Created by: Polly Nobbs-LaRueDesigner TipsSelect 4 matching medium-large (6-7mm) jump rings from the bag of assorted jump rings. Use one jump ring to connect the charm to the teardrop, and another to connect the tear
…
Jan 1st 2021
Favorite Brew - Magnet Tutorial
Here's a great way to upcycle cool bottle caps from your favorite beverages! Collect them on vacation, and at family gatherings throughout the year, then turn them into vacation mementos, or birthday, Father's Day and Christmas gifts.Created by: Mollie ValenteDesigner TipsFor step-by-step illustrated instructions & tips, see our blog article:Upcycling Bottle Caps into Refrigerator Magnets.Suggested Supplies#30-580 18mm Round Magnets#60-230 Epoxy 330, or your favorite 2-Part EpoxyOther Supp
…
Jan 1st 2021
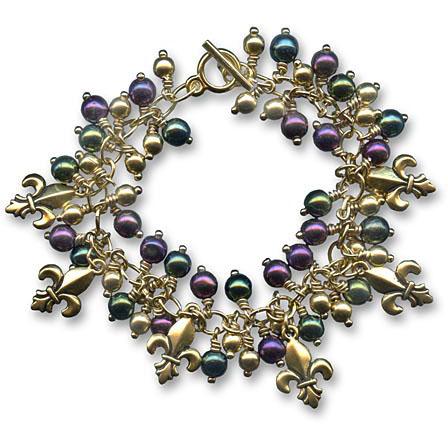
Fat Tuesday Bracelet Tutorial
Created by: Tiffany White Designer Tips Assemble all glass, brass and pearl beads on head pins. (Use round glass beads or Swarovski crystal beads, or both.) Secure with wrapped loops.Attach all charms to round brass jump rings.Attach charms and bead dangles to bracelet one at a time using oval jump rings:Place two brass dangles on an oval jump ring.On the next jump ring place one of each color glass dangles.On the next link, place one brass dangle and one fleur-de-lis charm.Repeat patt
…
Jan 1st 2021
Falling Snow Earrings Tutorial
Created by: Rita HutchinsonDesigner TipsBlue Shade crystal snowflakes are coated on one side. Check the pendants carefully to hang both crystals in the same direction.Due to the thickness of the crystal, a large jump ring made of thin wire is required. Optionally, use wire to create a wrapped connection or bail. We used sterling silver 8.5mm sparkle-wire jump rings.For best way to open and close loops, see Jump Ring Hint in Jewelry Basics 101 (PDF)Open the bottom loop of the ear wire (same way a
…
Jan 1st 2021
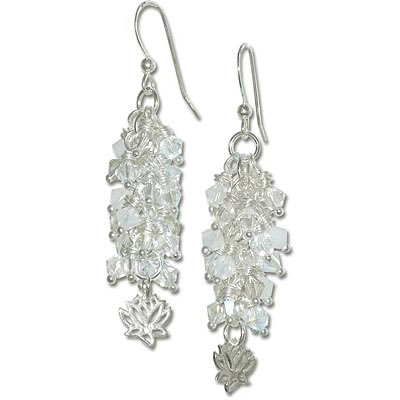
Enlightened Earring Tutorial
Created by: Rita HutchinsonDesigner TipsUsing a longer head pin allows for double "messy" wrapping at the top of each crystal.Attach 4 crystal dangles to each of 6 jump rings. 2 extra jump rings face the charm in the right direction, and allow it to show from under the crystals.For added interest, choose crystal bead colors for the dangles randomly.Free Technique Sheets & How-TosBasic Jewelry-Making Technique Sheet (PDF)Blog post: How to make "Cluster Earrings"Suggested Supplies1 doz [use 2]
…
Jan 1st 2021
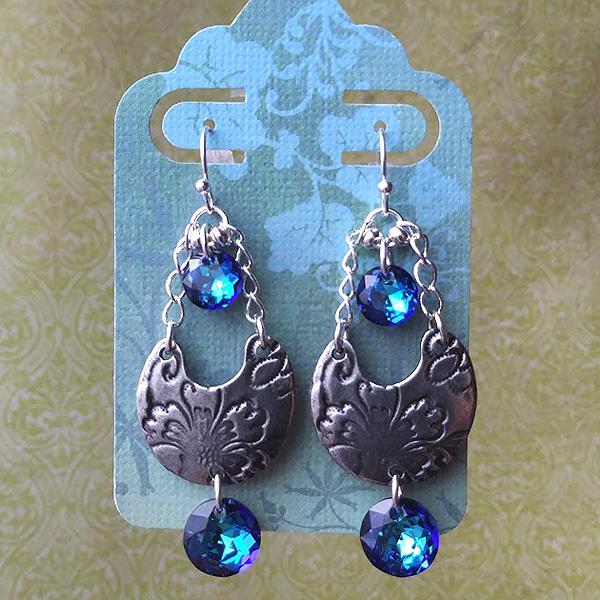
Bermuda Crescent Earrings Tutorial
Created by: Rita HutchinsonDesigner TipsCut 4 lengths of chain, each 4 links long.Use 4.5mm jump rings to attach chain to the top holes of the crescent link. For best way to open and close loops, see Jump Ring Hint in Jewelry Basics 101 (PDF)Add two rondelle beads to a 5mm jump ring and then link the top of the two chains together and attach to the earwire.Use a 5mm jump ring to suspend an 8mm crystal pendant between the two beads on the jump ring attached to the earwire.Use another jump ring to
…
Jan 1st 2021
Hot Pink Fat Bird Bracelet
We no longer stock the day-glo colors of rubber tubing, but this is still a fun bracelet when strung with basic black rubber tubing.Created by: Rita HutchinsonDesigner TipsStart by threading the rubber tubing onto the coil of memory wire. When you have covered the desired amount (1-1/2 coils in this case), cut the memory wire from the coil with the heavy-duty cutters.With scissors, trim the excess tubing from the other end of the memory wire. This will allow you to use the exact amount of tubing
…
Jan 1st 2021
Holiday Lights Necklace Tutorial
This sparkling "Christmas light" project is a fun, festive winter design to create with Swarovski crystal teardrop beads in colors of your choice.Created by: Rings & Things Staff Designer TipsAdd a crystal teardrop bead to a head pin (narrow tip towards the head of the pin), add a rhinestone wheel bead, then a round crystal bead. Make a simple loop. Repeat for other colors of teardrop beads, until you have approximately 14 sparkling holiday lights.Cut chain to desired length, and use a 5mm j
…
Jan 1st 2021
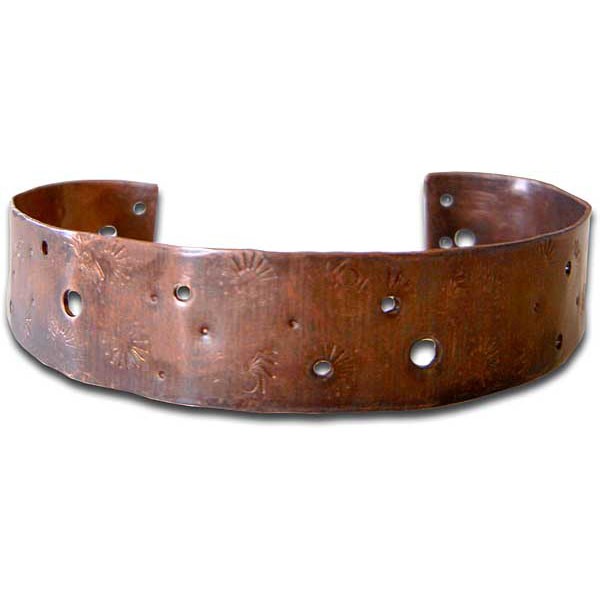
Hidden Ecosystem Cuff Bracelet Tutorial
Created by: Cindy Morris Designer Tips Stamp, hammer and punch holes in the copper until you are satisfied.File any sharp edges.Wrap the strip around a small bottle (aspirin size works well).Bend the ends in about ½ turn with the Wrap n Tap pliers (or use a pipe or mandrel).To patina: Put enough hot water in a bowl to fully submerge the bracelet. Add a tiny spoonful of LOS gel and stir. Put your bracelet in, pull it out after it oxidizes.Buff the bracelet with the polishing cloth.Optio
…
Jan 1st 2021
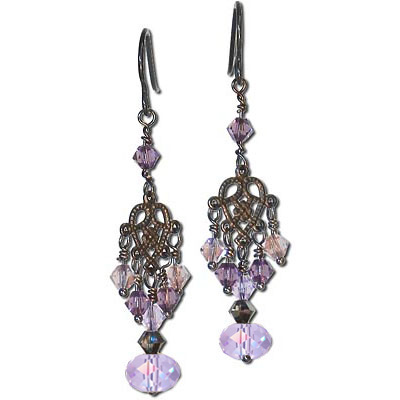
Hearts and Rain Earrings Tutorial
Created by: Polly Nobbs-LaRueDesigner TipsAdd bicone crystals to the head pins, and make wrapped loops directly onto the loops of the filigree.For the top beaded pin, cut the ball off a ball-end head and make wrapped loops at each end.Make your top loop perpendicular (90 degrees) to the bottom loop, so the earring hangs straight. If necessary, use 2 pairs of flat-nose pliers to adjust the angle after finishing the loops.Free Technique Sheets & How-TosBasic Jewelry-Making Technique Sheet (PDF
…
Jan 1st 2021

