Rings & Things Jewelry Blog
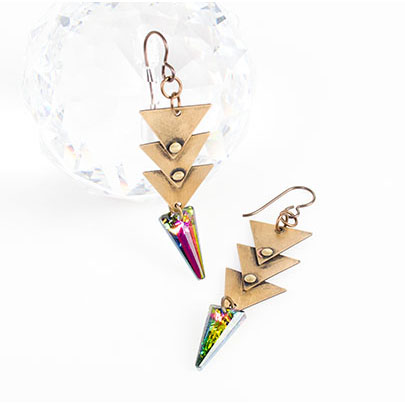
Aztec Princess Earring Tutorial
This project uses Swarovski crystals. Created by: Tiffany WhiteDesigner TipsMark all six of your triangle blanks with a permanent marker dot in one of the points and straight down on the opposite side.Use the hole-punching side of the riveting tool to make a hole in the triangle blanks where you placed your dots.Use the riveting tool to rivet the triangles together with the brass rivets.Antique the brass pieces with Novacan black.Using the sanding sponge remove some of the patina from the brass
…
Jan 1st 2021
Wonder Woman Riveted Cuff Bracelet Tutorial
Created by: Polly Nobbs-LaRueDesigner TipsThis bracelet is super fast and fun to make, once you have the necessary tools.The Domed Piercing Base allows you to pierce the domed bracelet without leaving a dent or divot.The Reverse Riveting accessory is the answer to a problem: It allows you to rivet curved items, keeping the nice rivet head on the top side (outside) of the bracelet or ring.Put a few strips of double-stick (2-sided) tape on the top of the bracelet and lay out the design.Gently shap
…
Jan 1st 2021
Spiral Lagoon Bracelet Tutorial
Created by: Polly Nobbs-LaRueDesigner TipsPlace the TierraCast® link on the bracelet in desired location, and use a fine-point Sharpie® (or other extra black permanent marker) to mark where to punch the holes.Turn the rotary leather hole punch to 2.5mm, and punch holes in marked spots.Place the rivet post through the bottom of the bracelet, and set it on the steel block. Place the cap through the link, and push this onto the post. Place the rivet setter over the cap, and tap firmly with brass ha
…
Jan 1st 2021
Samba Scarlet Smile Bracelet Tutorial
Created by: Polly Nobbs-LaRue Designer TipsLinks Updated!Use a nylon hammer to gently flatten the rock & roll oval link before stamping the plain side.Stamp a practice pattern on paper to make sure your letter placement will fit on the link, and then repeat on the plain side of the link. See Metal Stamping 101:Techniques for Creating a Stamped Metal Charm (PDF).Wrap bracelet three times around a wrist (or oval bracelet mandrel) to determine best placement of components. Use a permanent
…
Jan 1st 2021
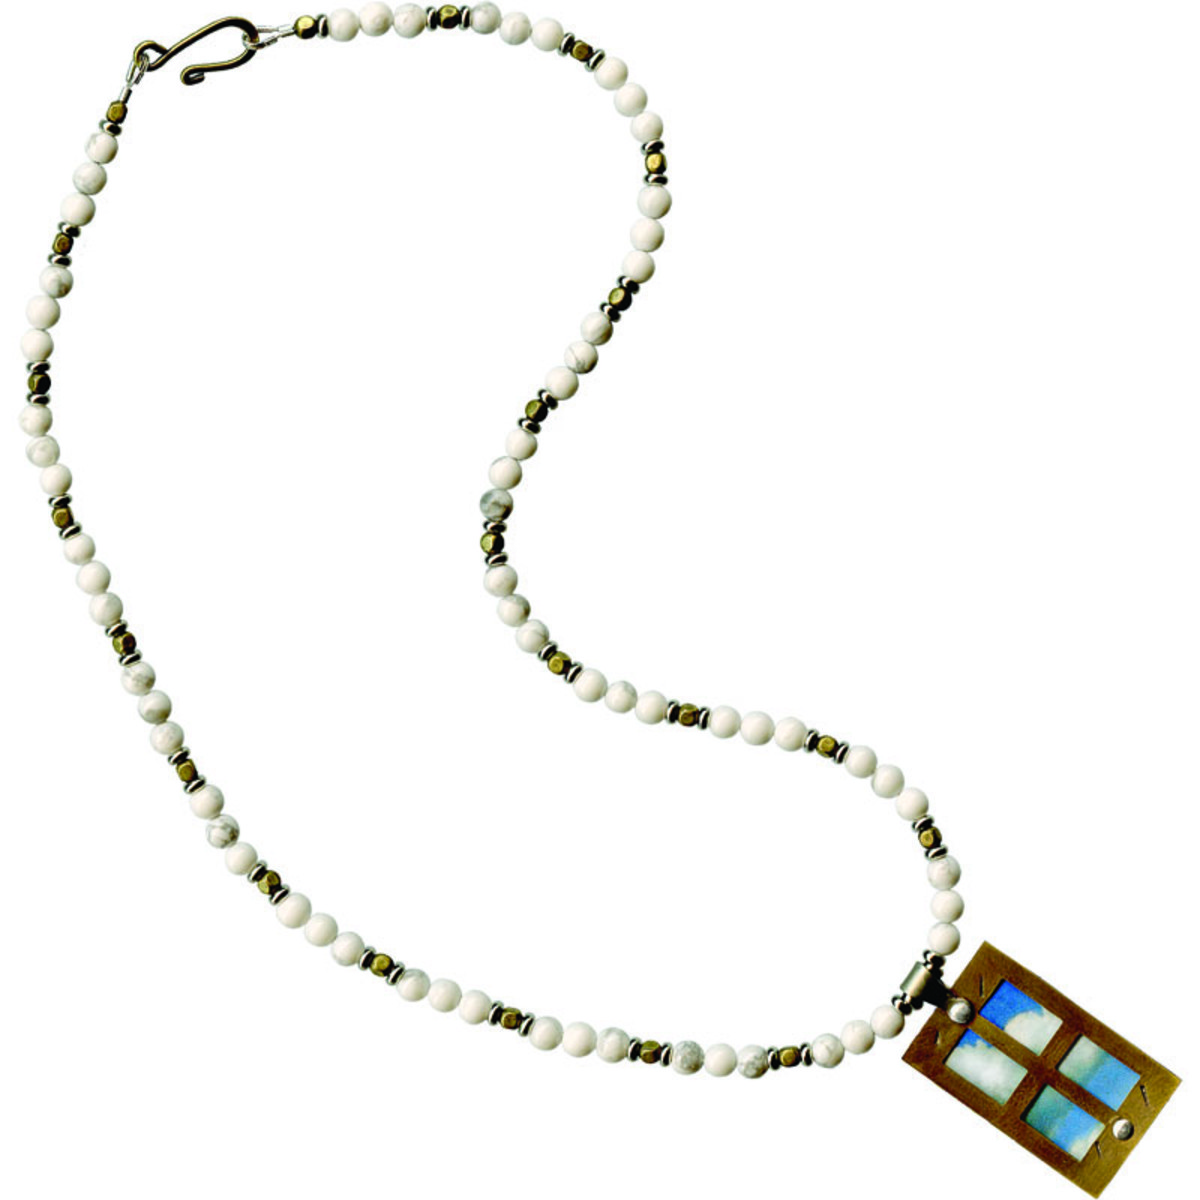
The View Necklace Tutorial
Created by: Cindy MorrisDesigner TipsStamp front piece first (I used the "l" to make diagonal lines on the window frame). Flatten. Patina with Win-Ox™ and clean with steel wool.Clean back piece with rubbing alcohol. Decoupage or seal an image onto the back piece – allow to dry.Punch holes in the top piece only with the hole punch side of the rivet tool.Place over the back piece and mark hole location at top only. Attach a rivet bail with a 5/32" long (1/16" diameter) rivet.Then punch a second ho
…
Jan 1st 2021
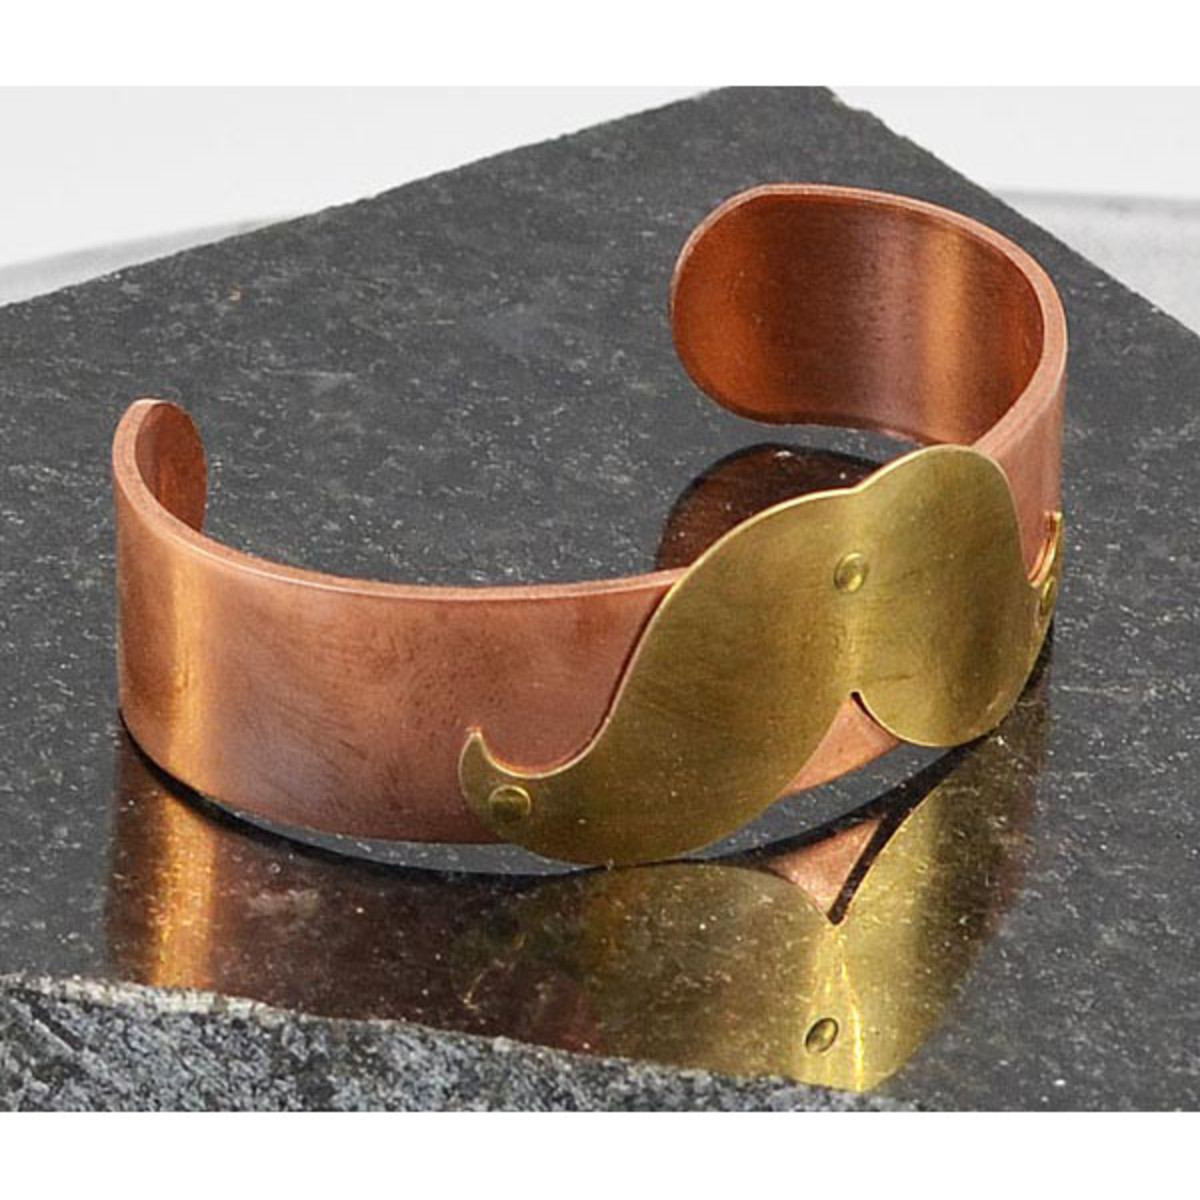
A Mustache For Your Wrist Cuff Bracelet Tutorial
Created by: Polly Nobbs-LaRueDesigner TipsAdjust bracelet to target wrist size/shape, because once the 2nd layer is riveted on, you will have limited adjustability.Texture or stamp the bracelet and/or mustache blank if desired. I simply scrubbed both with steel wool to eliminate minor scratches, and give a nice sheen.Use bracelet bending pliers and/or your fingers to bend mustache to match the curve of the bracelet. To prevent snagging when worn, fit it as close as you can, especially the tips.I
…
Jan 1st 2021
Good Thoughts Barrette Tutorial
Created by: Polly Nobbs-LaRue Designer TipsThe original alligator clip used for this barrette is no longer available, but our new French-style barrette backs are more secure (hold better in hair) and now have a good hole for riveting.A fine-point Sharpie is about the perfect minimum width for etched designs with ferric chloride.With the fine-point Sharpie, draw a line about 90mm from the end of the copper strip. (About 5mm or 1/4" longer than the barrette back). Sketch your rough design, keeping
…
Jan 1st 2021
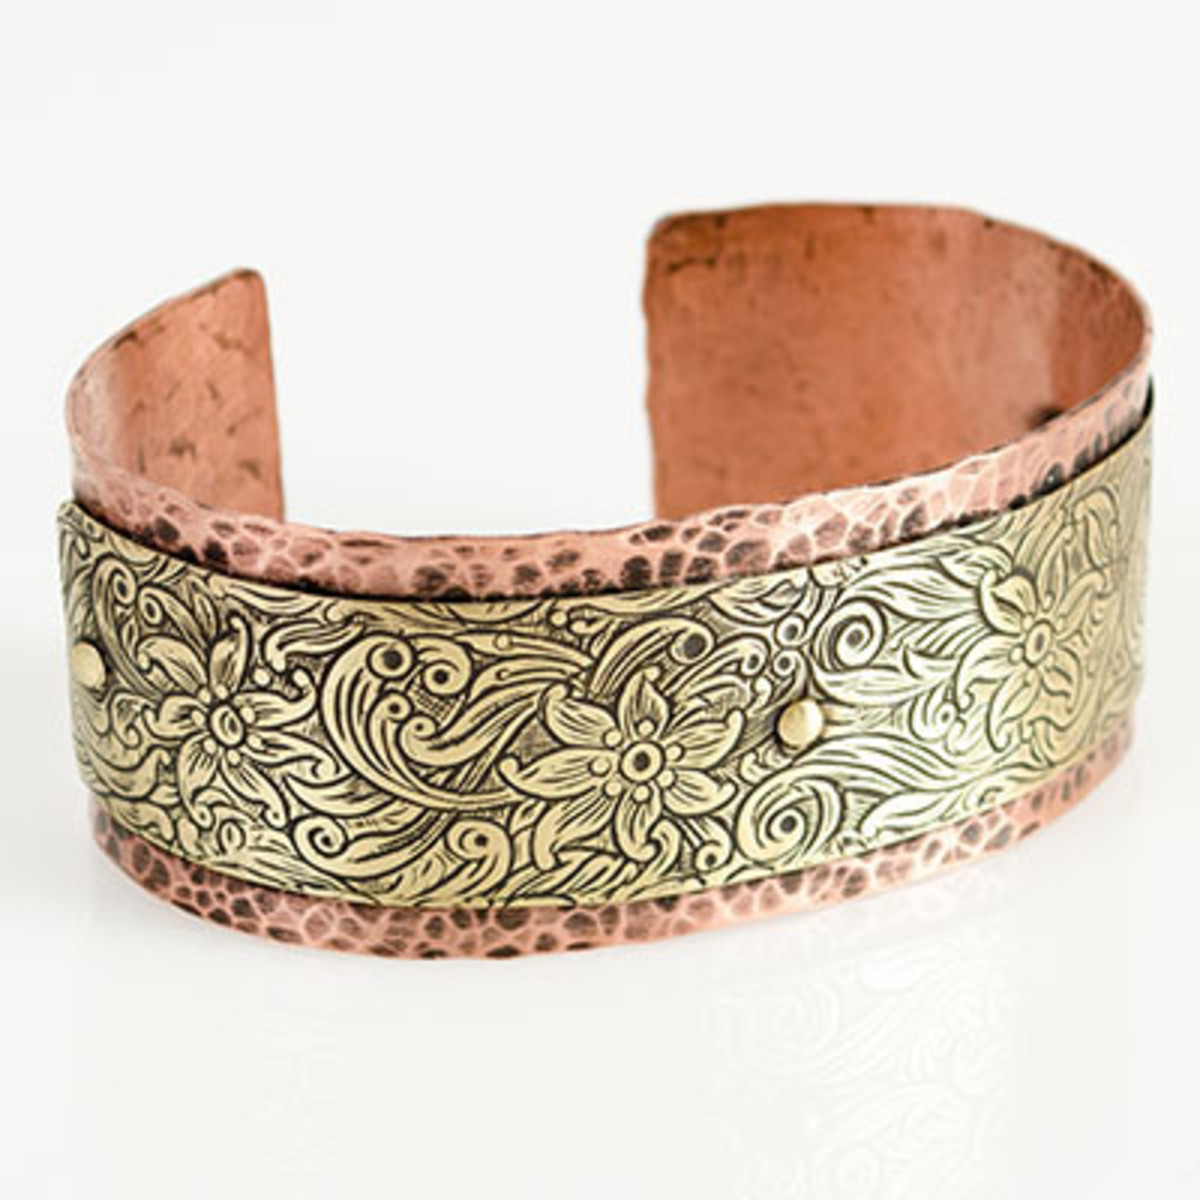
Cowgirl Cuff Bracelet Tutorial
Created by: Tiffany WhiteDesigner TipsUse the pein side (rounded) of your hammer to texturize the surface of the copper metal strip on the steel block.Using your metal shears, cut a 3/4 inch by 4 inch piece of patterned brass sheet metal.File the corners on both pieces of metal so they have a smooth round edge.Layer the brass piece on top of the copper piece and center it. Tape it together with transparent tape, but not in the center or on the edges.Mark 3 spots on the metal with a permanent mar
…
Jan 1st 2021
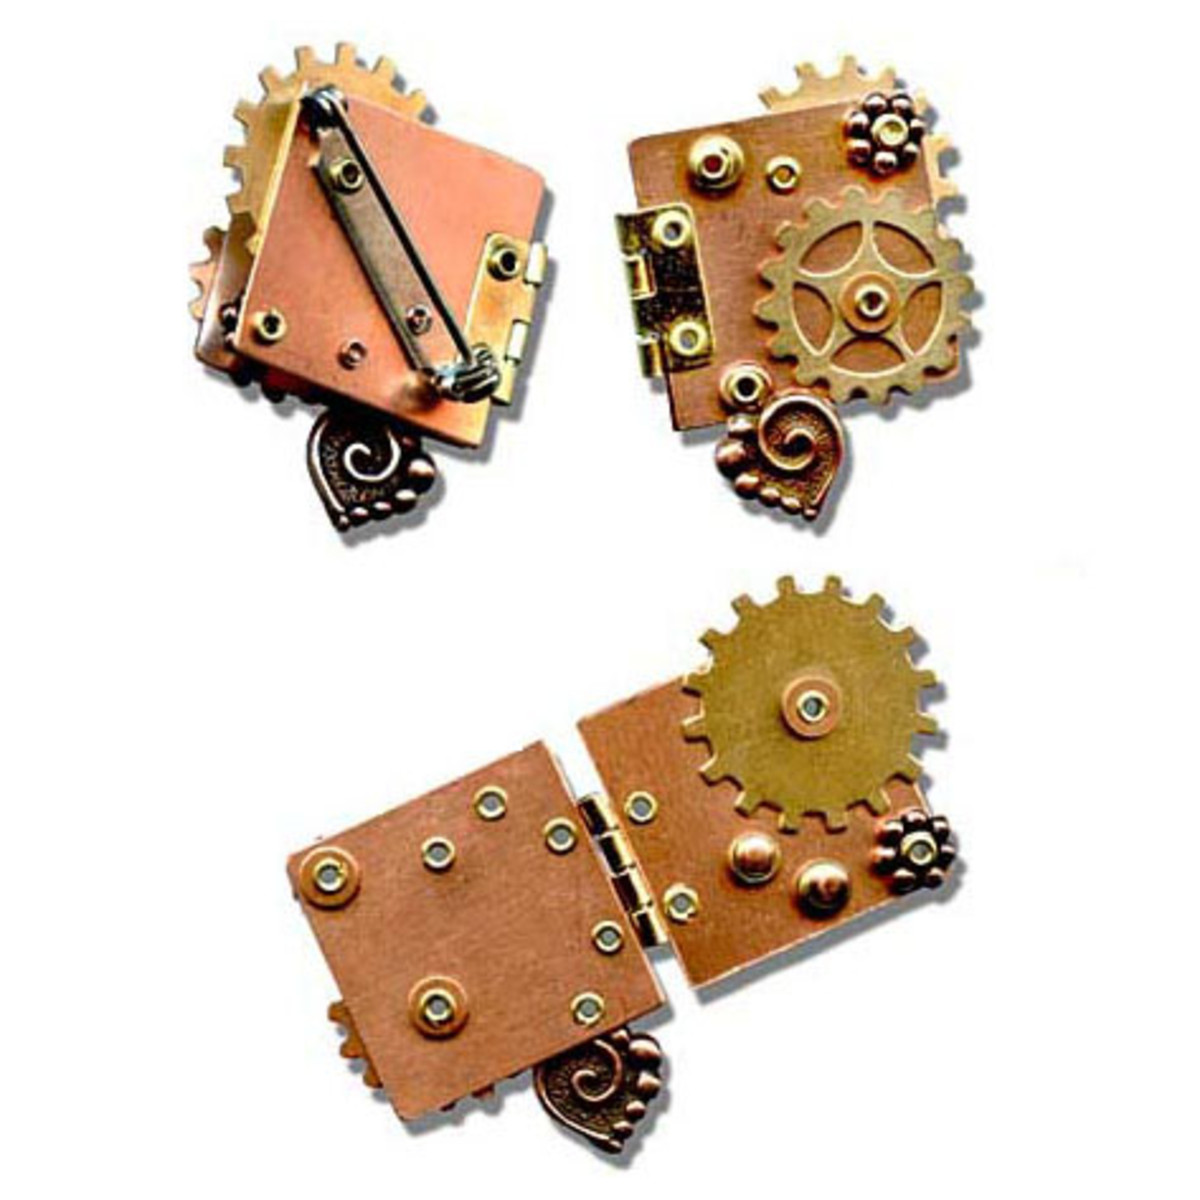
Fidget - Hinged Book Pin Tutorial
Created by: Polly Nobbs-LaRueDesigner TipsRead the instructions included with the rivet piercing/setting tool (#69-900>69-900). Also check out the instructional video for more information on using this riveting system.With an extra-fine-point Sharpie marker, carefully marks spots to punch for hinge. Punch 1 hole, and verify the fit. Select and insert an eyelet that is 1mm longer than the stacked sheets. Flare eyelet following instructions included with the tool. Mark and punch the second hole
…
Jan 1st 2021
Riveting 101
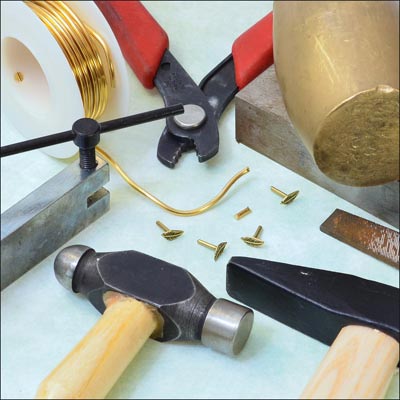
Learn the basics of riveting, including how to distinguish various types of rivets and how to set different rivets. Riveting is a classic, durable and popular way to create cold connections in jewelry designs (a "cold connection" is the joining together of metal components without using solder). Each type of rivet used to make jewelry requires different tools and techniques. Discover these methods below. Once you're ready to create your own custom riveted jewelry, check out our full line of rive
…
Jan 1st 2015

