Rings & Things Jewelry Blog
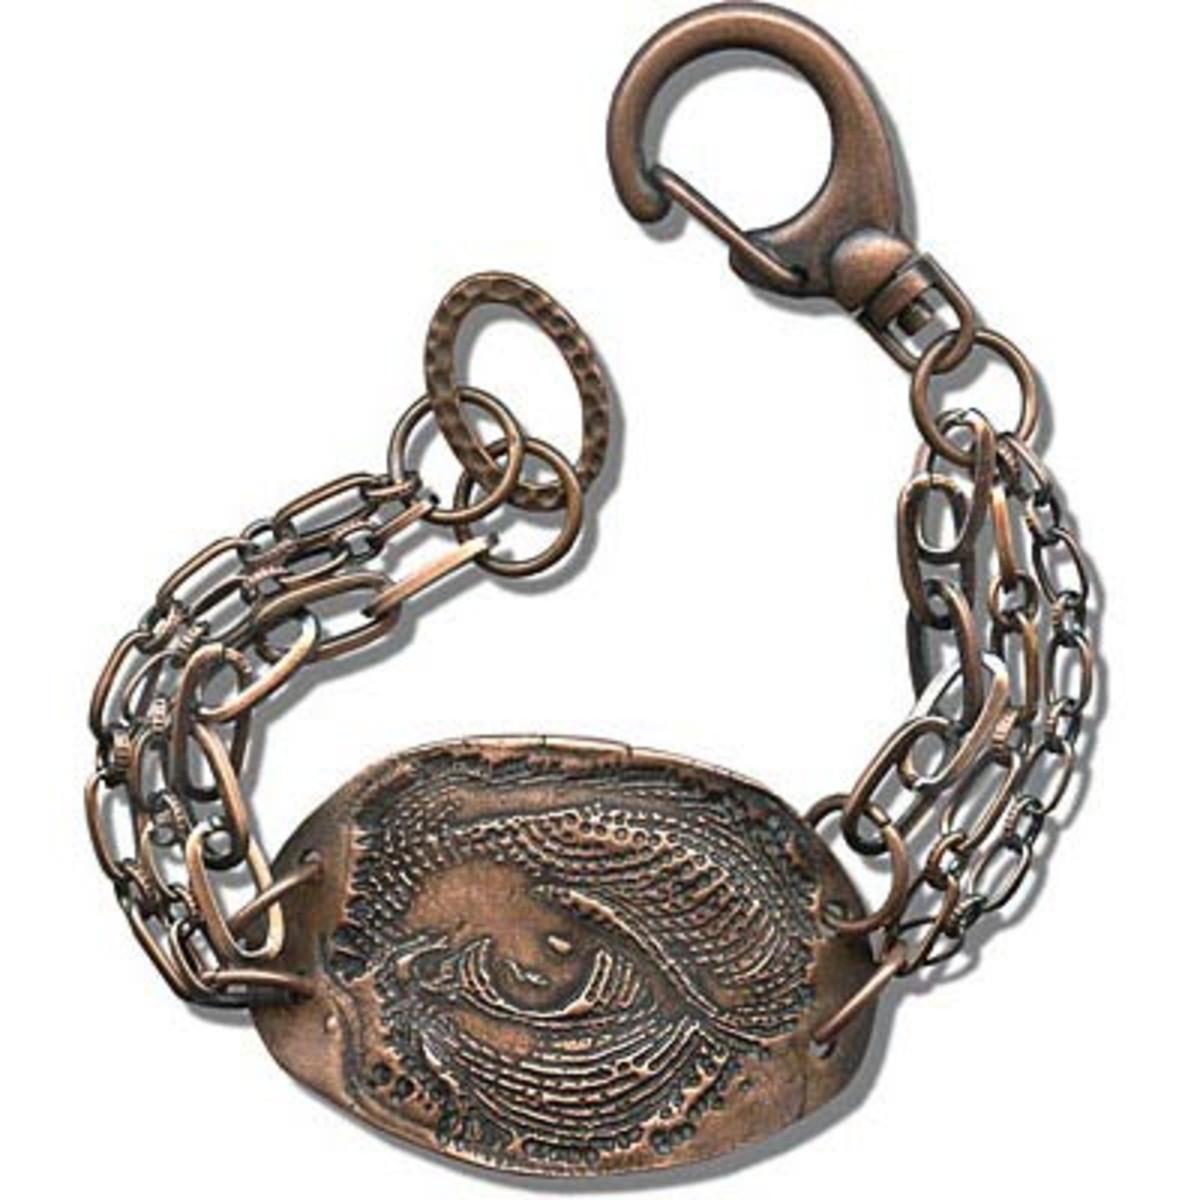
All Seeing COPPRclay® Bracelet Tutorial
Created by: Joe HentgesDesigner TipsCreate the COPPRclay centerpiece according to the manufacturer's instructions. Like most other metal clays, COPPRclay must be fired in a kiln. COPPRclay shrinks approximately 20% from package to finished product.To create the curve, let the COPPRclay piece dry over a round object before firing.Clean COPPRClay with water then 0000 steel wool.UseWin-Ox™ (#86-343>86-343) to patina and then polish with Wetordry Polishing paper 1200 grit (#69-257-1200>69-257-
…
Jan 1st 2021
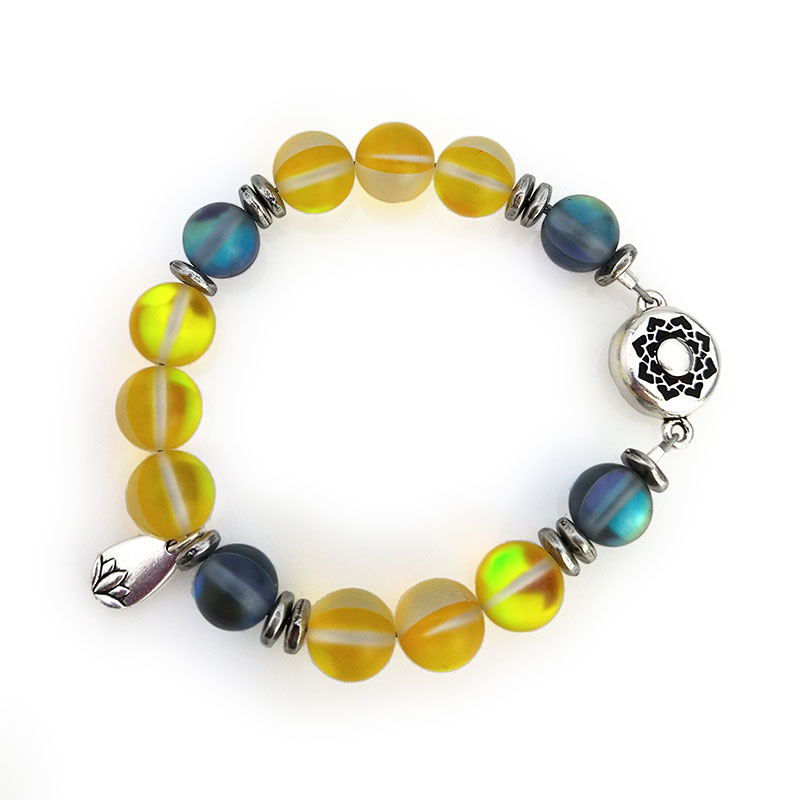
After Glow Bracelet Tutorial
These colors are inspired by Pantone's colors of the year for 2021, and pair nicely with the Optimistic Hope bracelet and After Glow earrings.Created by: Janet BoyingtonDesigner TipsLay out beads on a stringing board to check your length and pattern.Cut 8-9 of stringing cable (2-3" more than the finished length of the bead section).Add a crimp tube, add clasp, and go back through crimp tube, making a small loop. Crimp securely, leaving a short tail. For more crimping instructions, see crimp plie
…
Jan 1st 2021
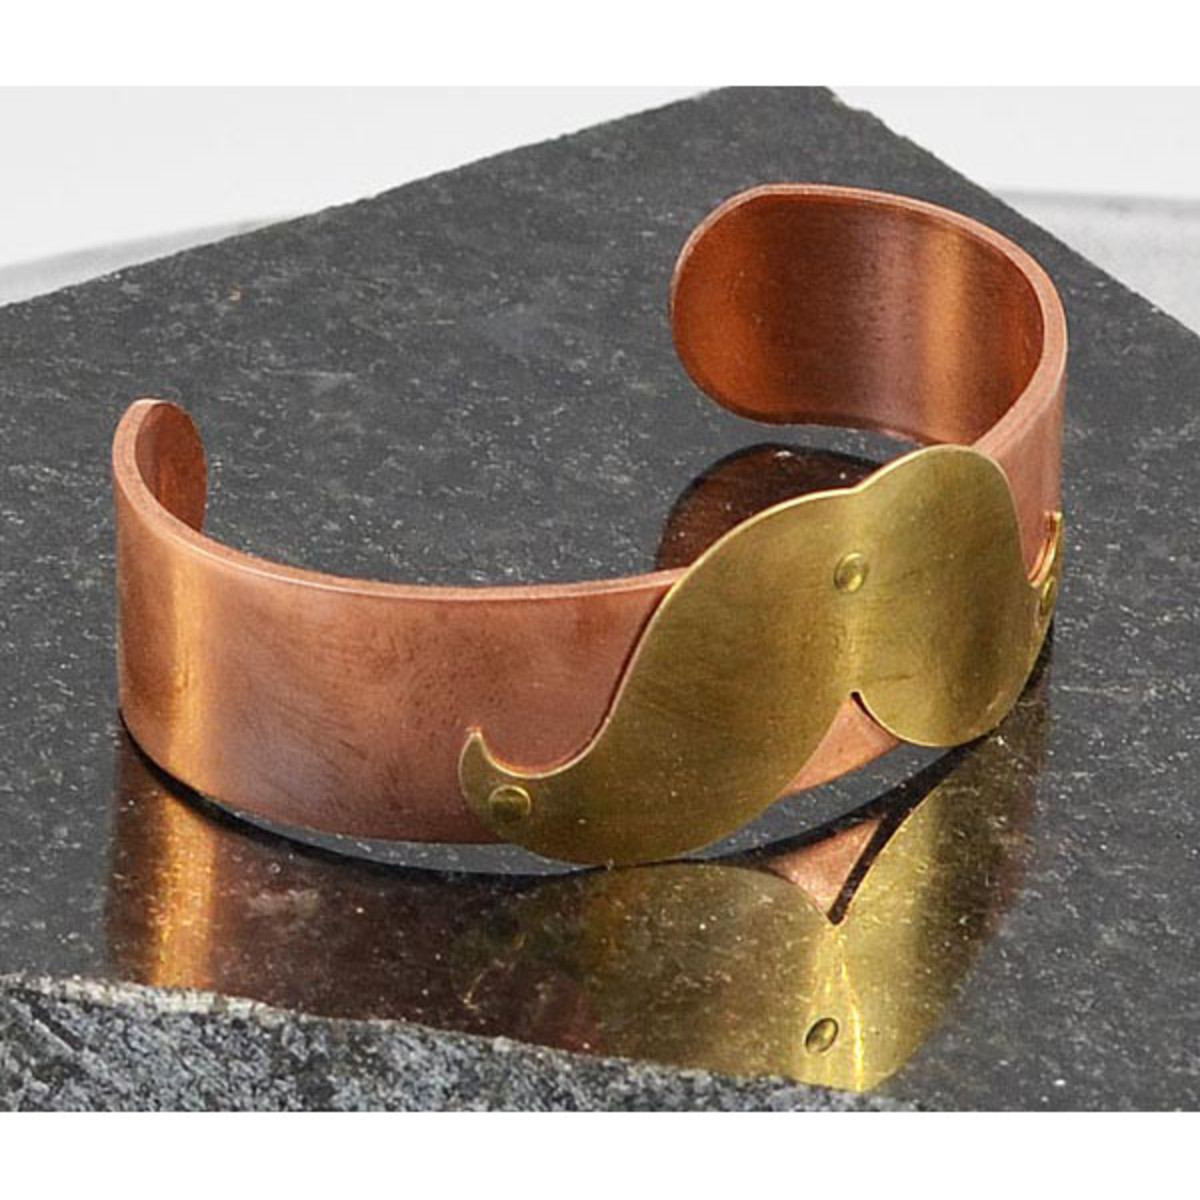
A Mustache For Your Wrist Cuff Bracelet Tutorial
Created by: Polly Nobbs-LaRueDesigner TipsAdjust bracelet to target wrist size/shape, because once the 2nd layer is riveted on, you will have limited adjustability.Texture or stamp the bracelet and/or mustache blank if desired. I simply scrubbed both with steel wool to eliminate minor scratches, and give a nice sheen.Use bracelet bending pliers and/or your fingers to bend mustache to match the curve of the bracelet. To prevent snagging when worn, fit it as close as you can, especially the tips.I
…
Jan 1st 2021
BeDazzled Slinky Bracelet Tutorial
Created by: Sondra BarringtonDesigner TipsUse 7 coils of anklet size to make this bracelet bangle. You can adjust the size of wire and numbers of coils any way you wish.Do not use your favorite jewelry cutter on memory wire. (Use a heavy duty cutter rated for steel wire.)This free-form design features the beads listed, in a randomly appealing manner. Add as many or as few beads as you would like to create your own custom bangle.A loop at each end keeps the beads on the wire and provides a nice w
…
Jan 1st 2021
2 Easy Celtic Knot Bracelets Tutorial
These bracelets are almost too easy! Created by: Polly Nobbs-LaRueDesigner TipsSet the TierraCast Rivetable or Link in the center of the leather bracelet and use a fine-point permanent marker to mark exactly where you want to punch the hole(s).Punch hole(s) using the smallest setting (2mm) on the rotating leather hole punch. A hole up to 3/32" (2.4mm) is ok.Click into the product details of the rivet below, for a picture of the order to stack parts for riveting.Make sure the rounded r
…
Jan 1st 2021


