Rings & Things Jewelry Blog
Black Bandit Bracelet Tutorial
Created by: Cindy MorrisDesigner TipsUse your favorite 8mm beads and adjust the number of beads for a perfect fit. The finished length of this bracelet is 8.5".Crimp or knot the Beadalon ends (it doesn't matter what color crimps you use, because they are hidden inside the Bead Bandit). For step-by-step instructions, see how the bracelet is made on our blog post: The Bead Bandit: Make Masculine Beaded Men’s Jewelry!Free Technique Sheets & How-TosBasic Jewelry-Making Technique Sheet (PDF)Beadi
…
Jan 1st 2022
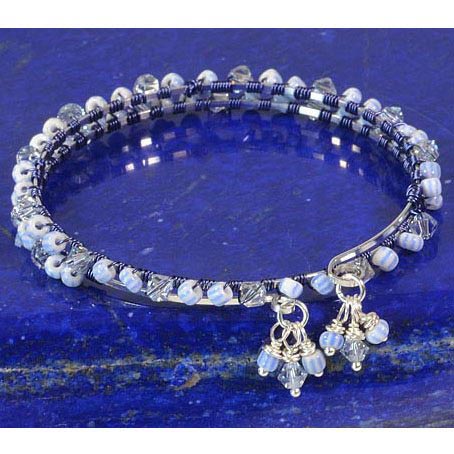
Blue Pin Stripe Lashed Memory Wire Bracelet Tutorial
This project uses durable, springy memory wire as the base, and 26-gauge dark blue Artistic Wire as an accent. Created by: Amy MickelsonDesigner TipsUse heavy-duty cutters to cut memory wire.Lashing the beads onto the memory from the center outward allows you to keep half of the wire needed on the spool, making the wire wrapping easier to manage.You will need a total of 72-84" to wrap the beads onto the wire.Unroll approximately 36-42" wire from spool but do not cut it. Put the cover back on spo
…
Dec 1st 2021
Adjustable Anchor Bracelet Tutorial
Created by: Veronica GreenwoodDesigner TipsCut two 18" pieces of leather.Fold one strand in half. Make a larks-head knot by feeding both ends through the loop on the anchor charm, then back through the leather loop formed on the other end of the cord. Pull tight.Fold the other strand in half over the other end of your anchor and feed both ends through the loop formed. Pull tight.At one side of the bracelet, add a porcelain bead, a small barrel bead, and another porcelain bead to both strands of
…
Sep 30th 2021
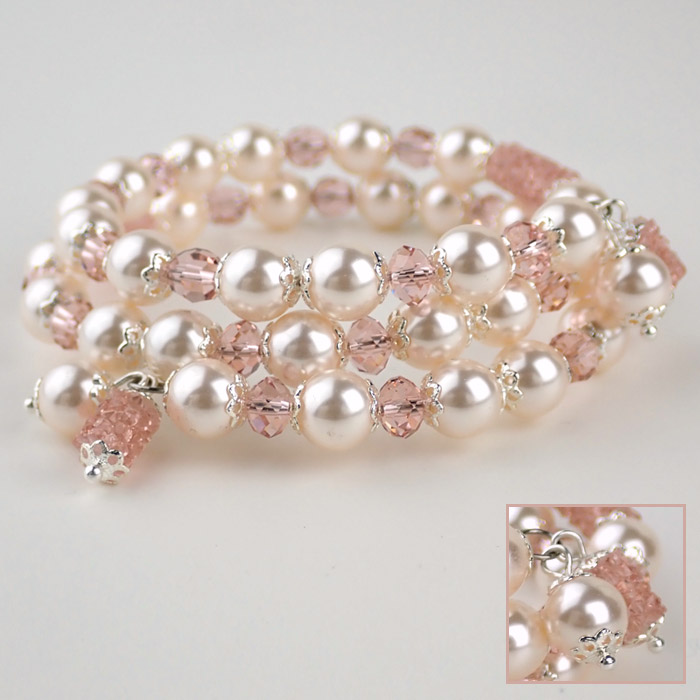
Blushing Bride Bracelet Tutorial
Delicate-looking filigree bead caps give this memory-wire bracelet the crowning touch. Created by: Rita Hutchinson Designer TipsAdd bead caps to each end of (2) 8mm fine rocks tubes and string each on a headpin; trim and loop. For step-by-step looping instructions, see Jewelry Basics 101 (PDF).Add bead caps to each side of (2) crystal pearls and string each on a headpin; trim and loop.Lay out desired pattern on bead mat. The pattern here adds bead caps to each crystal pearl and to the
…
Aug 31st 2021
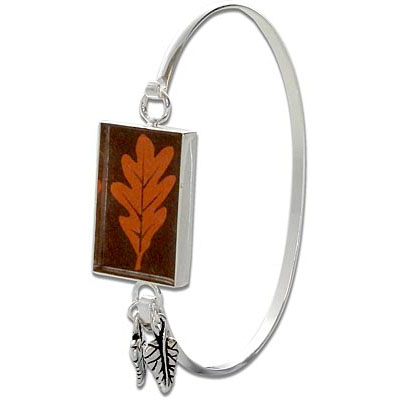
All Fall Resin Bracelet Tutorial
Created by: Rita Hutchinson Designer TipsGently reshape longer loop of the cuff bracelet with round nose pliers to prevent bezel piece from inadvertently detaching.This combination of large bezel and large cuff makes an extra-large bracelet. Use smaller bezel and/or smaller cuff as needed.Use instructions in Epoxy Resin Tip Sheet (PDF) to set and seal a favorite image in the bezel.Use jump rings to attach charms to one loop of the bezel (the loop that you're attaching to the lon
…
Aug 31st 2021
Bee Moody Bracelet Tutorial
The moody bee and sensitive side beads on this adjustable Shamballa-style macramé bracelet change color with slight temperature changes, like mood rings from the 70's!by: Michelle Horning Designer TipsFor step-by-step knotting instructions, see our DIY Shamballa-Style Macrame Bracelet Tutorial.All beads can be strung onto the bottom of the anchor cords before anchoring to the board, and slid into place as you knot. All 4 cords can fit through the bee bead, so I put the small beads on, wor
…
Jun 30th 2021
Bloodstone Adjustable Macrame Bracelet Tutorial
Created by: Michelle Horning Designer TipsFor step by step macramé knotting instructions, see our blog article: DIY Shamballa-Style Macrame Bracelet Tutorial.Beads can be strung onto the bottom of the anchor cords before anchoring to the board, and slid into place as you workTight knots make it difficult to sew the tails back into them, and you can break your needle. You will most likely need to use pliers to get the needle through. Make sure to sew the tail back through the enti
…
Mar 31st 2021
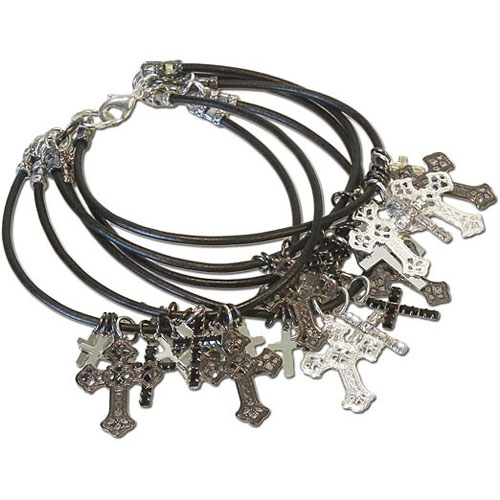
Baptized by Fire Bracelet Tutorial
Created by: Lindsey GreenDesigner TipsMix and match the crosses in any way you would like! No pattern is required.Adjust the length of the leather pieces and number of jump rings to change the size of the bracelet.Free Technique Sheets & How-TosBasic Jewelry-Making Technique Sheet (PDF)Suggested Supplies8 each #41-151-99-25-3 Center-Crimp Tube with Loop, 2.2mm I.D.4 each #41-151-99-25-9 Center-Crimp Tube with Loop, 2.2mm I.D.5 each #46-329-9-24 Crystal, Charm, Cross, 16mm1 dozen [use 3] #44-
…
Feb 5th 2021
Breathe - Riveted Leather Bracelet Tutorial
Created by: Polly Nobbs-LaRueDesigner TipsSet link on leather bracelet, and use a sharp pencil, or fine-point non-smudging marker, to make a dot at each spot to punch.Rotate leather hole punch to smallest setting, and carefully punch holes.Click into the rivet's details below, and follow the steps for setting the rivets.Optional: Use bracelet-bending pliers to shape the link into a smooth wrist-shaped arc.For more information about riveting, download and print the free technique sheets below.Sug
…
Jan 1st 2021
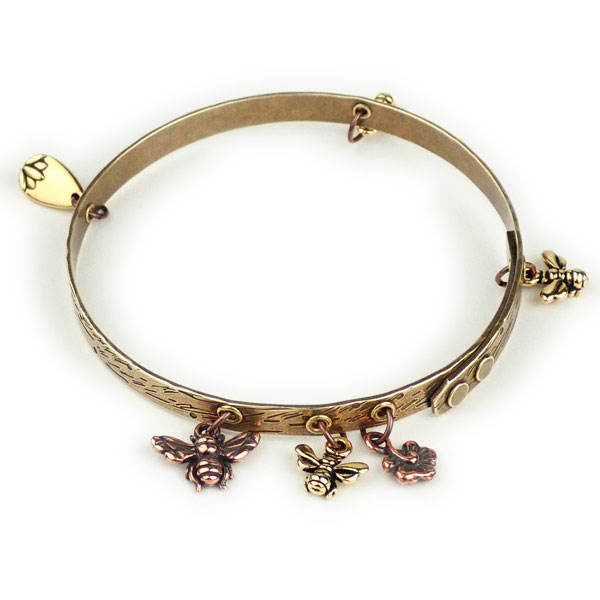
Bees and Blossoms Bangle Bracelet Tutorial
Created by: Polly Nobbs-LaRue Designer TipsOne of the things I love about this bangle bracelet, is that it's extra small, so fits me perfectly. However, that means it doesn't fit many other adults... So keep that in mind when ordering this bracelet: It's best for petite people. We also have larger plain brass bangles you can texture, punch and add eyelets to.This design uses 1 copper honeybee charm, 1 copper "small blossom" charm, 1 lotus petal charm, and 3 small small gold honeybee charm
…
Jan 1st 2021


