Rings & Things Jewelry Blog
Promise Pin Tutorial
Created by: Mollie Valente Designer TipsUse 26-gauge wire to lash the beads to the pin back.Cut the chain into two pieces: 5-1/2" and 6-1/2" in length.Use 6mm jump rings to attach the chain to the pin, staggering the swag of the chain.Use 4.5mm jump rings to attach charms of your choice to the chain ends.Free Technique Sheets & How-TosBasic Jewelry-Making Technique Sheet (PDF)Blog post: "Wire lashing: an easy way to cover your jewelry with beads or bling!".Suggested Supplies1 dozen [use 3 be
…
Feb 22nd 2023
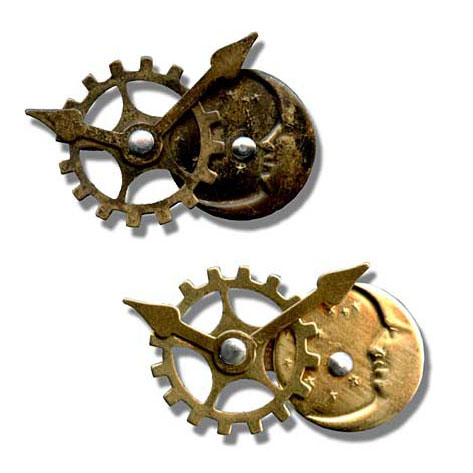
Goodnight Moon Pins Tutorial
Created by: Polly Nobbs-LaRue Designer TipsCut loops off the moon charms and file smooth.For one pin, antique the brass components and bar pin with Win-Ox™ before assembling. Allow the parts to dry. Polish with a soft cloth if desired.NOTE: It is not safe to use Win-Ox on aluminum, so this design must be antiqued before assembly, or not at all.Mark, punch and rivet the moon charm to the bar pin, following directions included with tool. Rivet the moon so it covers the bar pin's catch.We carr
…
Feb 22nd 2023
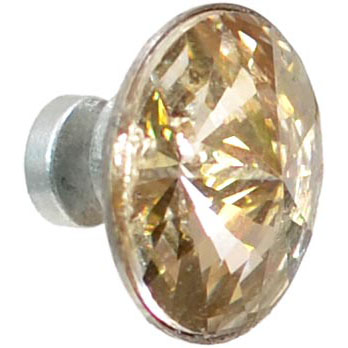
Simple Silk Swag Men's Magnetic Earrings Tutorial
Created by: Laurae SatherDesigner TipsCut the post portion off the rivoli earring finding.File the back until you have an approximately 4-5mm flat spot (about the same diamter as the earring magnet).Mix two-part epoxy according to manufacturer's directions.Apply epoxy to the flat portion of the rivoli setting, and place 1 part of the magnet set on the glued area.Once thoroughly cured, mix more epoxy and glue the rivoli into a rivoli setting. Set aside to cure.To wear, place the other part of the
…
Jan 1st 2022
Puppy Love Pin Tutorial
Created by: Mollie ValenteDesigner TipsThe Complete Metalsmith (#62-011) provides a useful chart for selecting saw blades. Or scroll down to the comments section of our "Tips for Sawing Sheet Metal with a Jewelers Saw" blog article.Use rubber cement to adhere a paper Scottie dog pattern to the brass. Saw the design out. File the metal to shape.Repeat process with patterned brass heart.Use a soldering iron to add soft solder to the backside of the rhinestone chain and heart. Turn over, and place
…
Dec 3rd 2021
Graveyard Sweater Guard Tutorial
Created by: Liz Graf Designer TipsMeasure the 3.9mm chain, and cut one 4" piece, and one 5" piece.Measure the 4.5mm chain, and cut a 6" piece.Attach the chains to the sweater guards with large jump rings from the jump ring size assortment. For most secure way to open and close loops, see Jump Ring Hint in Jewelry Basics 101 (PDF).Attach the charms to the chain with jump rings.Suggested Supplies1 dozen (use 2 pieces) #30-302-1 White Plated Sweater Guard Clips1 package (use 3
…
Oct 30th 2021
Transylvanian Visitor Pin Tutorial
Created by: Rita HutchinsonDesigner TipsLaminate or seal the image with Crafter's Pick™ The Ultimate adhesive.Glue the image onto the blank "back" with the Crafter's Pick.Use side cutters to remove part of the "x" from the door blank. File until smooth, and then hammer for texture. Darken metal with Win-Ox™.Punch through both parts of door blank from the back to prevent deforming of metal when removing from tool.Attach the bar pin with E-6000.Free Technique Sheets & How-TosBasic Jewelry-Maki
…
Oct 30th 2021
Favorite Brew - Magnet Tutorial
Here's a great way to upcycle cool bottle caps from your favorite beverages! Collect them on vacation, and at family gatherings throughout the year, then turn them into vacation mementos, or birthday, Father's Day and Christmas gifts.Created by: Mollie ValenteDesigner TipsFor step-by-step illustrated instructions & tips, see our blog article:Upcycling Bottle Caps into Refrigerator Magnets.Suggested Supplies#30-580 18mm Round Magnets#60-230 Epoxy 330, or your favorite 2-Part EpoxyOther Supp
…
Jan 1st 2021
Paisley Palette Pin Tutorial
Created by: Polly Nobbs-LaRue Designer TipsFor best placement of the holes, make a template: Trace the outline of the paisley on a piece of paper (a Post-it® works great!), then use a pencil to sketch a line 1/16" (2-3mm) in from the edge. Put a dot on this line at the point of the paisley, then use a ruler and put a thin pencil line every 5mm all the way along this line. When you're happy with the spacing on the template, cut the piece of paper to fit, and stick it to the top of the brass paisl
…
Jan 1st 2021
Cool Your Jets Magnetic Men's Earring Tutorial
Created by: Laurae SatherDesigner TipsCut the post portion off the rivoli earring finding.File the back until you have an approximately 4-5mm flat spot (about the same diameter as the earring magnet).Mix two-part epoxy according to manufacturer's directions.Apply epoxy to the flat portion of the rivoli setting, and place 1 part of the magnet set on the glued area.Once thoroughly cured, mix more epoxy and glue the rivoli into a rivoli setting. Set aside to cure.To wear, place the other part of th
…
Jan 1st 2021
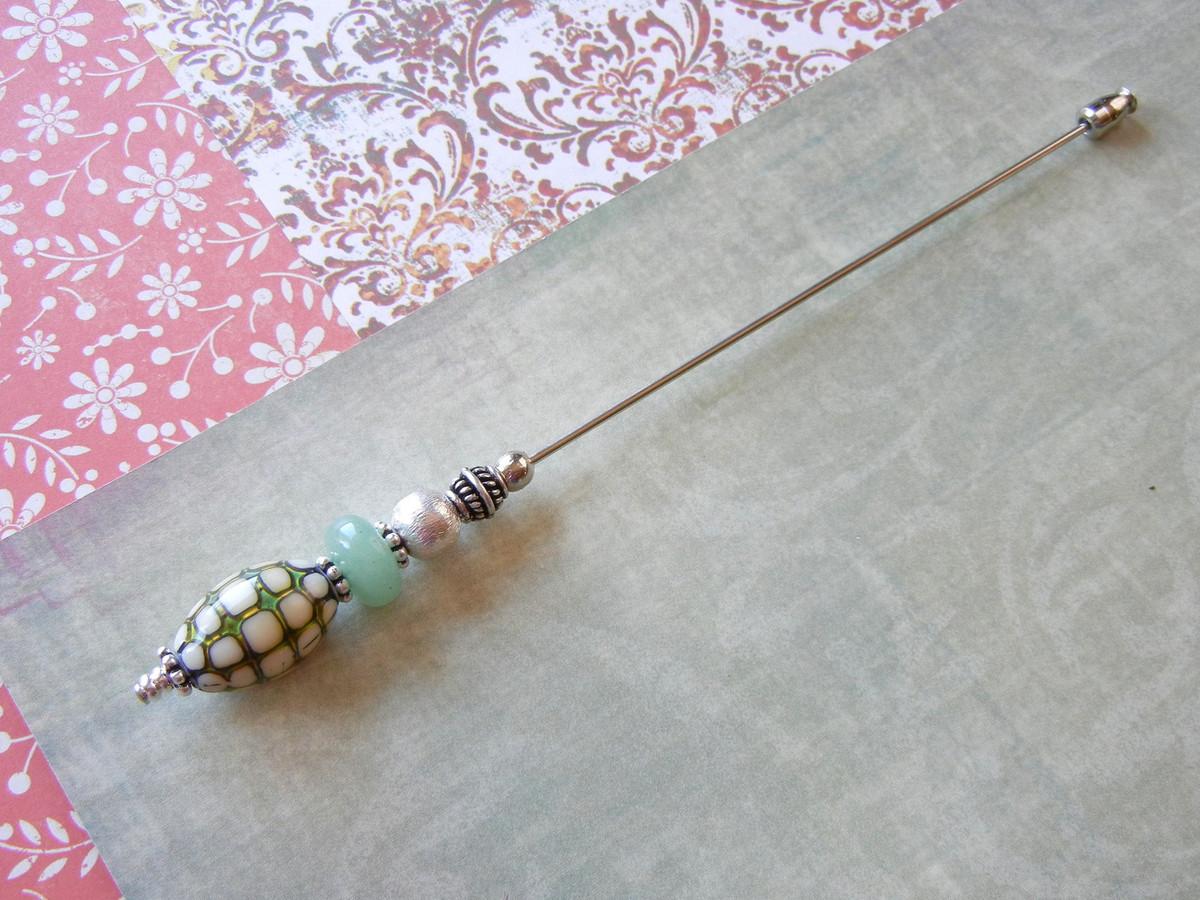
Ocean Pearl Hat Pin Tutorial
Learn an inexpensive hack for avoiding the wobblies with large-hole beads.Created by: Mollie ValenteDesigner TipsString the first three beads onto the hat pin finding: 3.4mm heishi-style metal bead, 3.4mm heishi-style metal bead, and 6mm beaded spacer bead.String on 2 wire keepers and space them to match the length of the Mirage bead. These will serve as bead adjusters and keep the Mirage bead from being wobbly. String the Mirage bead on so it covers both wire keepers. String on the remaining be
…
Jan 1st 2021


