Rings & Things Jewelry Blog
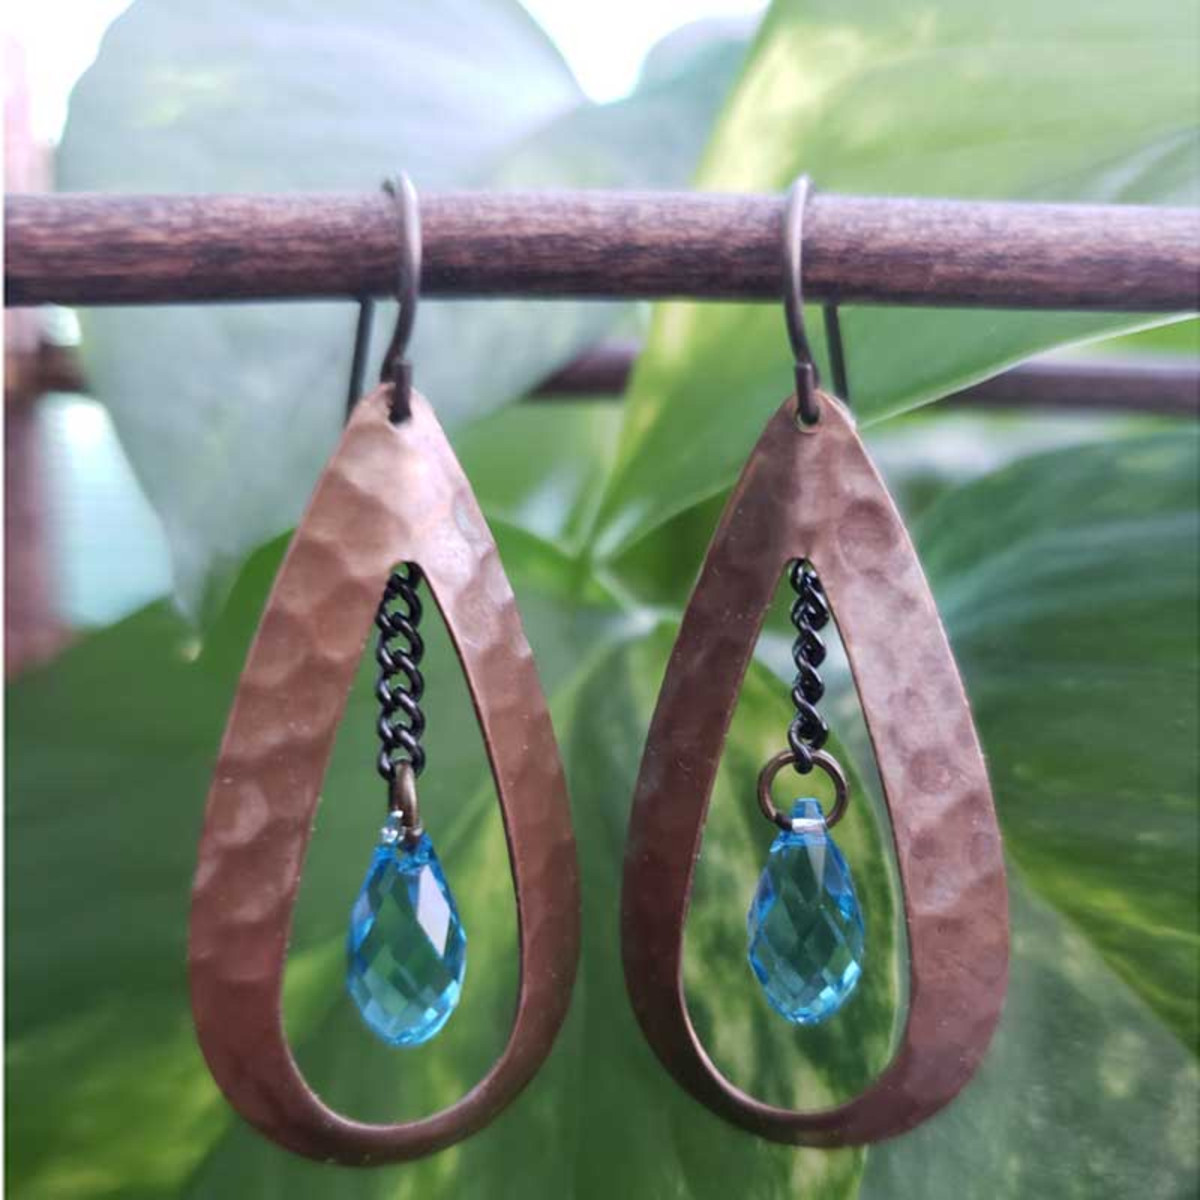
Water Droplet Earrings Tutorial
Created by: Liz GrafDesigner TipsCut 8 links of your selected chain.I deconstructed and used part of a gunmetal chain tassel, or you can use 8 links from some scrap antiqued brass cable chain.Hook Briolette to one jump ring, attach to one end of the chain, and close securely. For best way to open and close loops, see Jump Ring Hint in Jewelry Basics 101 (PDF).Open the loop of an ear wire.Attach a jump ring to the other end of the chain, close jump ring securely, and add to the open loop on the e
…
Jan 1st 2021
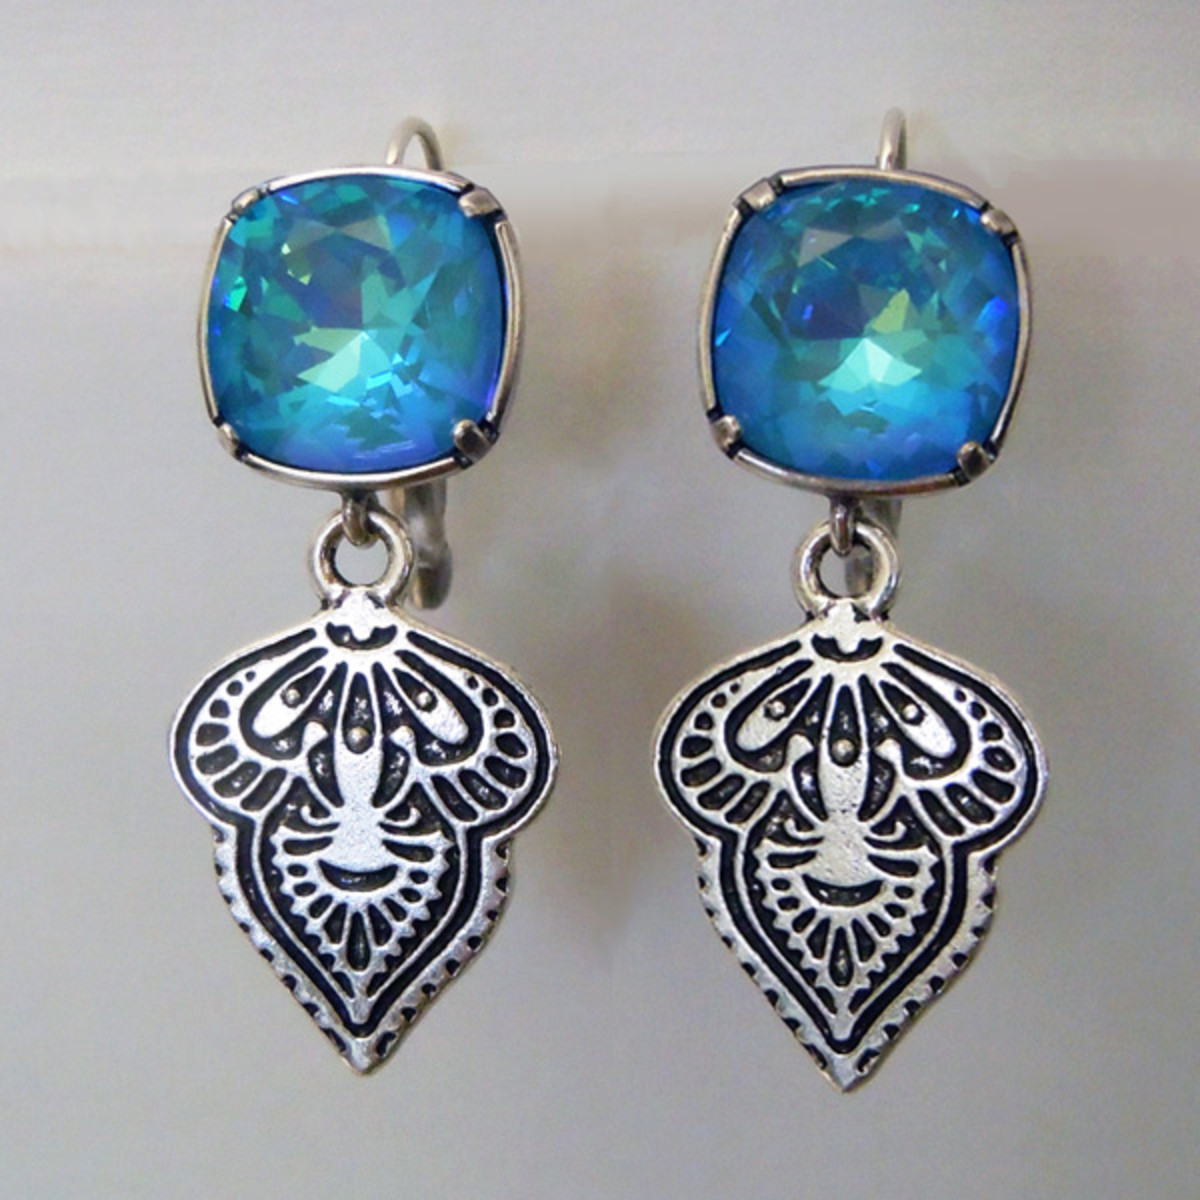
Ultra Blue Mehndi Earrings Tutorial
Extra-secure leverback ear wires keep these earrings safely in the ear -- no lost earrings! Ultra AB Blue may be a bit pricey, but it is stunning -- These simple earrings receive tons of compliments.Created by: Polly Nobbs-LaRueDesigner TipsPlace a crystal stone in a setting, and use nylon-jaw pliers to press each prong part-way down on the stone. Make sure stone is centered, then go back around and press each prong down more securely. If necessary, burnish each prong down smooth with a burnishi
…
Jan 1st 2021
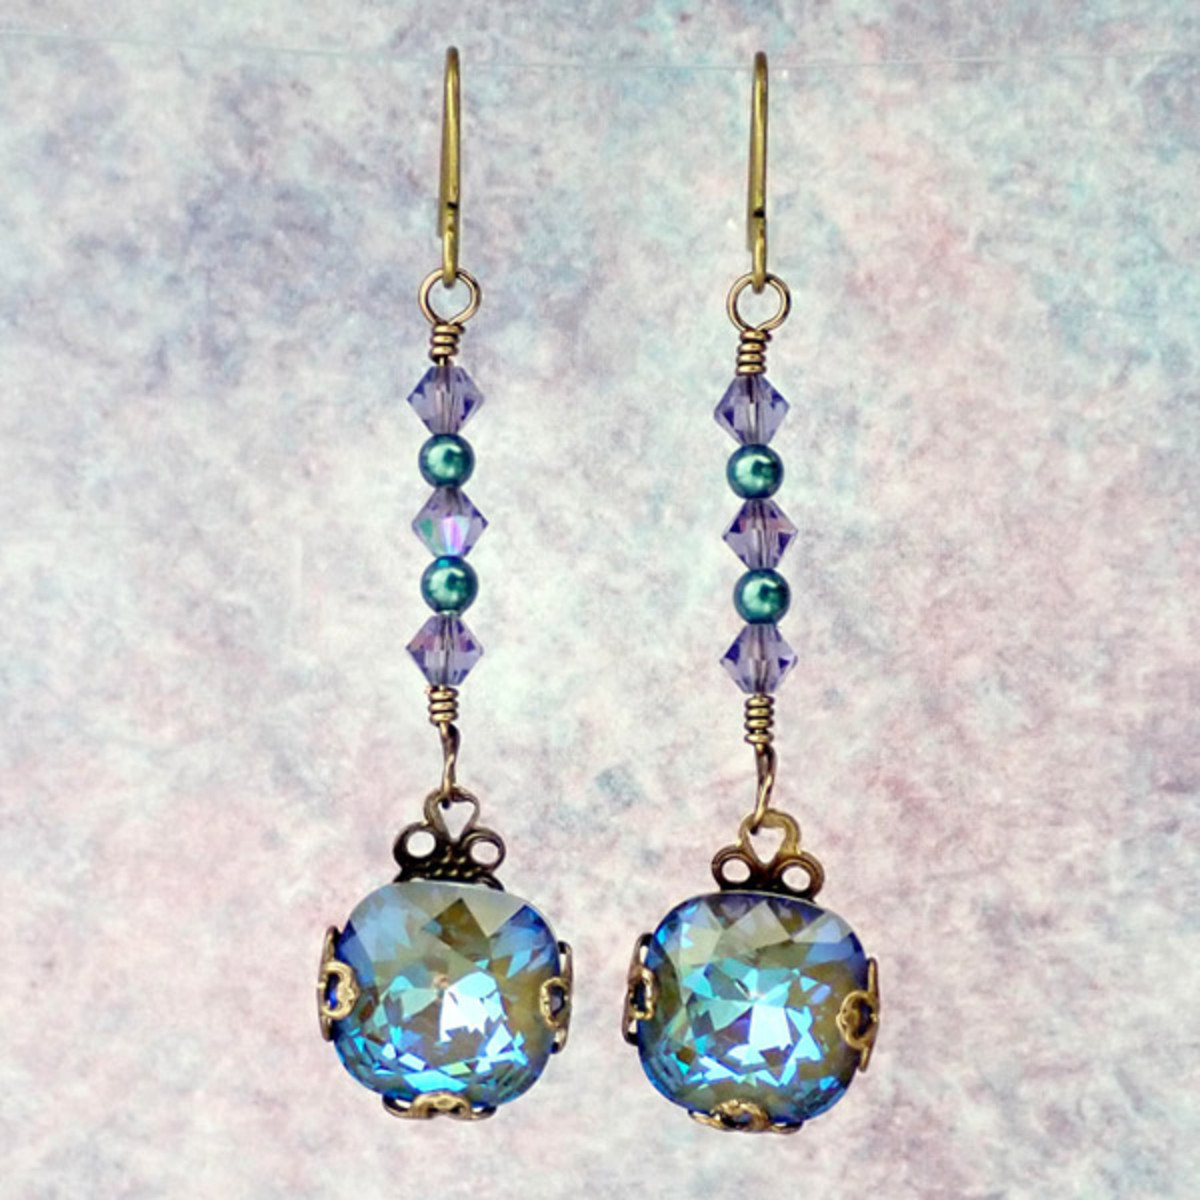
Vintner Earrings Tutorial
Vintaj findings are designed to be alterable ... here's a fine example!Created by: Rita HutchinsonDesigner TipsSlightly flatten the dome of the Vintaj bead cap. Bend 3 of the "legs" around the sides and bottom of the stone as a bezel, and leave the remaining leg extended to use as attachment.Directly wire wrap connector section with crystal bicones and pearls to the Vintaj bezel. Crimp pliers are handy for tucking in the tail of the wire at the end of the wrap.Attach ear wire. For step-by-step i
…
Jan 1st 2021
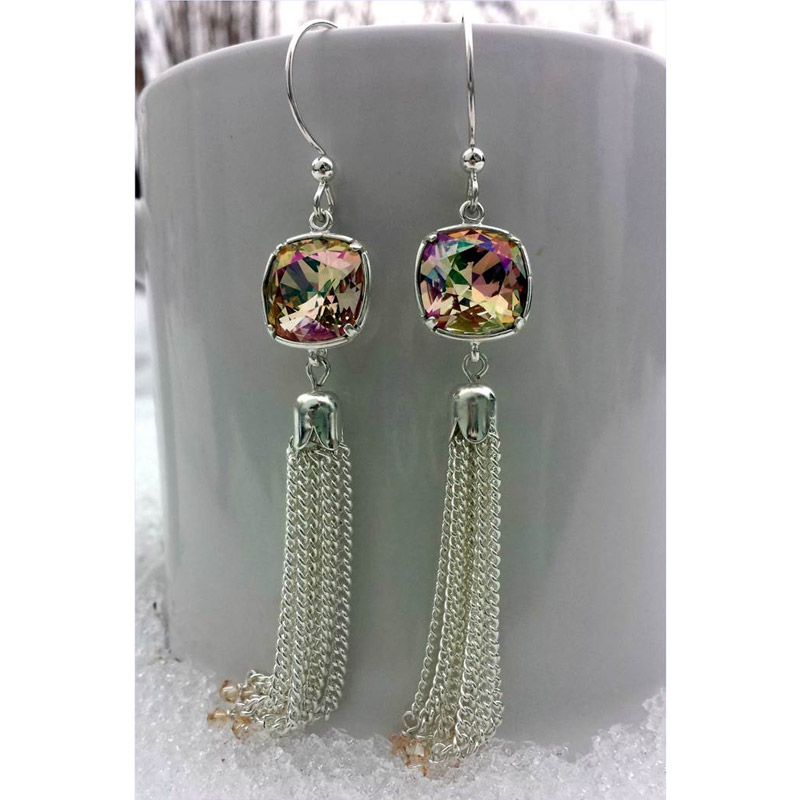
Purple Haze Earrings Tutorial
Designer TipsSet Purple Haze cushion squares in settings, and use nylon jaw pliers to squeeze prongs down.Burnish the prongs smooth with a burnisher.Create 16 simple loops with the Golden Shadow crystal bicones, and add the bicones to the bottoms of the tassels. For instructions on creating, opening and closing loops, see Jewelry Basics 101 (PDF).Attach tassels to bottom of settings, and ear wires to tops of settings.Optional: Trim some chain sections to vary the length of each chain, or to keep
…
Jan 1st 2021
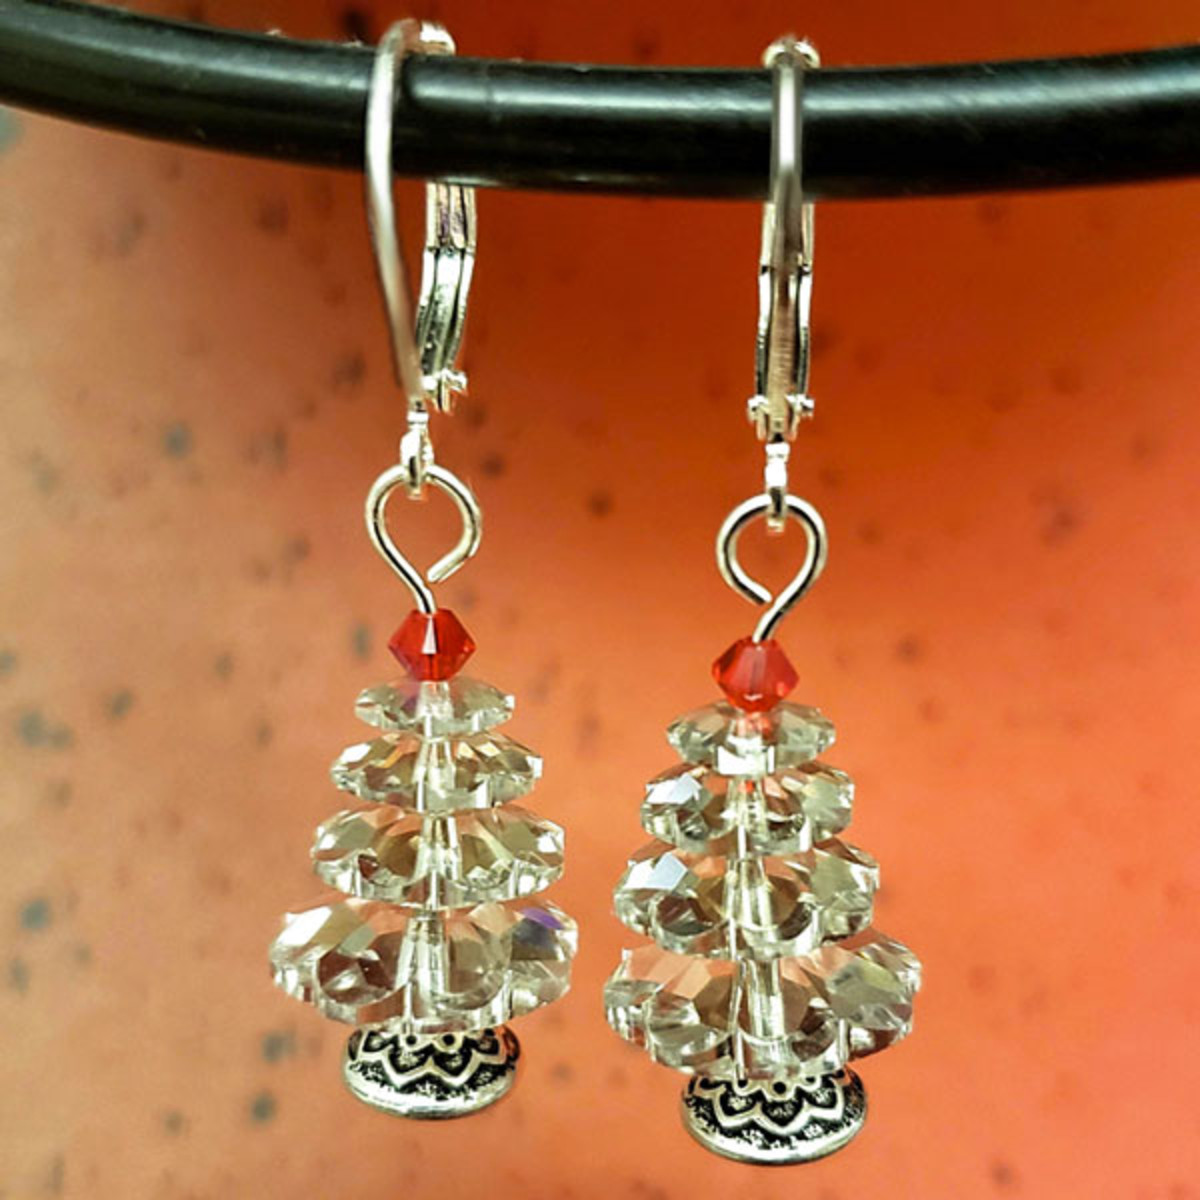
Retro Tree Earrings Tutorial
The metallic glint of silver shade Margarita sew-ons reminds me of the retro aluminum Christmas trees of years gone by. I mixed up the crystals with TierraCast Bead caps, which echo the shape of a tree stand/skirt.Created by: Rita HutchinsonDesigner TipsPush the headpin up securely inside the bead cap when measuring/cutting the pin to make your loop to avoid having too much pin show.Use any color you like for the "star" on top of the tree.New to jewelry-making? For step-by-step instructions on l
…
Jan 1st 2021
Spanish Rose Earrings Tutorial
3mm and 4mm gemstone beads have notoriously small holes, so they rarely work with standard-diameter head pins. We highly recommend wrapped loops rather than simple loops, with the thinner-gauge wire that fits small gemstone beads. Fortunately, 26-gauge plated copper Artistic wire is professional quality, yet inexpensive enough to practice with if you don't yet have this technique perfected.Created by: Summer MelaasDesigner TipsUse thin ball-end head pins to make wire-wrapped loops for three garn
…
Jan 1st 2021
Shadow Angel Earring Tutorial
Note: this design originally used the (discontinued) Lilac Shadow color of dome bead. Suggested subs: Jet Black Large Dome, or Crystal AB Small Dome. Both are 11mm in diameter.Created by: Rita HutchinsonDesigner TipsAdd crystals, angel wing beads and spacers to head pins and finish with a simple loop.Because the large end of the dome beads are concave, it can be tricky to measure and cut the headpin for making your loop. Press thumb or other finger against the head of the pin, to pull it up to t
…
Jan 1st 2021
Tahitian DeLite Earrings Tutorial
Created by: Polly Nobbs-LaRueDesigner TipsCarefully set prongs over the stones using flat-nose pliers. (Nylon jaw pliers can help prevent chipping or scratching.) For step-by-step instructions, see link at bottom of tutorial.On each 2" head pin, add a tiny bead cap, 4mm pearl, tiny metal bead, 6mm pearl, tiny metal bead, 8mm pearl and another metal spacer. Some of the metal spacers have holes too small - set aside for another project. (Or use a thinner head pin; I prefer the sturdiness of thicke
…
Jan 1st 2021
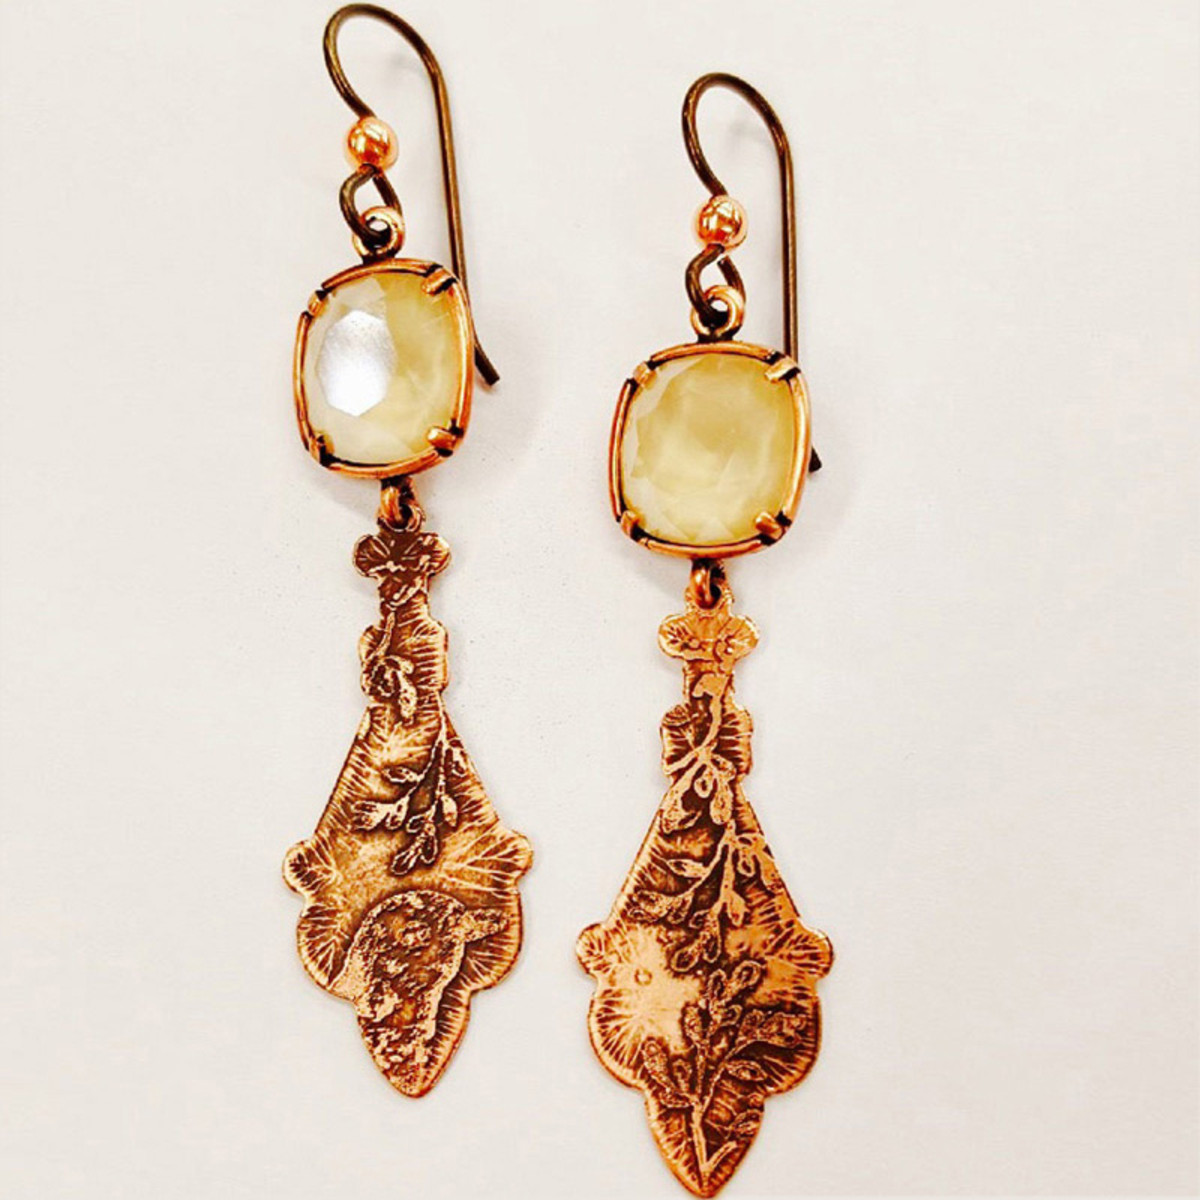
Victoria - Etched Earrings Tutorial
Created by: Summer MelaasDesigner TipsEtch earrings (See etching tutorial below).Place cushion in cushion setting and fold over tabs using nylon-jaw pliers or a burnisher.Attach French hooks to top of cushion.For best way to open and close loops, see Jump Ring Hint in Jewelry Basics 101 (PDF)Attach etched copper drop to bottom of cushion.Suggested Supplies1 pair #34-003-8 TierraCast Earring Hook Findings, Niobium - Bronze and Copper Color2 each #41-878-51-10-7 Antiqued Copper Plated 2-Loop Bezel
…
Jan 1st 2021
Stardust Earrings II Tutorial
Created by: Veronica GreenwoodDesigner TipsLink together 7 apatite or aquamarine beads with the 26-gauge gold-filled wire. Link 1 more blue bead but add 1 CZ drop at the end: For step-by-step linking instructions, see Jewelry Basics 101 (PDF). Set aside.Link together 6 tourmaline beads with 26-gauge gold-filled wire. Link one more tourmaline but add 1 CZ drop at the end. Set aside.Link together 4 pearls with 26-gauge gold-filled wire. Link one more pearl bead but add 1 CZ at the end. Set aside.S
…
Jan 1st 2021

