Rings & Things Jewelry Blog
Cool Your Jets Magnetic Men's Earring Tutorial
Created by: Laurae SatherDesigner TipsCut the post portion off the rivoli earring finding.File the back until you have an approximately 4-5mm flat spot (about the same diameter as the earring magnet).Mix two-part epoxy according to manufacturer's directions.Apply epoxy to the flat portion of the rivoli setting, and place 1 part of the magnet set on the glued area.Once thoroughly cured, mix more epoxy and glue the rivoli into a rivoli setting. Set aside to cure.To wear, place the other part of th
…
Jan 1st 2021
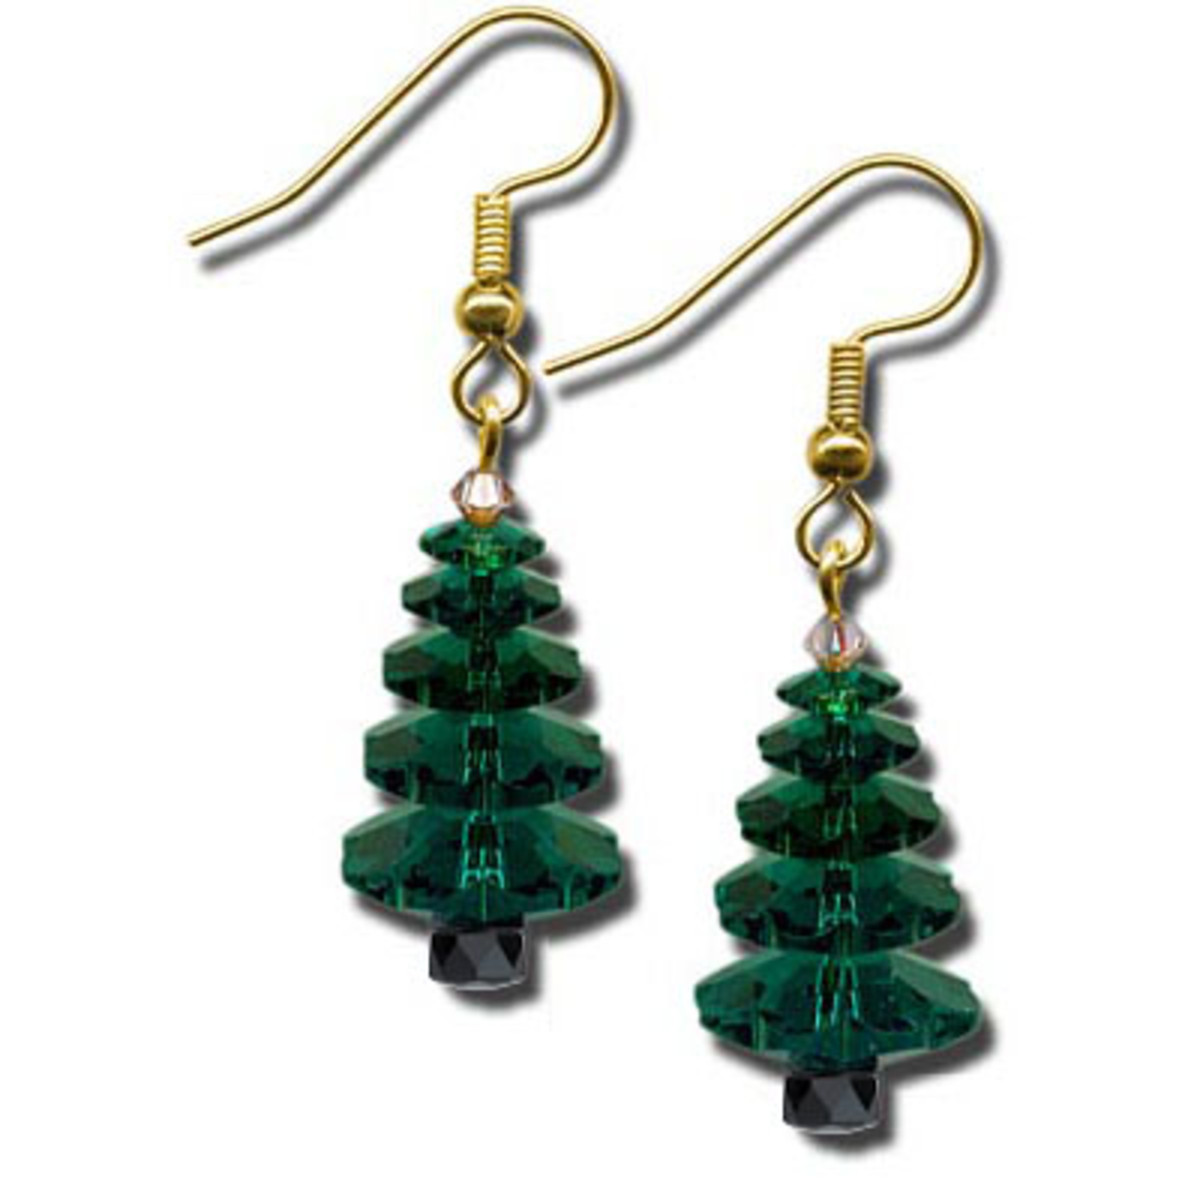
Classic Crystal Christmas Trees Earrings Tutorial
Created by: Rita HutchinsonDesigner TipsFor complete step-by-step directions, visit our Blog post: Twelve Days of Christmas Jewelry Designs: Swarovski Crystal Tree EarringsFree Technique Sheets & How-Tos (includes detailed instructions for making beaded head pins)Basic Jewelry-Making Technique Sheet (PDF)Suggested Supplies1 doz [use 2] #05-328-03-150 Crystal, Bead, Faceted Bicone, 3mm (Crystal/ Golden Shadow)2 each #03-700-06-12 Crystal, Sew-On, Margarita, 6mm (Emerald)2 each #03-700-08-12 C
…
Jan 1st 2021
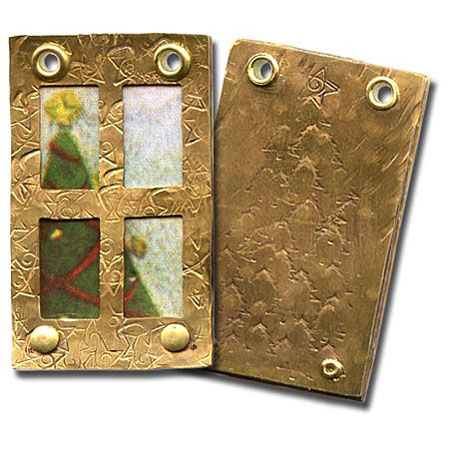
Christmas Tree Window Tutorial
Created by: Polly Nobbs LaRue Designer TipsClean the door blanks with fine-grit sandpaper and a polishing cloth, or in a tumbler for 2-3 hours.Find a pleasing portion of the Christmas tin, that fits in the window of the door blank. Draw around outside of door blank with fine-point permanent marker. Cut tin with shears at inside edge of line.Stamp stars randomly on the front door panel, and add texture as desired with the rounded end of a ballpeen hammer. Stamp or hammer a design or pattern on th
…
Jan 1st 2021
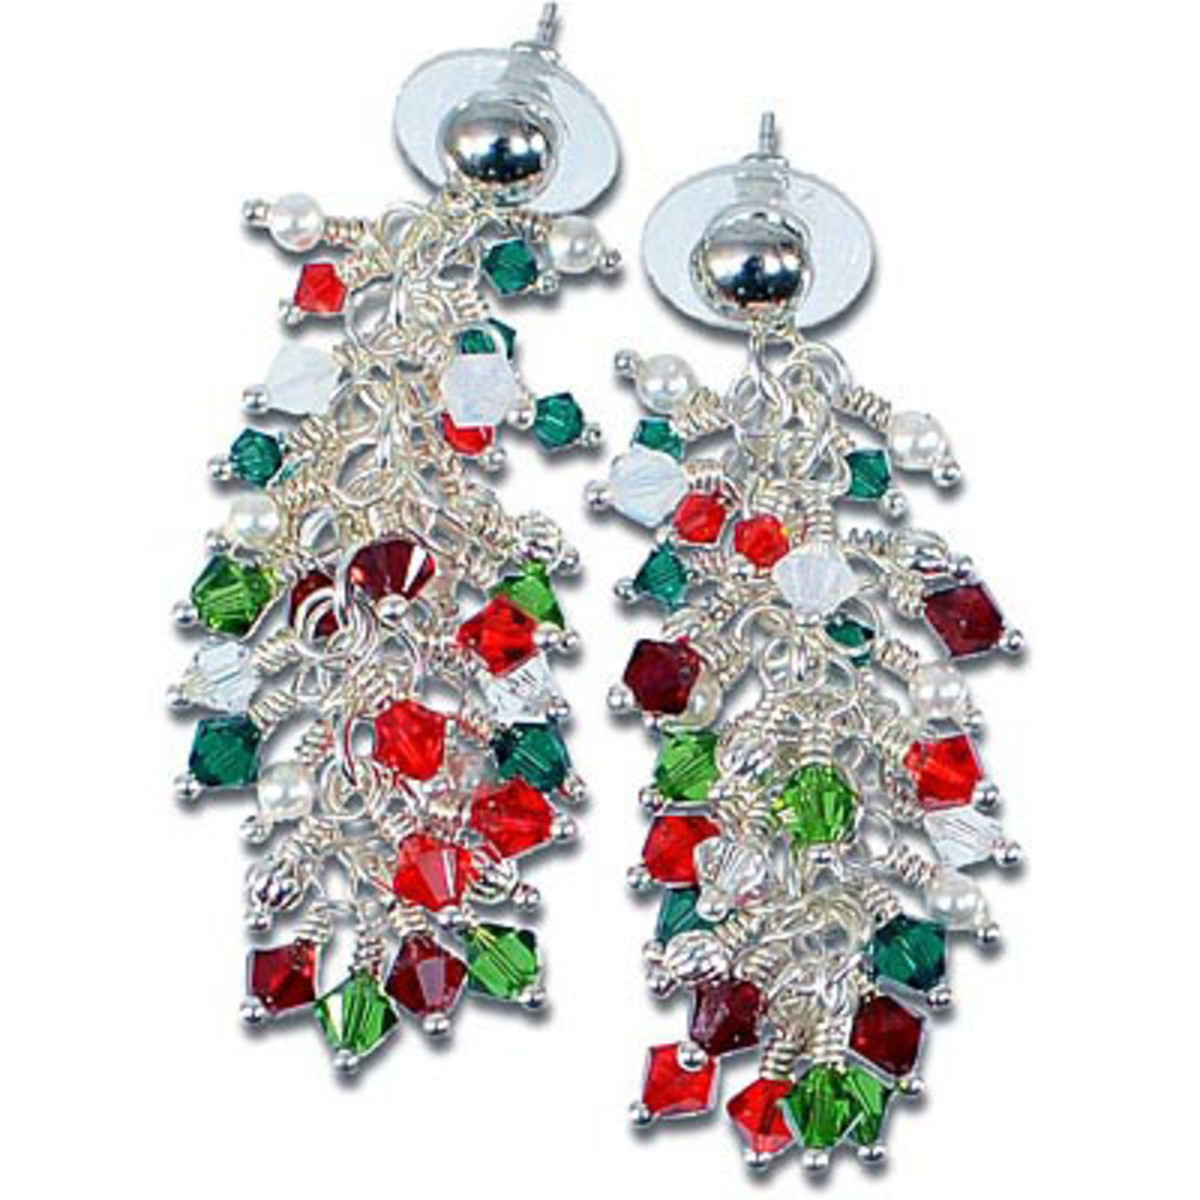
Christmas Cluster Earrings Tutorial
Created by: Rita HutchinsonDesigner TipsWire wrap all the metal, pearl and crystal beads before assembling.For each earring, Rita used 18 - 4mm crystal bicones in mixed reds, greens and whites, 6 - 3mm bicones, 6 white pearl beads and 6 corrugated silver plated beads.Attach 4 dangles to each jump ring all the way down the chain in a pleasing manner, with the 3mm crystal dangles near the top.Each earring uses 9 jump rings to create a chain.Earring nuts with a flange distribute the weight, making
…
Jan 1st 2021
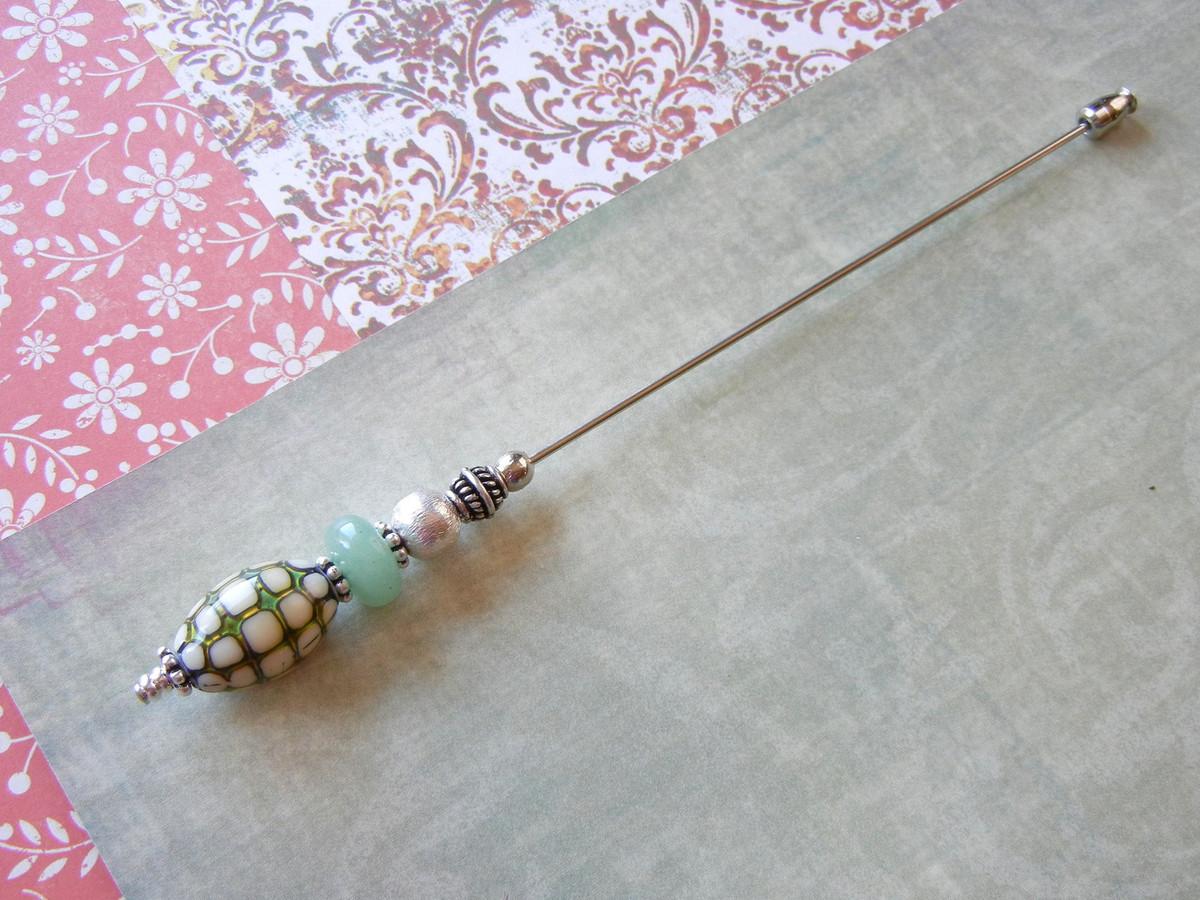
Ocean Pearl Hat Pin Tutorial
Learn an inexpensive hack for avoiding the wobblies with large-hole beads.Created by: Mollie ValenteDesigner TipsString the first three beads onto the hat pin finding: 3.4mm heishi-style metal bead, 3.4mm heishi-style metal bead, and 6mm beaded spacer bead.String on 2 wire keepers and space them to match the length of the Mirage bead. These will serve as bead adjusters and keep the Mirage bead from being wobbly. String the Mirage bead on so it covers both wire keepers. String on the remaining be
…
Jan 1st 2021
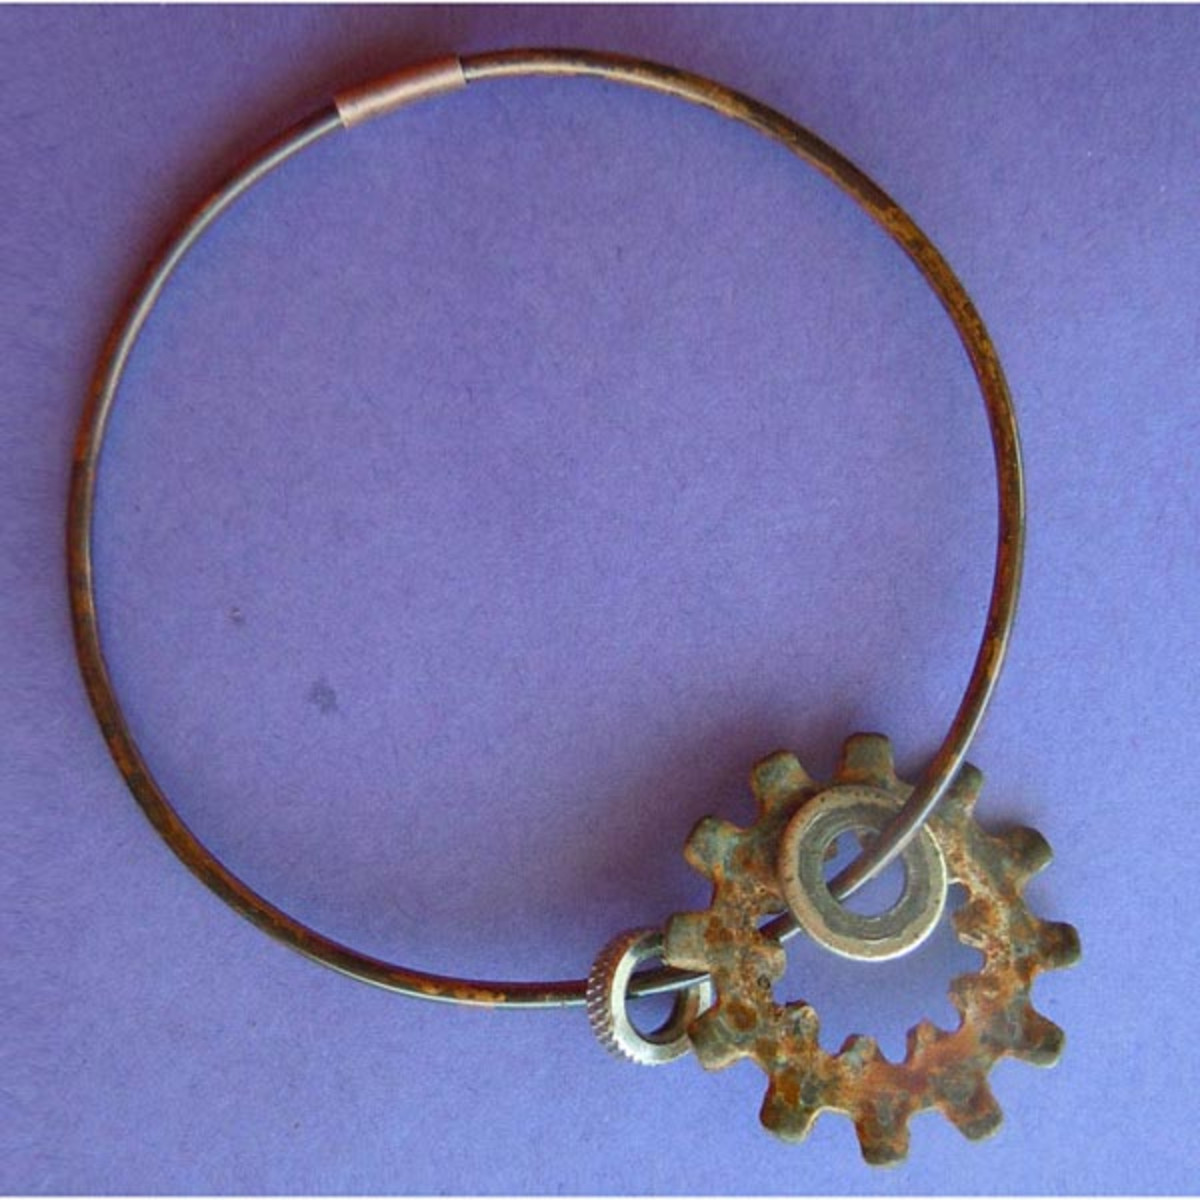
Not-So-Shiny Bangle Bracelet
Created by: Polly Nobbs-LaRueDesigner TipsUse heavy-duty flush cutters to cut approximately 1 loop from the spool of 12-gauge antiqued copper wire. Make sure both ends are cut flat (flush) so they fit together well inside the crimp.Slide nuts, washers, large-hole beads, holey found objects, etc onto the wire.Place one end of wire half-way into crimp connector. Place other side of wire in the opposite end so wires meet in the middle.Use the back notch of the Mighty Crimping Pliers, to gently - bu
…
Jan 1st 2021
Pearl and Tassel Charm Leather Bracelet Tutorial
Created by: Sondra Barrington Designer TipsThe ring connector is the focal of this bracelet. For a more free-flowing design, attach charms to the leather cording.Wire-wrap a pearl bead with a large loop, directly onto the large ring connector. (You may need to use a heishi bead to hold the pearl onto the head pin.) For step-by-step wire-wrapped loop instructions, see Jewelry Basics 101 (PDF).Cut leather flush (flat) after measuring. Insert leather into the cord end, and gently but firm
…
Jan 1st 2021
Nightingale Earrings Tutorial
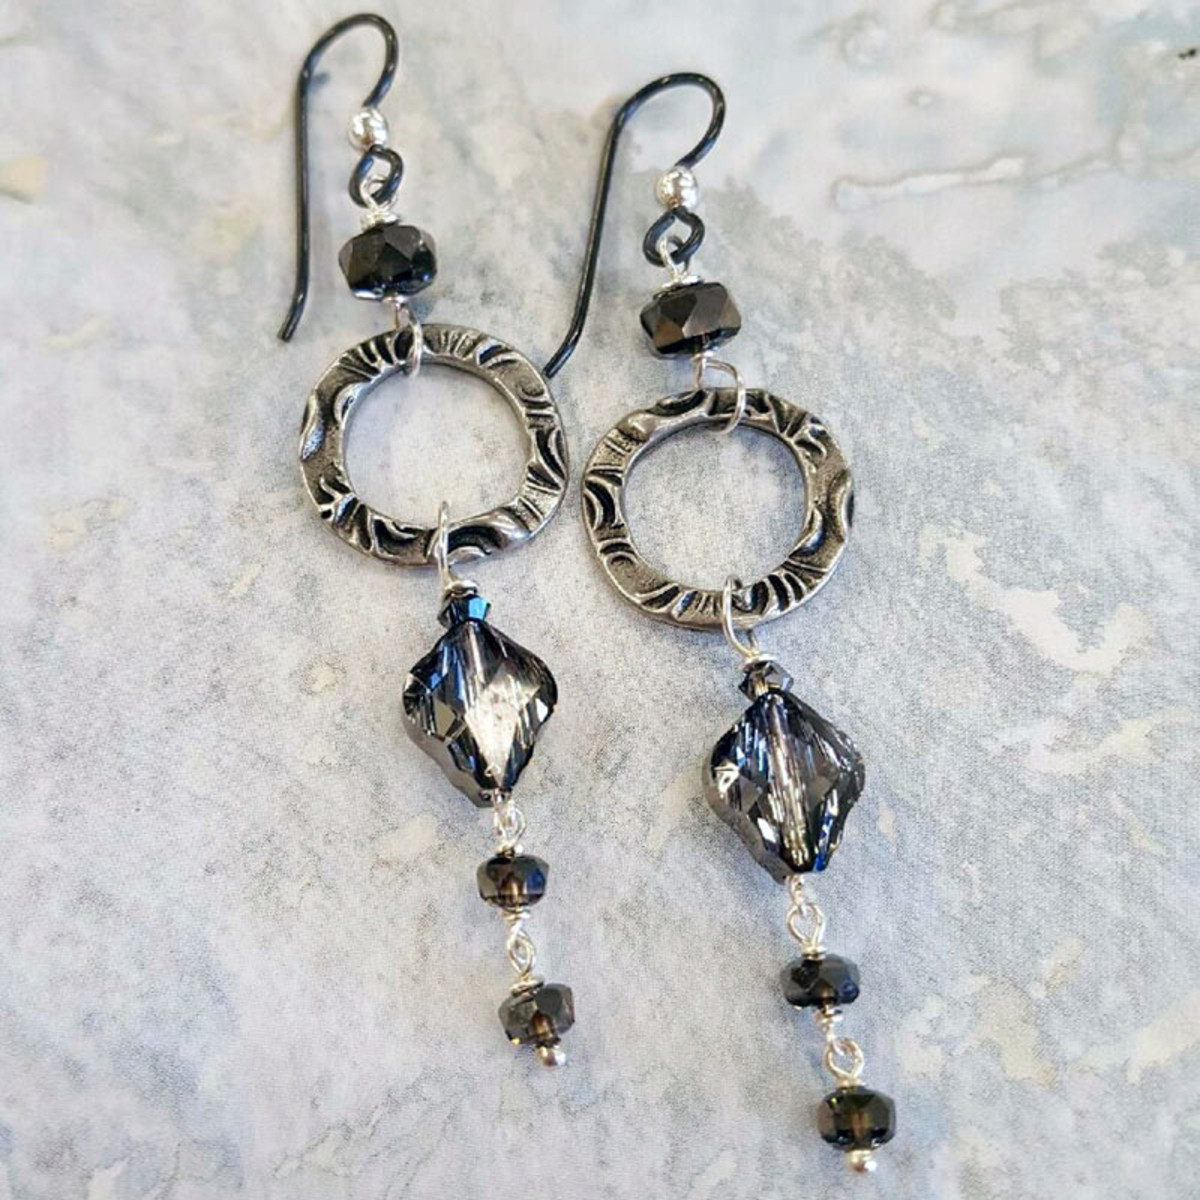
These elegant antique silver earrings are easy to make. This beginner jewelry project requires only a few minutes and basic jewelry-making tools.Created by: Summer MelaasDesigner TipsThe hand-made, organic look of the flora ring adds depth to these elegant earrings.Make simple loops (or wire-wrapped loops), following instructions in Jewelry Basics 101 (PDF). Be sure to make the key loops large enough so that they fit loosely around the flora link - you want your earrings to have nice natural mov
…
Jan 1st 2021
Nesting Earrings Tutorial
This project is a great way to get started with wire, because it's very free form, and a bit of messiness is not only ok, it's actually recommended!Use your favorite oval beads - they can be pearls, gemstones, glass, or make your own from polymer clay! Our Swarovski rice pearls are about 3x4mm. Created by: Rita Hutchinson Designer TipsSee Rings & Things' blog for basic instructions on How To Make A Wire Bird Nest.With some of your extra wire, create a loop for hanging the nest, and
…
Jan 1st 2021
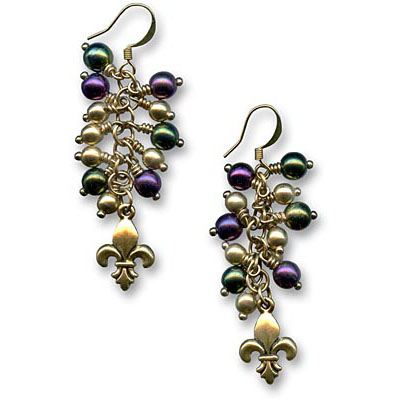
Mardi Gras Earrings Tutorial
Created by: Tiffany WhiteDesigner TipsPlace one bead (glass, crystal or brass), on each headpin and secure with wrapped loops.Arrange the dangles onto the jump rings. Place two brass beads on first jump ring. Attach next jump ring and place one green dangle and one purple dangle.Repeat the second step, three times per earring.At one end of jump rings, attach ear wires. At opposite end, attach fleur-de-lis charms.For a coordinating bracelet, see "Fat Tuesday" Bracelet. There is no coordinating ne
…
Jan 1st 2021


