Rings & Things Jewelry Blog
DIY Adjustable Bangle Bracelet Tutorial
This style of bracelet is a great one-size-fits-all design. OK, so technically the same bracelet size won't fit both a petite 6-year-old and a Samoan warrior, but odds are that you can determine one or 2 standard sizes that nicely fit you, and they'll also fit 90% of the teen and adult bracelet-lovers that you meet.You can also create this design at a variety of price-points by switching metals: copper, sterling silver, gold-fill, silver-fill and raw brass are all great options. Have fun selecti
…
Jan 1st 2021
Disco 8-Ball Necklace Tutorial
Created by: Rita HutchinsonDesigner TipsCut cord to desired length.Add bead to suede cord.Add cord ends (glue in place).Attach clasp and jump ring. For best way to open and close loops, see Jump Ring Hint in Jewelry Basics 101 (PDF)Suggested Supplies1 yard (use 24") #61-655-912 Printed Suede Cord, 5mm - Metallic Silver Gecko1 dozen (use 1) #39-343-3 Silver Plated Lobster Clasp, 12mm2 each #43-800-506-3 TierraCast Bright Rhodium Plated Brass Pagoda Cord End f
…
Jan 1st 2021
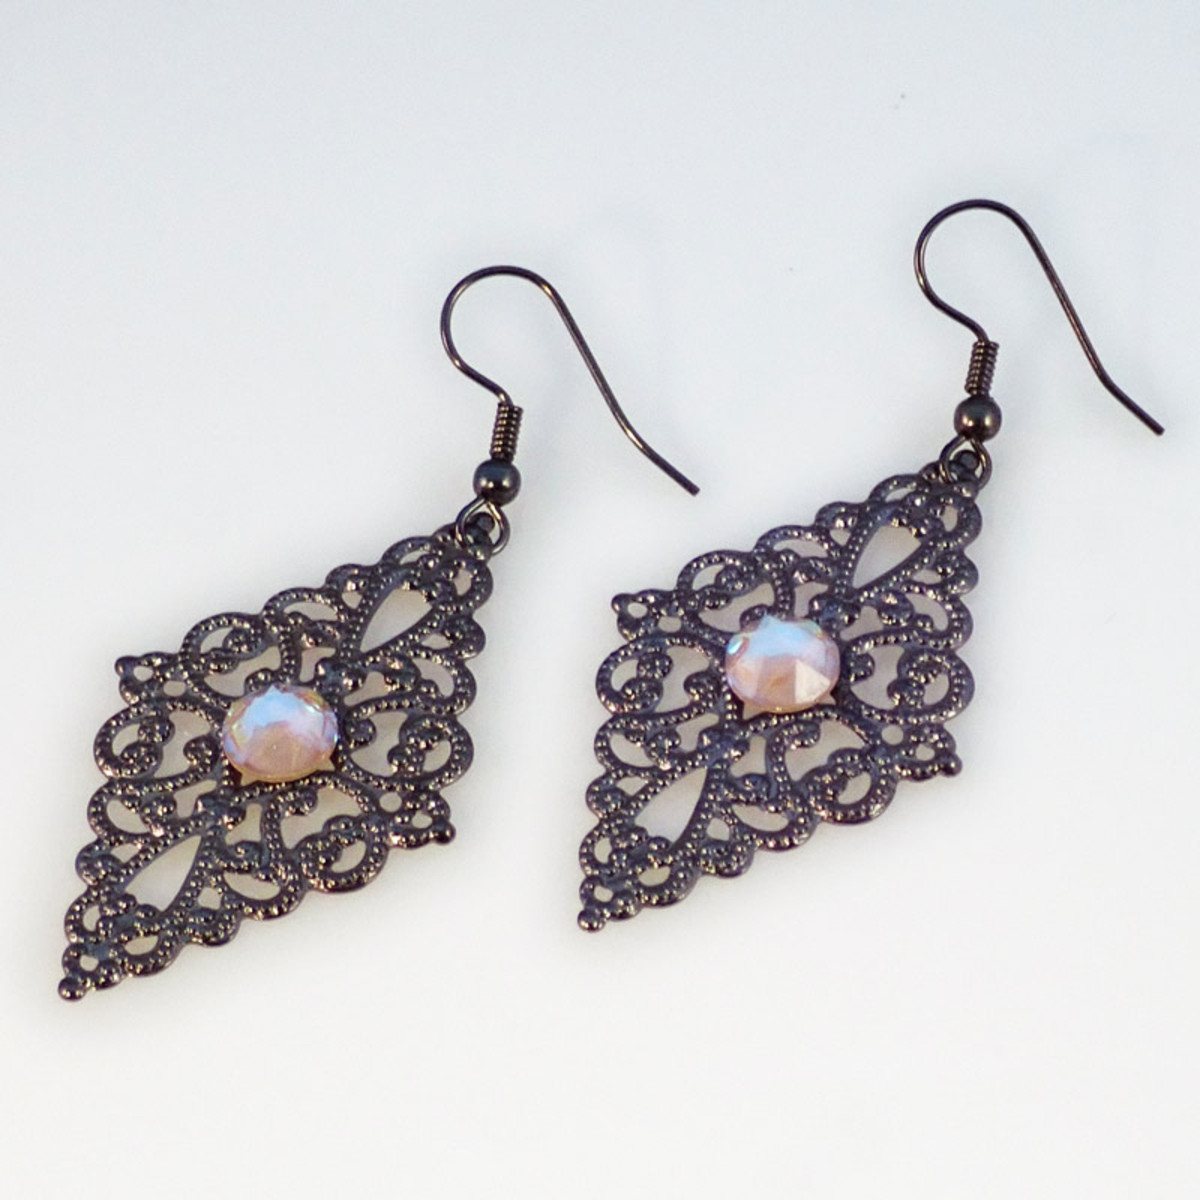
Diamonds and Lace Filigree Earrings Tutorial
Created by: Mollie ValenteDesigner TipsMix the adhesive according to the manufacturer's instructions.Apply masking tape to the back side of the filigrees. This will prevent the adhesive from leaking through the openings.Apply adhesive to the back side of the flat-back crystal and center it on the filigree. Press gently in place. Repeat with the second filigree and crystal.Set the pieces aside in a warm area to cure. Curing overnight is usually best.Once cured, remove the masking tape from the ba
…
Jan 1st 2021
Dark Fairy II Earrings Tutorial
Created by: Rita HutchinsonDesigner TipsSince the inside of the cone is hollow, place one of the faceted beads on the headpin before stringing the cone. Next add the wings, head, and halo. This helps keep the parts all lined up correctly.You can alternately use a small gunmetal bead such as 26-464-9 or 26-819-04-9 inside the cone.Make a simple loop at the top, and add to ear wire. New to jewelry-making? See Jewelry Basics 101 (PDF) for step-by-step instructions on making loops, and tips for open
…
Jan 1st 2021
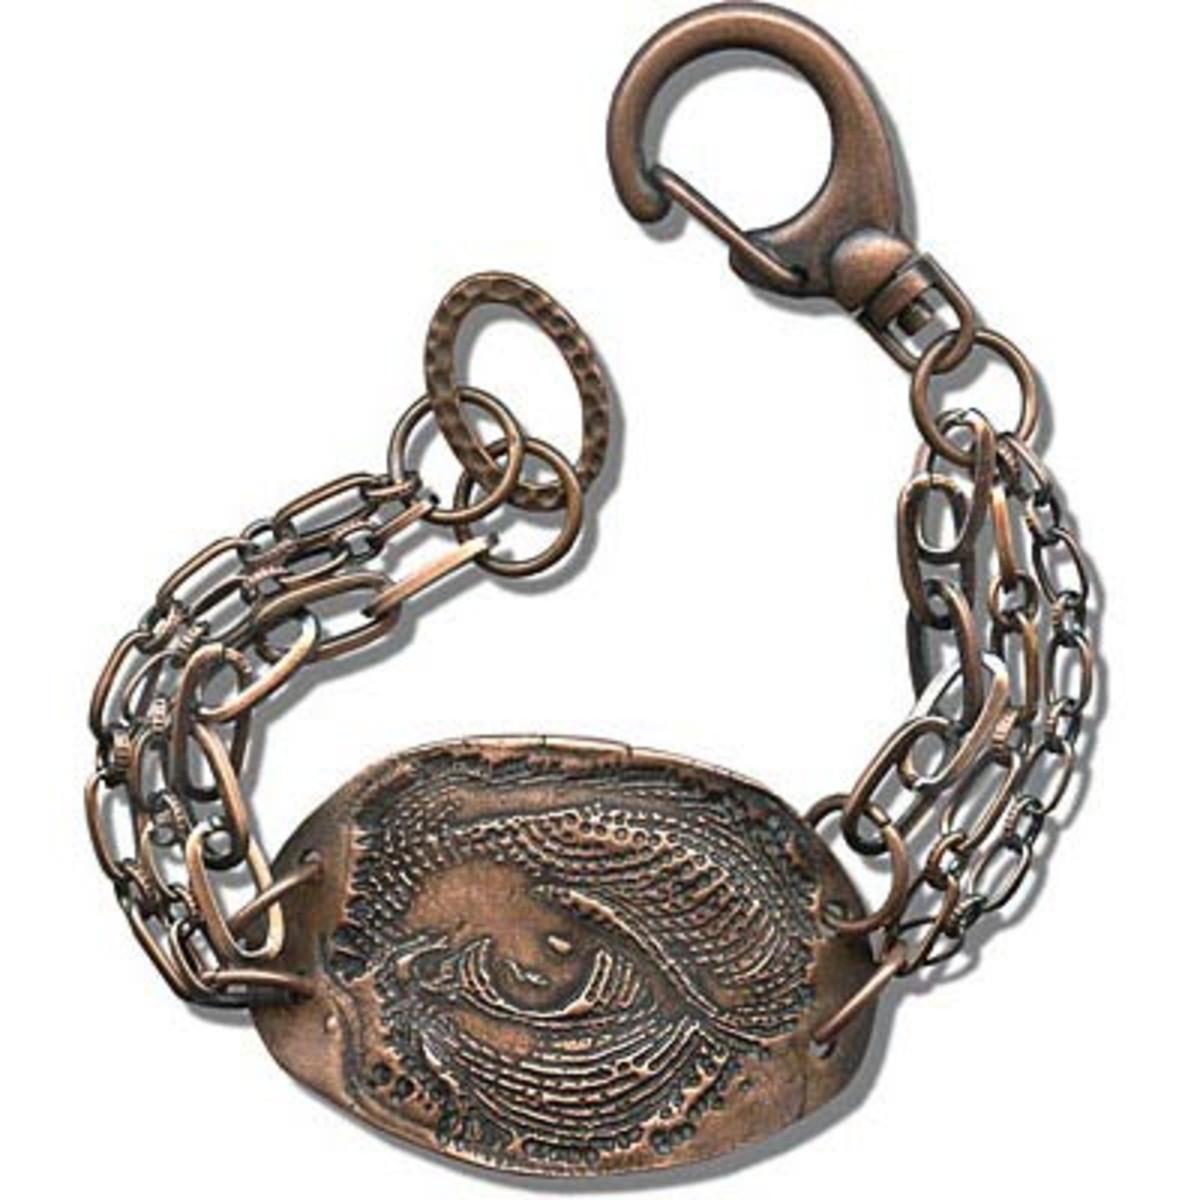
All Seeing COPPRclay® Bracelet Tutorial
Created by: Joe HentgesDesigner TipsCreate the COPPRclay centerpiece according to the manufacturer's instructions. Like most other metal clays, COPPRclay must be fired in a kiln. COPPRclay shrinks approximately 20% from package to finished product.To create the curve, let the COPPRclay piece dry over a round object before firing.Clean COPPRClay with water then 0000 steel wool.UseWin-Ox™ (#86-343>86-343) to patina and then polish with Wetordry Polishing paper 1200 grit (#69-257-1200>69-257-
…
Jan 1st 2021
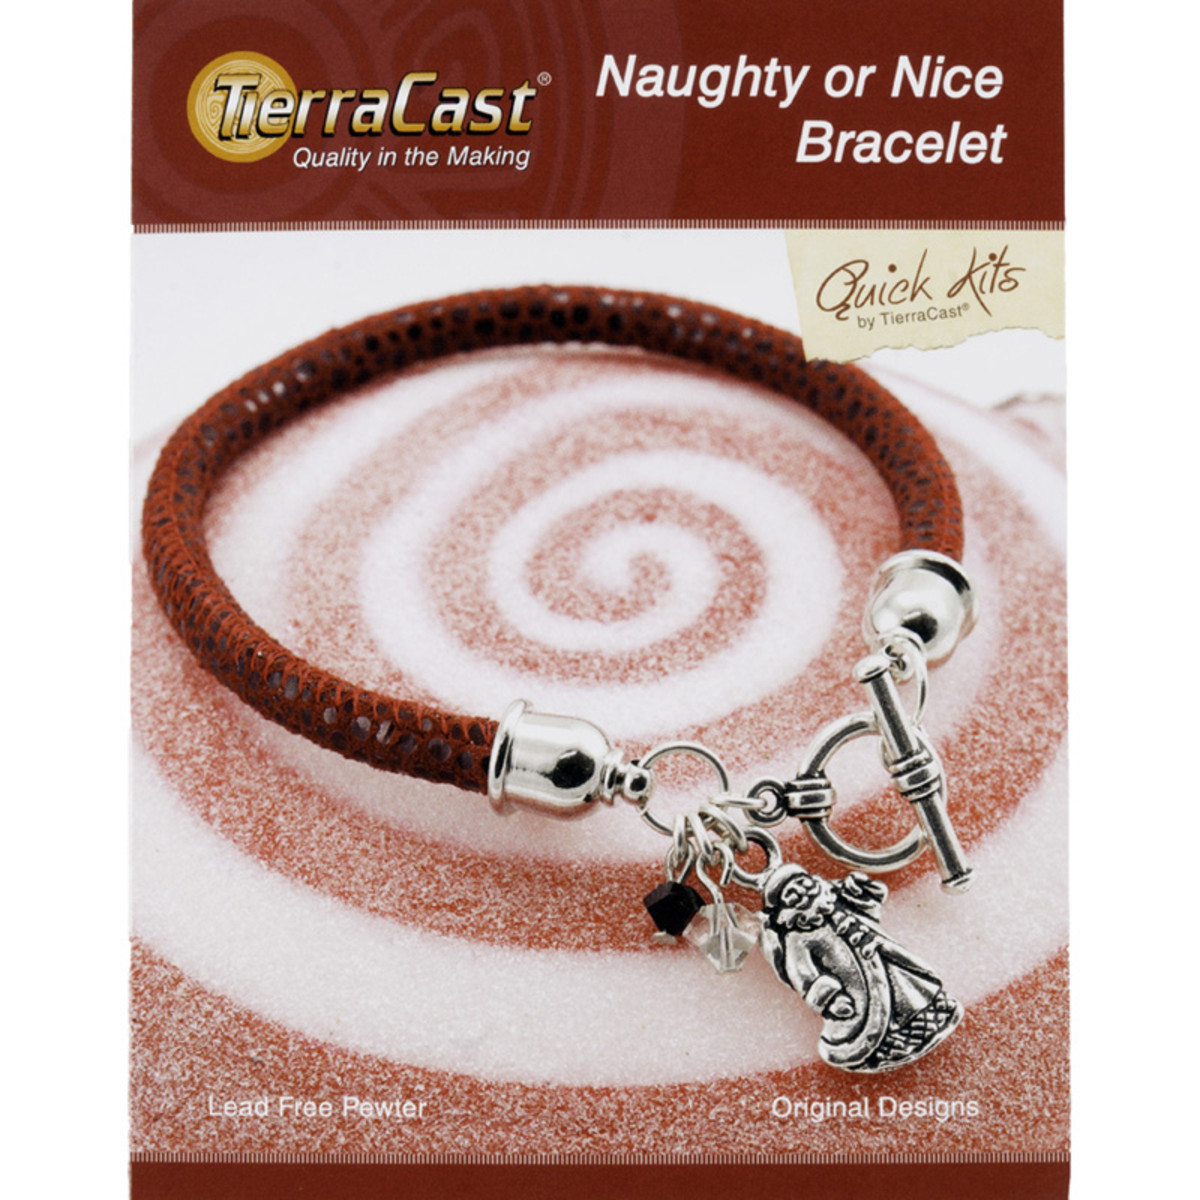
Naughty or Nice Bracelet Tutorial
A variation on a jewelry kit by TierraCastDesigner TipsCut a 6-8" length of the red pebble cord, add a small dab of superglue to one of the ends plus drag a small amount of glue around the sides of the end (stay within a 1/8" from the end so no glue shows when you place the cord end on it) and gently press one of the cord ends over the end with glue. Repeat for the other end.Attach two 8mm jump rings to the loops on each cord end and twist each closed (refer to Jewelry Basics 101 (PDF) for twist
…
Jan 1st 2021
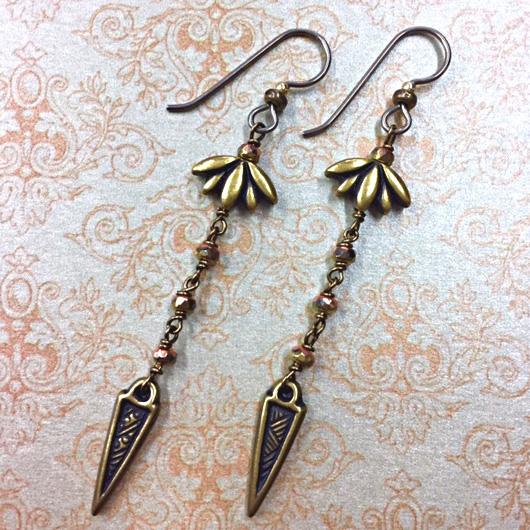
Natali Earrings Tutorial
Created by: Summer MelaasNatali is a simple, sweet pair of earrings featuring lotus flower beads from TierraCast, as well as matching antiqued brass spike charms and Niobium ear wires. Add a subtle flash with Czech faceted micro spacer beads, and wrap it all together with Artistic Wire.Designer TipsFor wire wrap tutorial, see Jewelry Basics 101 (PDF)Make a wrapped loop; add a micro spacer bead and a lotus bead. Make a wrapped loop. Attach French hook to the loop above the micro spacer bead.Make
…
Jan 1st 2021
Namaste Chakra Choker / Double Wrap Bracelet Tutorial
Created by: Michelle HorningDesigner TipsFor step-by-step instructions on how to macramé a bracelet (or choker), see our blog article: How to Macrame a Hemp Bracelet.A choker will usually fit as a double wrap bracelet on most people. Double the amount of working and anchor cord in the tutorial for this project.When using a centerpiece link, fold each anchor cord in half, and attach each to the link with a lark's head knot (see illustration below). The link replaces the shortest cord in the origi
…
Jan 1st 2021
My Heart Necklace Tutorial
Created by: Rita HutchinsonDesigner TipsSlide the bail over the crystal and press the bail closed, using finger pressure or chain-nose pliers. If using pliers, apply pressure cautiously so you don't slip and chip the crystal.Suggested Supplies1 pkg of 10 [use 1] #52-604-02-16 Choker, 4mm Nylon Mesh, 16""1 ea #06-240-27-02 Crystal, Pendant, Wild Heart, 27mm1 pkg of 10 [use 1] #41-820-06-AS Prong Bail, SpiralTools#69-275-03 Tool, Wubbers™, Chain-Nose Pliers
…
Jan 1st 2021
Crimson and Gray Bracelet Tutorial
Created by: The Rings & Things Showroom TeamDesigner TipsStamp the tag with 3mm letter stamps. For longer team names, use a larger tag or smaller set of stamps. See Metal Stamping 101 for detailed stamping instructions. If you're new to stamping, get a few extra tags, as stamping can be unpredictable and there may be mess ups.Place crystal stones in bezels, and carefully bend prongs down using fingers and/or nylon-jaw pliers.Add a large round jump ring to the football charm. For best way to
…
Jan 1st 2021


