Rings & Things Jewelry Blog
After Glow Earrings Tutorial
These earrings are inspired by Pantone's colors of the year for 2021, and pair nicely with the After Glow bracelet.Created by: Janet BoyingtonDesigner TipsCut a 5-inch piece of 24-gauge wire, and wire-wrap one end directly to the lotus charm. For step-by-step instructions on making wire-wrapped loops, see Jewelry Basics 101 (PDF).Add beads in desired pattern, and make wire-wrapped loop at the top. Trim excess wire, and carefully tuck loose ends in.Open loop on ear wire in a twisting motion, add
…
Jan 1st 2021
Abby's Earrings Tutorial
Created by: Lindsey Green Designer Tips Use three layers of Magic-Glos UV Resin to create the look of the crystal rivoli standing free in the bezel cup earrings.A piece of Styrofoam® or sponge material works great to keep the jewelry in place. Simply stick the post of the earring into the styrofoam or sponge to keep the jewelry level.Add a base layer of resin to the bezel cup and then cure it with the UV light.After the first layer is dry, pour a second layer into the bezel.
…
Jan 1st 2021
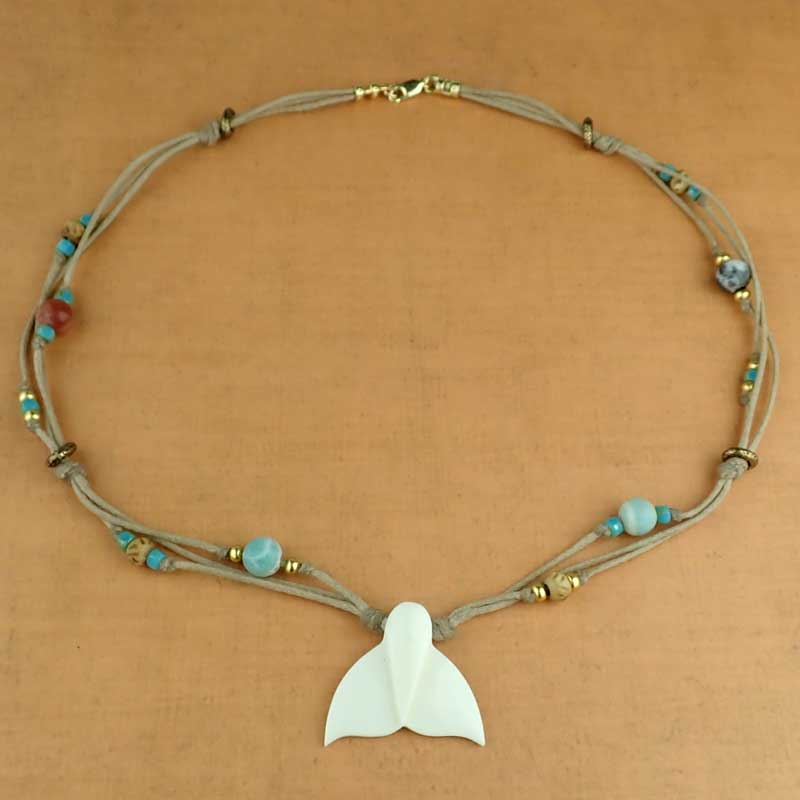
A Whale of a Tail Necklace Tutorial
Created by: Veronica Greenwood Designer TipsCut three equal lengths of waxed cord (make sure to cut enough cord for the knotting).Fold all three cords in half and slide your pendant to the center of one of the cords.Knot all three cords together on each side of the pendent (you will have one cord thru the pendent and two cords behind the pendant).All knots in this project are basic overhand knots.Randomly knot and add beads in a pattern that you like until you get your desired look and le
…
Jan 1st 2021
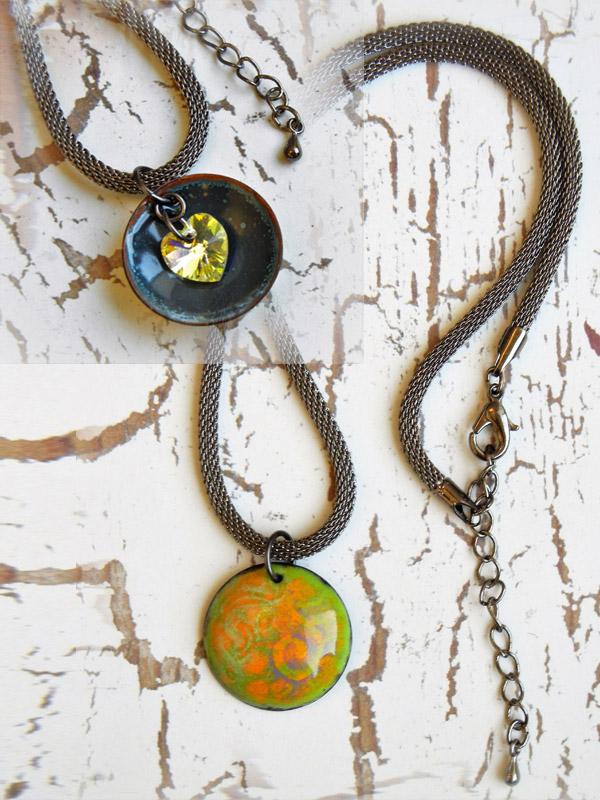
Enameled Hidden Heart Tutorial
Created by: Mollie ValenteMake your Enamel DiskUse the dapping set to dome the copper blank.(See Rings & Things blog post: How to Dap and Dome Metal Jewelry.)Fire the concave (back side) of the copper blank with spruce green enamel (counter enamel). Or you can use the enamel colors of your choice.(Follow firing and safety instructions from the Thompson Enamel Workbook or Rings & Things blog post: Torch Fired Enamels.)Clean the domed copper blank with Penny Brite.Fire the convex (front si
…
Jan 1st 2021
Moving Forward Wrapped Bracelet Tutorial
Created by: Amy MickelsonDesigner TipsChoose a color of hand dyed silk ribbon to go with your choice of 4mm Swarovski bicones and rivoli stones.Use 2-part epoxy to glue the rivoli stone into a rivoli setting. Set this aside to cure.Create 2 wrapped loop bicone dangles. Make an additional dangle finishing the wrapped loop directly onto one of the loops of the rivoli setting. (See Jewelry Basics 101 link below.)Use a jump ring to connect the other dangles to the same loop on the rivoli setting.Use
…
Jan 1st 2021
Moonshine Earrings Tutorial
Created by: Summer MelaasDesigner TipsPunch a hole in the top center of each mason jar blank (available in copper, brass and sterling silver). If desired, tumble-polish or sand the blanks to remove any surface blemishes.Stamp desired pattern on each charm. New to metal stamping? See Metal Stamping 101.Apply Stamp Enamel per package instructions.Cut approx. 2"of 22-gauge wire, add a turquoise rondelle bead, and either make simple wire loops at each end, or create a wire-wrapped connector to conne
…
Jan 1st 2021
Moon and Stars Earrings Tutorial
Created by: Mollie ValenteDesigner TipsDome (or dap) the brass moon charms.Antique the brass moons with WinOx™ and polish with the "Brilliant" polishing cloth.Thread a bicone crystal and fluted bead onto the ear wire. (Gently straighten the bend at the ear wire end, add the beads, and then reshape it.) Repeat with second ear wire.String a moon charm onto each kidney-wire loop with the design facing forward.Free Technique Sheets & How-TosBasic Jewelry-Making Technique Sheet (PDF)Blog post: Ho
…
Jan 1st 2021
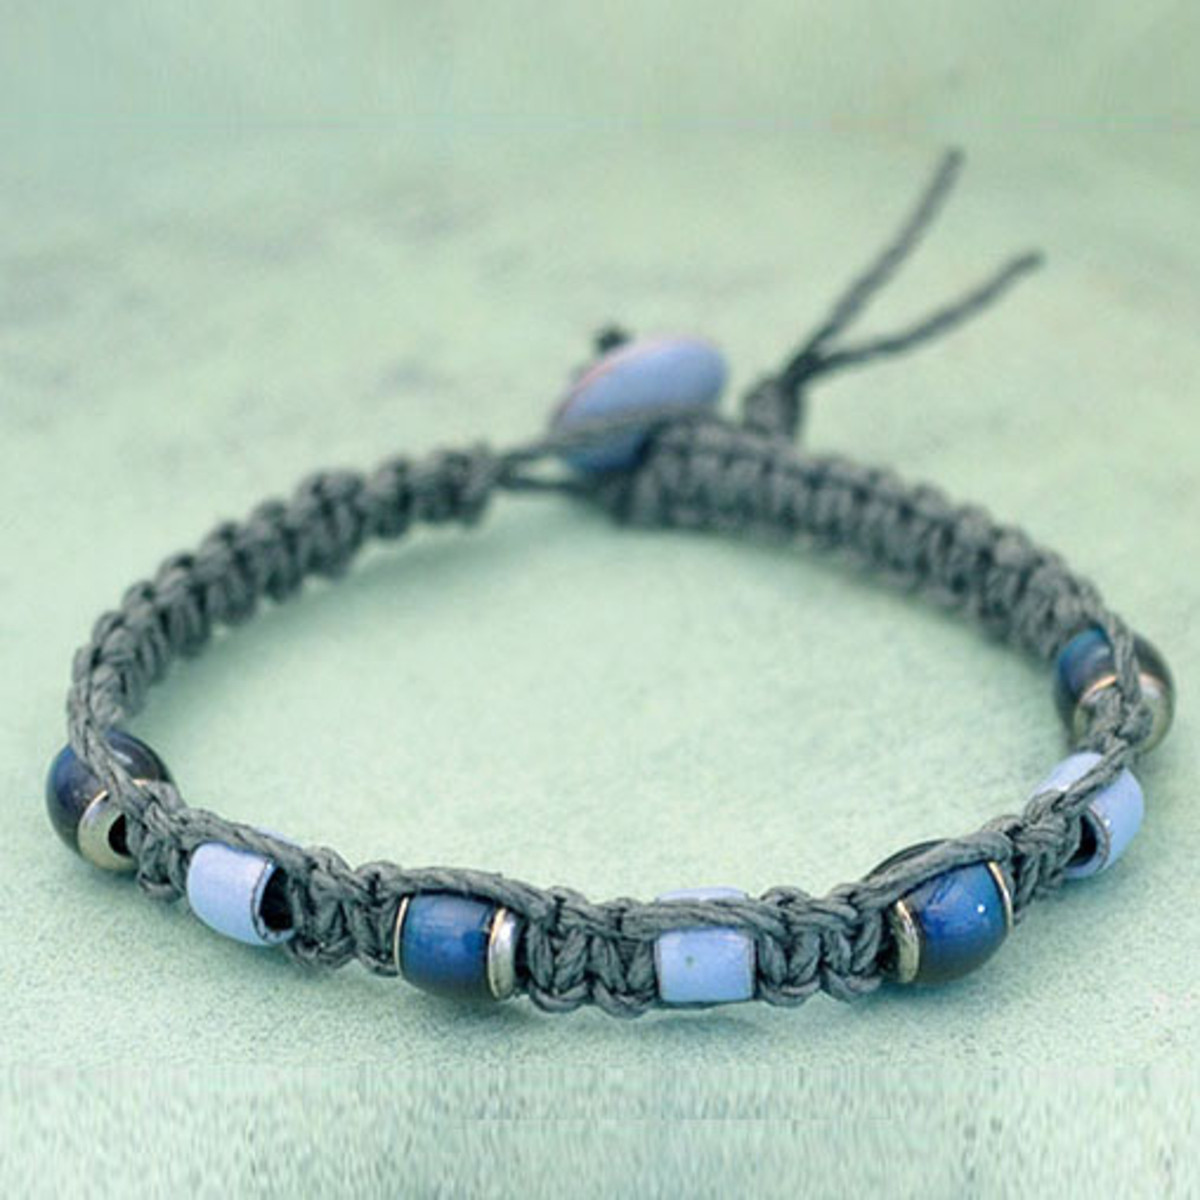
Moody Blues Hemp Bracelet Tutorial
Created by: Melissa RhoadesDesigner TipsThe neutral tone of the gray hemp cord accentuates the color-changing Mirage Beads, but any color of 1mm hemp cord will work for this project.The 6x7mm barrel-shaped Mirage Beads work well with hemp due to their large hole sizes.Anchor your project to a clipboard to make it portable.To make it easier to string the beads onto the center cords, add a drop of glue to the tips of the cord and form ends into tips. Let dry before adding beads.Alternate sides for
…
Jan 1st 2021
Micro Mood Bracelet Tutorial
Created by: Rita HutchinsonDesigner TipsSee the blog entry on making multiwrap lashed bracelets.This bracelet is sized for a double wrap of a large wrist (approximately 16" finished length). Modify the design for a smaller wrist size.Carefully sear the trimmed ends of the Super-Lon cord with a lighter to prevent unraveling.Mirage Beads™ are thermo-sensitive beads that change color with small shifts in temperature. When worn, beads range from teal and blue through shades of green, yellow and oran
…
Jan 1st 2021
Micro Mirage Adjustable Macrame Bracelet Tutorial
Learn how to make this comfortable, lightweight, color changing adjustable bracelet!Created by: Michelle HorningDesigner TipsFor step by step macramé knotting instructions, see our blog article: DIY Shamballa-Style Macrame Bracelet Tutorial.S-Lon looks beautiful in micro macramé designs, but it's very light, small, and more difficult to work with than traditional macramé materials such as hemp. Knotting tweezers help, along with folding the cord in half when feeding the end through a knot.Use le
…
Jan 1st 2021


