Rings & Things Jewelry Blog
Katrina Cuff Bracelet Tutorial
Learn how to colorize a textured brass cuff bracelet. Created by: Rita HutchinsonDesigner TipsCheck bracelet for fit, and adjust by hand as needed.Clean brass cuff with alcohol for best patina adherence.Squeeze out small amounts of desired patina colors and brush onto cuff bracelet in appealing pattern. Let dry.Highlight raised areas of bracelet by removing excess patina with reliefing block.Apply matte glaze to entire bracelet and let dry thoroughly.The non-stick craft sheet makes clean-up easy
…
Jan 1st 2021
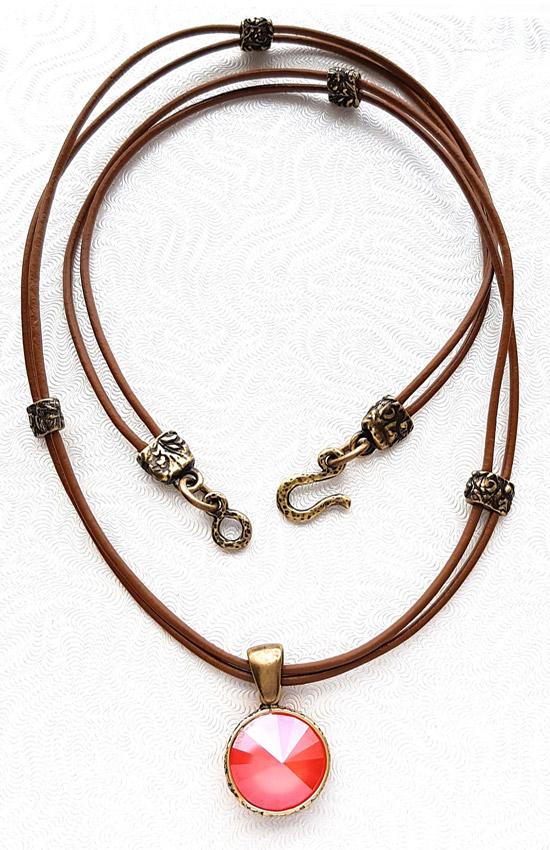
Just Peachy Leather Necklace Tutorial
Created by: Bridget AustinDesigner TipsSee the Jewelry Basics 101 PDF for hints and instructions on how to open and close jump rings.The cord ends and barrel beads are all crimped, no glue required!Start with 2 strands of leather cut to the desired length of your necklace.String all 4 barrel beads onto the leather.Attach cord ends to each end of the necklace and crimp tightly with the nylon jaw pliers.Attach the hook and eye clasp with 2 jump rings to the cord ends.Space the beads out evenly and
…
Jan 1st 2021
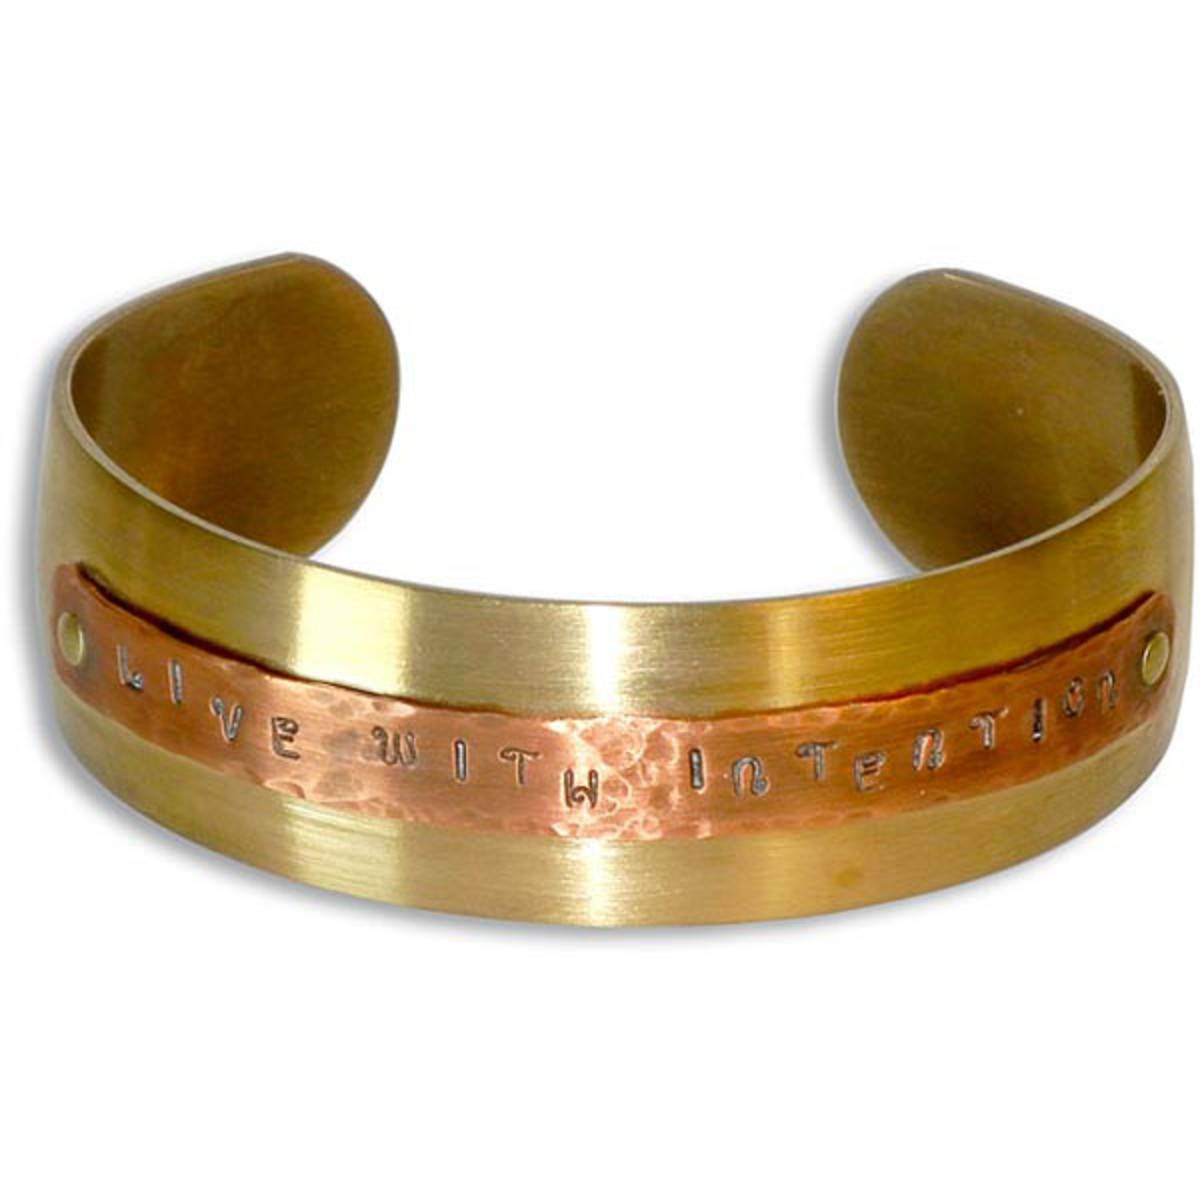
Live With Intention Cuff Tutorial
Created by: Polly Nobbs-LaRueDesigner TipsStamp favorite quotes on inexpensive easy-to-use strips of precut copper, then rivet them to sturdy brass cuff bracelets. If you make a mistake when stamping on the copper strip, it's a much less expensive mistake than a mis-stamp on a specialty blank or bracelet.Stamp a phrase on the the 24-gauge copper bracelet strip. With metal shears, cut to length (keep approximately 6mm or 1/4" extra at each end for riveting) and gently round the corners. And textu
…
Jan 1st 2021
June Bug Netted Ornament Cover Tutorial
Created by: Veronica Greenwood Designer TipsThread a size 12 beading needle with 2 yards of One-G, or stretched and waxed size B beading thread.String on 4 main beads, 1 accent bead (1 set) and repeat 8 times for a total of nine sets, leaving a 6" tail.Go through all beads one more time to form a circle, Tie a knot. Weave needle and thread until you exit an accent bead.String 5 main beads, 1 accent bead and 5 main beads, and go through the next accent bead in the top ring. Repeat 8 more tim
…
Jan 1st 2021
Having a Ball Bracelet Tutorial
Created by: Valorie Nygaard-Pouzar Designer Tips Measure the distance from the centermost point of the ball chain (this size is .25") and mark the increments on the back of the leather bracelet.Use an awl to pierce holes in the leather in the places you marked. If you have a sewing machine, you can pierce the leather bracelet using an unthreaded sewing machine.Stitch the ball chain onto the bracelet using Griffin silk cord (which has a built-in brass needle). Make one, or make
…
Jan 1st 2021
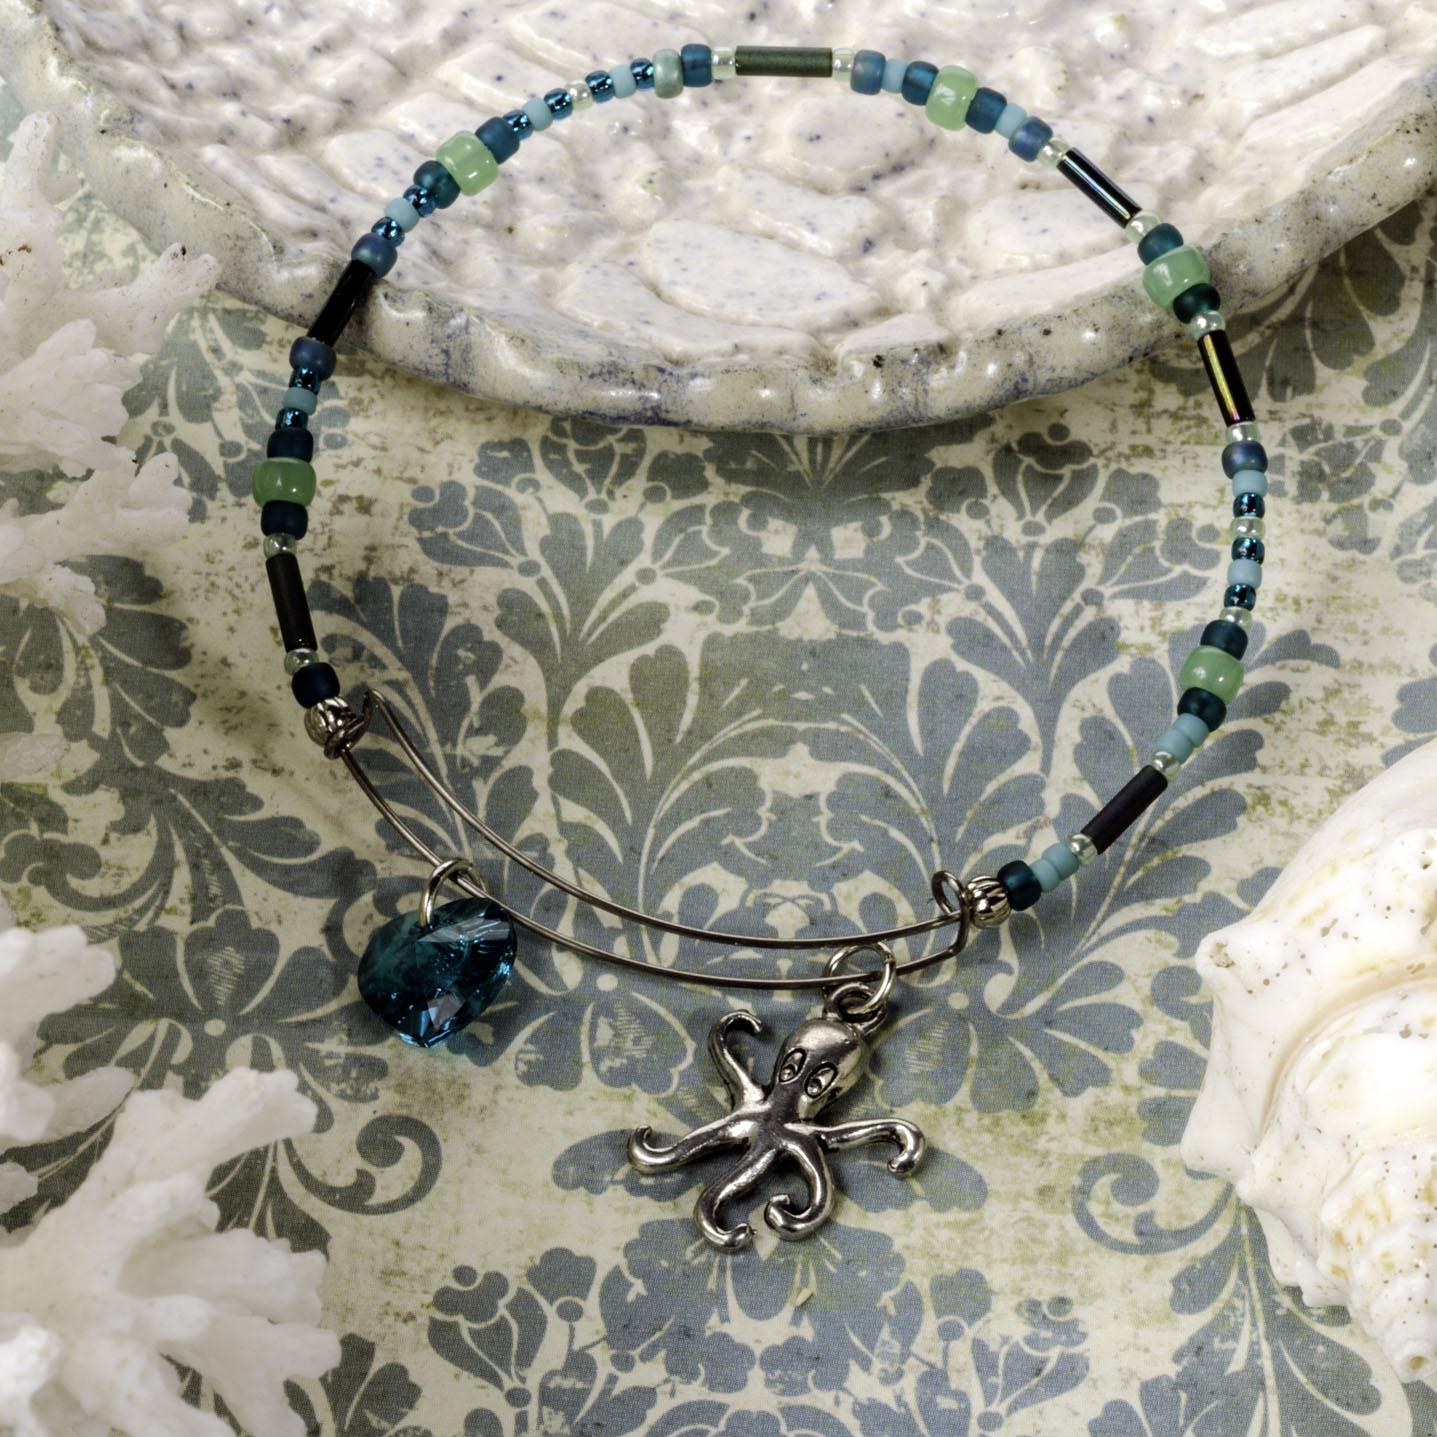
Happy Octopus Bangle Bracelet Tutorial
Created by: Mollie Valente Designer TipsFor a step-by-step tutorial with images for this project, see the blog post: How to Make an Expandable Wire Bangle Bracelet.Use heavy-duty cutters to cut a piece of memory wire that is one-and-a-half loops in length (approximately 10"). Measure the widest part of your hand to make sure you cut a long enough piece.Use memory-wire bending pliers to form an outward facing loop on one end. Grasp the loop with flat-nose pliers and make a 90- degre
…
Jan 1st 2021
Happy Brass Bracelet Tutorial
Created by: Janet BoyingtonDesigner TipsIf you're new to metal stamping, first take a look at the step-by-step instructions in our free Metal Stamping 101 PDF.Plan pattern -- some designers prefer to stamp the middle letter first, and then work outward to the edges to make sure their words and phrases are centered.14-ga brass is a little harder than some other stamping blanks, so use a 2lb brass hammer and stamp firmly. Janet used the 3mm (approx. 1/8") Uppercase Siena stamp set and it worked gr
…
Jan 1st 2021
Hammerfall Earrings Tutorial
Designer Tips These earrings are easy to assemble, yet put on a great show.Use 10mm jump rings to connect each link, and another 10mm jump ring to attach the dagger bead to the smallest link. For best control, use 1 pair of traditional chain-nose pliers, and 1 pair of bent chain-nose pliers to open and close the jump rings. For most secure way to open and close loops, see Jump Ring Hint in Jewelry Basics 101 (PDF).The 10mm jump rings have an 8mm inside diameter, large enough to let the link
…
Jan 1st 2021
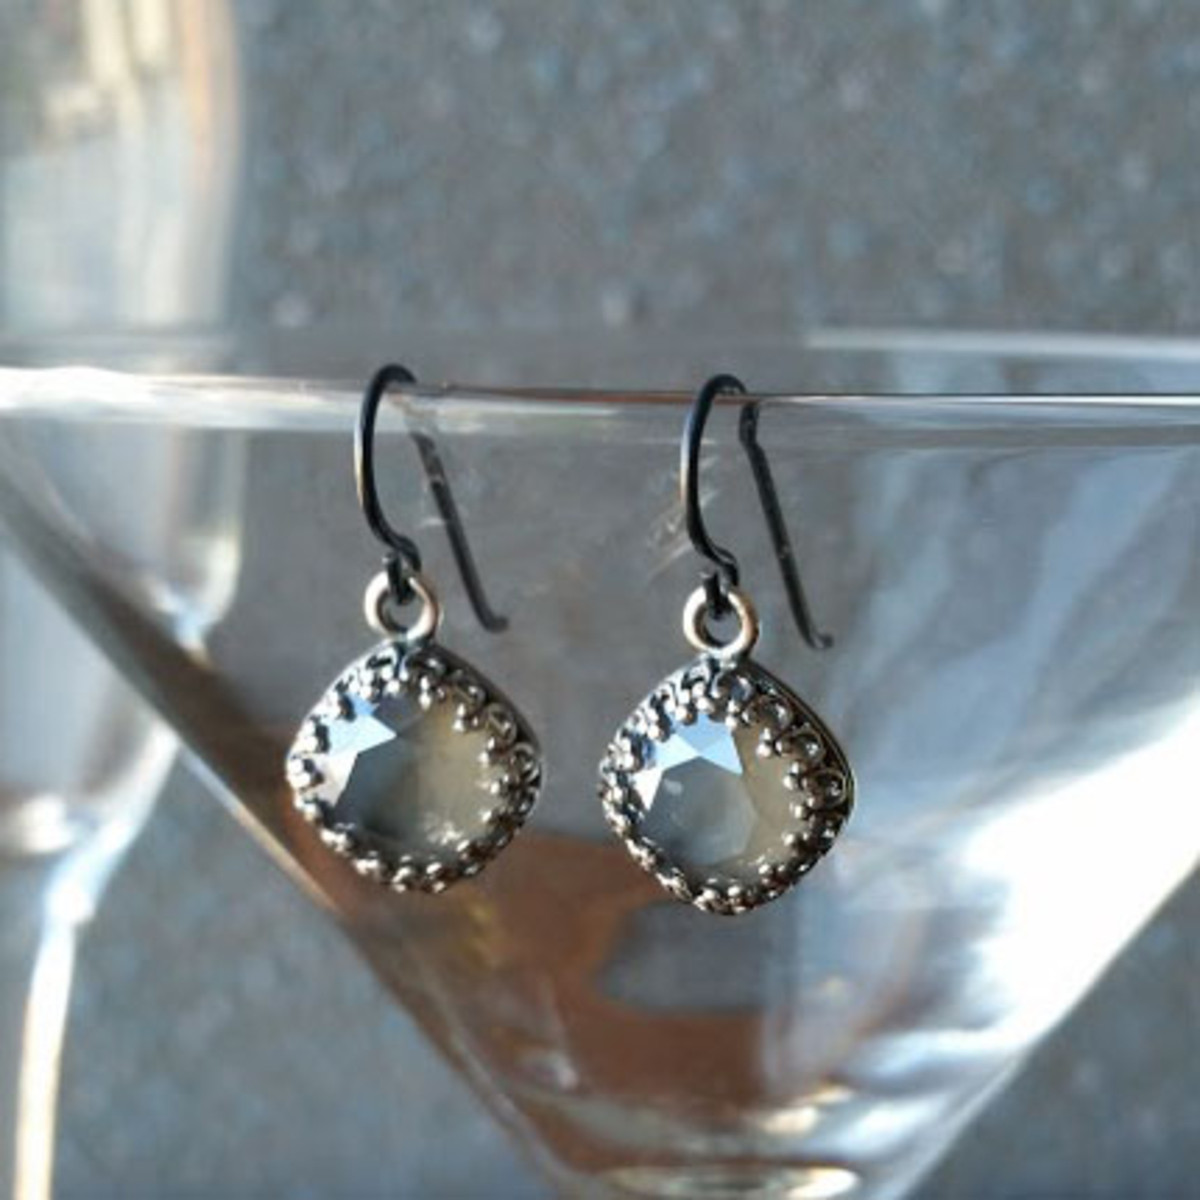
Grey Days Earrings
Created by: Rita HutchinsonDesigner TipsPlace Cushion Stone in Setting, pressing the bezel into place to hold the stone firm. Bend the prongs down from alternate sides to keep the stone centered. Use finger pressure or nylon-jaw pliers, to avoid scratching the finish on the back of the stone.When prongs are bent down, use the burnisher to flatten them to the stone, and prevent snagging. Use flat-nose pliers to open the loop on the earwire, and slip the setting with stone in place. Bend back.Repe
…
Jan 1st 2021
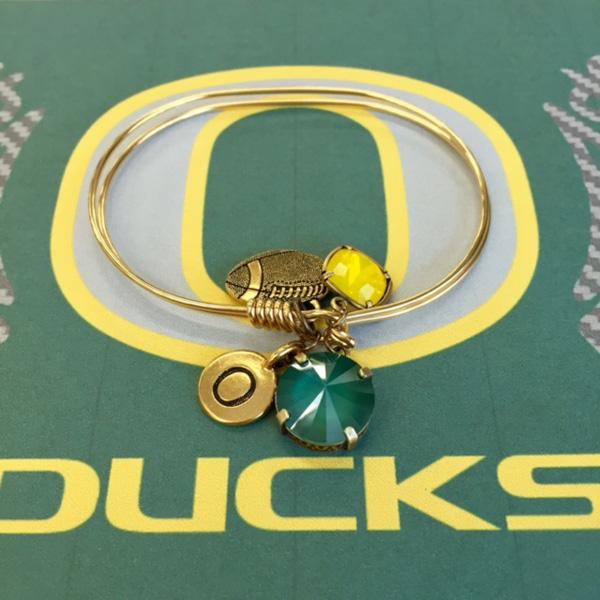
Green and Gold Bracelet Tutorial
Created by: The R&T Showroom TeamDesigner TipsPlace crystal stones in bezels, and carefully bend prongs down using fingers and/or nylon-jaw pliers.Add a large round jump ring to the football charm. For best way to open and close jump rings, see Jump Ring Hint in Jewelry Basics 101 (PDF)Select a "G" for your favorite Wisconsin team, or an O for Oregon. Use a jump ring to attach each charm to the clasp of the bracelet. The bracelet is oval, rather than a round bangle. Attaching the charms to t
…
Jan 1st 2021


