Rings & Things Jewelry Blog
Passion Play Toursade Tutorial
Created by: The Swarovski Crystal CREATE YOUR STYLE Design TeamDesigner TipsCut stringing cable into three 24"" pieces.Add a bead stopper to one end of a 24"" stringing cable. Slide on one 4mm 5328 Crystal Golden Shadow, one 6mm Rouge Pearl, one 4mm 5328 Crystal Golden Shadow, one 6mm Rouge Pearl, one 4mm 5328 Crystal Golden Shadow, one 8mm Rouge Pearl, one 4mm 5328 Crystal Golden Shadow, one 10mm Rouge Pearl, (continue pattern with only 10mm pearls for 29 more times) then slide on one 4mm 5328
…
Jan 1st 2021
Palomita Wrapped Leather Bracelet Tutorial
Created by: Polly Nobbs-LaRueDesigner TipsCast silver star beads and Bali-style flower beads make wonderful riveted accents. If a bead's hole isn't quite large enough, center the bead on the 1/16" cutting end of the Crafted Findings riveting system, and re-cut the hole. Do not pull the bead off the cutter - this can damage the cutter. Simply unscrew until the bead comes off naturally. The purple leather bracelet pictured is no longer available - but 50 other colors / sizes are! (See links below.
…
Jan 1st 2021
Paisley Palette Pin Tutorial
Created by: Polly Nobbs-LaRue Designer TipsFor best placement of the holes, make a template: Trace the outline of the paisley on a piece of paper (a Post-it® works great!), then use a pencil to sketch a line 1/16" (2-3mm) in from the edge. Put a dot on this line at the point of the paisley, then use a ruler and put a thin pencil line every 5mm all the way along this line. When you're happy with the spacing on the template, cut the piece of paper to fit, and stick it to the top of the brass paisl
…
Jan 1st 2021
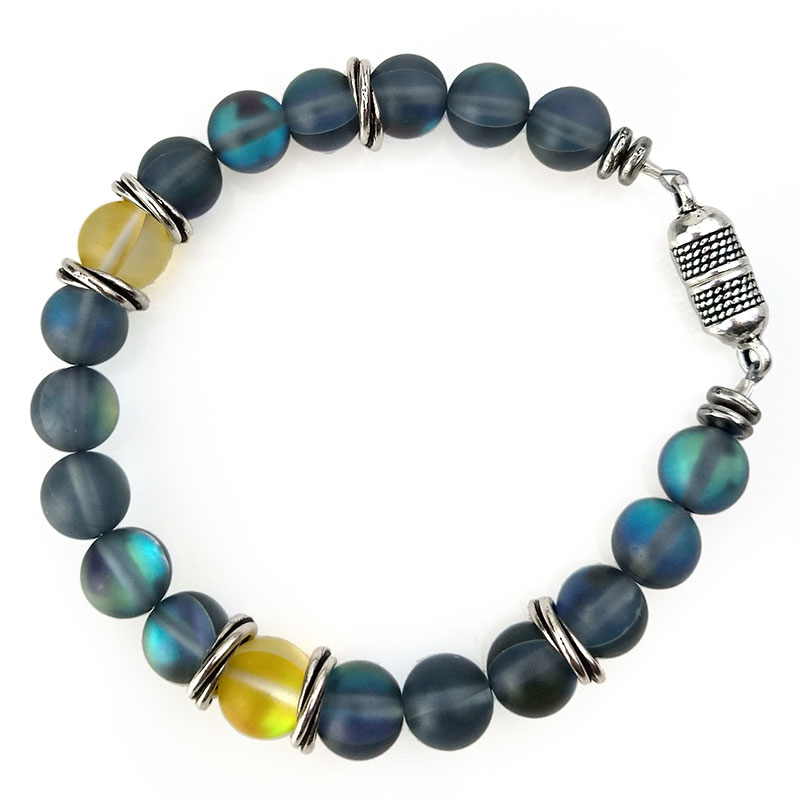
Optimistic Hope Bracelet Tutorial
The pictured design is a 9" bracelet, a good size for most men. These colors are inspired by Pantone's colors of the year for 2021, and pair nicely with the After Glow bracelet and earrings.Created by: Janet BoyingtonDesigner TipsLay out beads on a stringing board to check your length and pattern.Cut approximately 12" of stringing cable (3" more than the finished length of the bead section).Add a crimp tube, add clasp, and go back through crimp tube, making a small loop. Crimp securely, leaving
…
Jan 1st 2021
Lady-Leg Etched Earrings Tutorial
These fun etched copper earrings were cut out with shears (a jeweler's saw would also work great) and then the resist was hand-drawn with Sharpie, in the patterns of toes and thigh-high stockings.Created by: Noryan Baker & Mollie ValenteDesigner TipsCut the metal into the desired shapes and file edges smooth.Apply the design wth a permanent marking pen (such as a Sharpie®). The metal covered with permanent ink does not etch.Punch holes in metal as pictured and patina.Use jump rings to connec
…
Jan 1st 2021
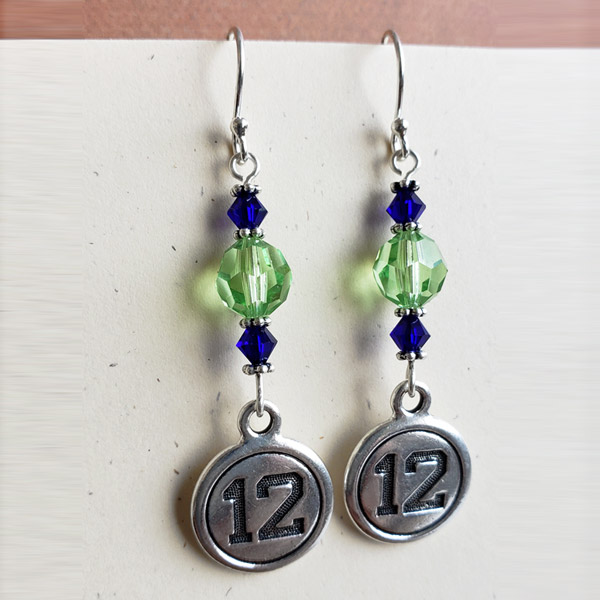
Lady 12 - Go Hawks - Earrings Tutorial
Created by: Liz GrafDesigner TipsPlace your spacer beads, cobalt blue bicones, and peridot round crystals on the eye pin in order.Create (and close) your eye pin the opposite direction of the way the loop on the top is sitting. For instructions on making eye pin loops, see Jewelry Basics 101 (PDF).Hook the "12" charm to the end of the eye pin you created the loop on.Attach an ear wire to the other end of the eye pin.Repeat for second earring.Suggested Supplies2 each #05-000-08-15 Round Swarovski
…
Jan 1st 2021
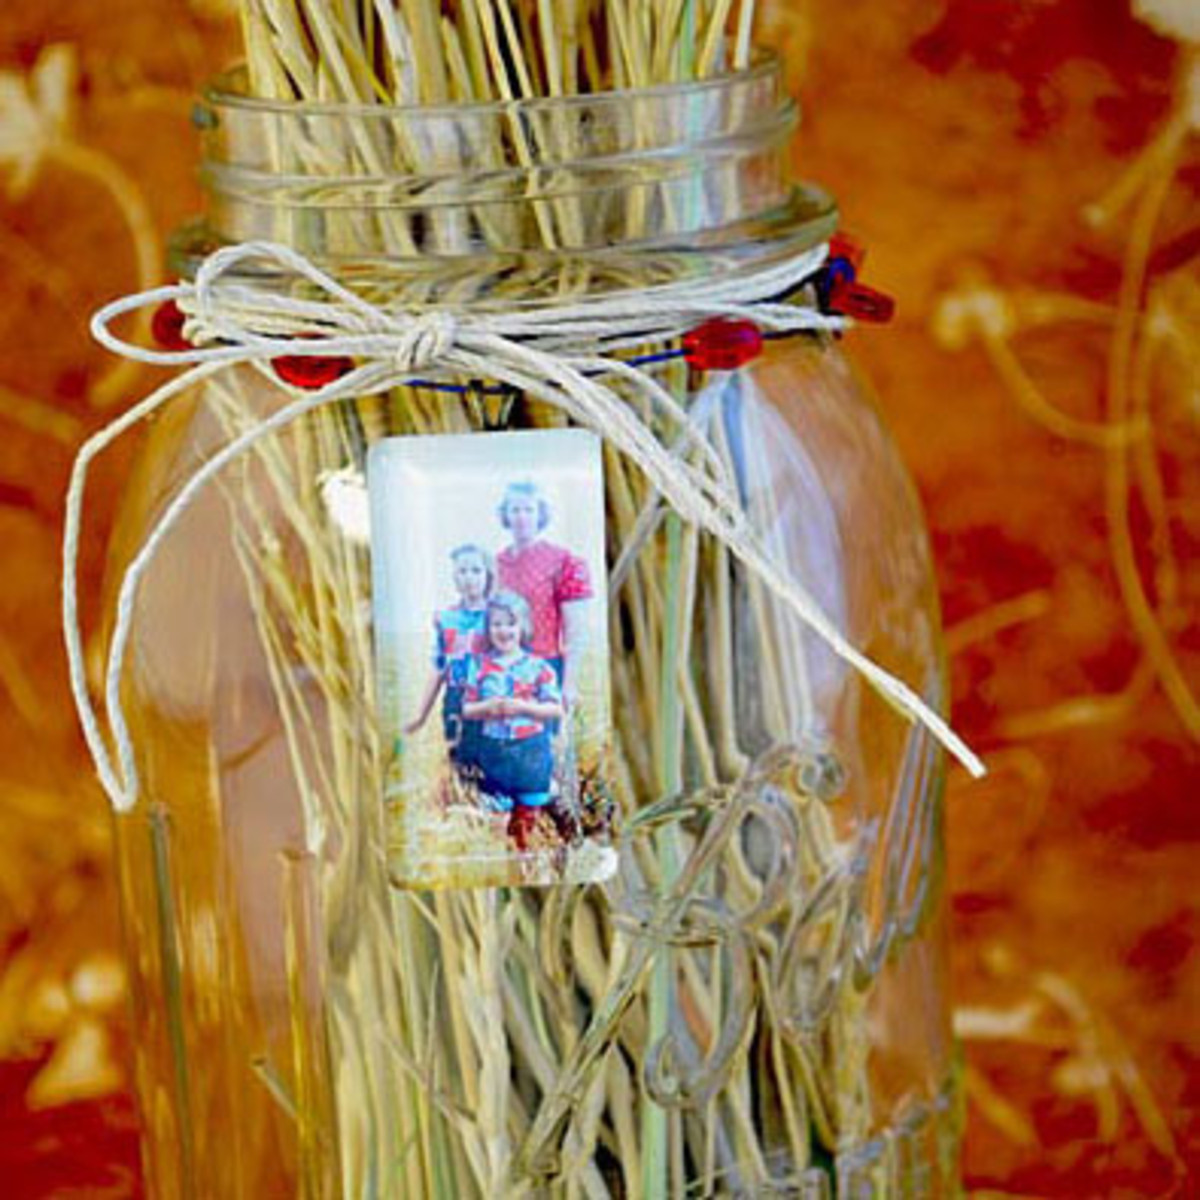
Labor of Love Centerpiece
Created by: Amy MickelsonDesigner TipsSize and cut an image to fit the glass tile.Use a paintbrush to apply the Inkssentials™ Glossy Accents to seal and affix the image to back of the glass tile. Once dry seal the backside of the image.Glue the pendant finding bail to the back, once the backside is dry.Center the pendant on a 16-20" piece of wire and add beads of your choosing to each side.Wrap the wire around the neck of the mason jar, spacing out beads around the neck. (The original beads show
…
Jan 1st 2021
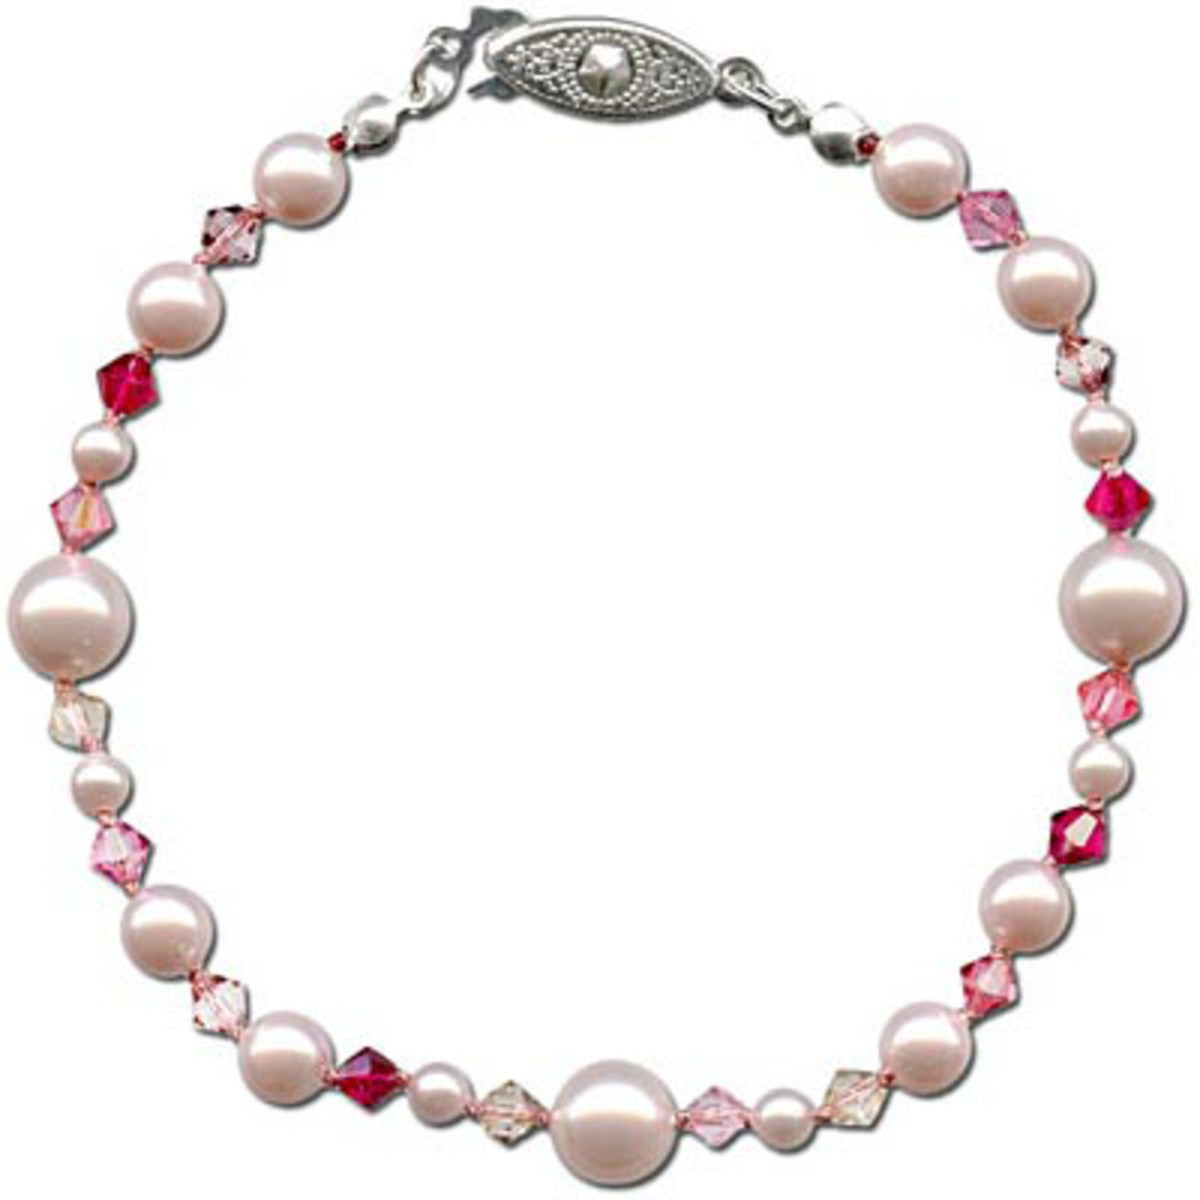
La Fleur Bracelet Tutorial
Created by: Rita Hutchinson Designer Tips This design uses 16 crystal bicones (2-3 of each color linked below).Knotting can be done by hand or with a cord knotter. The key to good knotting is to make sure the knot is as close to the beads as possible, so the beads don't move.Adjust the finished bracelet length by varying the pattern or using an adjustable length clasp. The finished length of this bracelet is 8.5".For other pearl color options, see our full selection of Swarovski Pearls
…
Jan 1st 2021
Kind and Gentle Necklace Tutorial
Created by: Rita HutchinsonDesigner TipsString your project at the far end of the needle-end cord. When completed, cut from the strand, and use the remainder of the cord for another project.Knotting can be done by hand or with a cord knotter. The key to good knotting is to make sure the knot is as close to the beads as possible, so the beads don'’t move.Free Technique Sheets & How-TosBasic Jewelry-Making Technique Sheet (PDF)Blog post: How to Make a Knotted Pearl NecklaceYouTube Video: Beada
…
Jan 1st 2021
Kilauea Nights Earring Tutorial
This stunning earrings project combines Swarovski queen baguette crystals with cascades of wrapped loop dangles and stylish Nina Designs earring hooks. The bicone bead dangles highlight the tones that reflect and shimmer from the crystal's volcano coating! Created by: Amy MickelsonSteps to Make These EarringsGather all your supplies (ready to purchase below).To use a different color of Swarovski crystals, choose from our full selection of Swarovski queen baguette pendants and Swarovski bicone be
…
Jan 1st 2021


