Rings & Things Jewelry Blog
Upcycled Cog Bracelet Tutorial
Created by: Polly Nobbs-LaRueDesigner TipsWhenever walking, watch for unusual/interesting metal objects on the ground! When they are an unknown metal, do not try antiquing them or punching holes with your jewelry tools. Aluminum may cause undesirable (toxic) chemical reactions, and steel is likely to break your jewelry tools. As a safer alternative, wrap with cord, wire or leather.Cut the snaps off the 1/2" wrap bracelet and fold one end around the edge of the tribuckle's smaller hole. Mark the
…
Aug 31st 2021
Tuli Tribal Necklace Tutorial
Created by: Joe HentgesDesigner TipsThe hole size for these handmade pendants can be variable.Use a drill to enlarge the hole to accommodate a 13-gauge jump ring.Darken the bone inside the enlarged hole with a black permanent marking pen.Free Technique Sheets & How-TosBasic Jewelry-Making Technique Sheet (PDF)Suggested Supplies1 oz [use 1] #37-189-9 Jump Ring, Round, 13.5mm1 pkg of 10 [use 1] #52-135-02-18 Necklace, Genuine Leather, 5mm, Economy, 18"1 ea #25-110-66-3 Pendant, Bone, Barbed Fi
…
Aug 14th 2021
Milky Way Cuff Links Tutorial
Created by: Rita HutchinsonDesigner TipsCut the images to size.Seal with packing tape and cut out.Adhere to bottle cap with Hypo Cement.Apply UV resin following package instructions.Attach cuff link findings with two-part epoxy.Free Technique Sheets & How-TosGluing Hints for Metal Findings (PDF)Suggested Supplies1 pkg of 100 [use 2] #55-075-17-43 Bottle Cap, 17mm1 doz [use 2] #30-322-1 Cuff Link, 10mm Pad1 ea #82-501-01 Magic-Glos™ UV Resin, 1oz1 ea #60-230 Adhesive, Epoxy, 3301 ea #60-250 A
…
Jun 30th 2021
Eclipse Cuff Links Tutorial
Created by: Mollie ValenteDesigner TipsClip the loop off both moon charms, file smooth, and sand with a 600 grit polishing cloth.Use a dapping block to gently dome the moon charms.Soft solder each moon charm to a round filigree. Clean with dish soap and water, and dry. (You can also substitute two-part epoxy for solder. Patina parts before gluing.)Patina each moon and polish to desired finish.Use rubbing alcohol to clean parts to be assembled and adhere with adhesive dots or two-part epoxy.Free
…
Jan 1st 2021
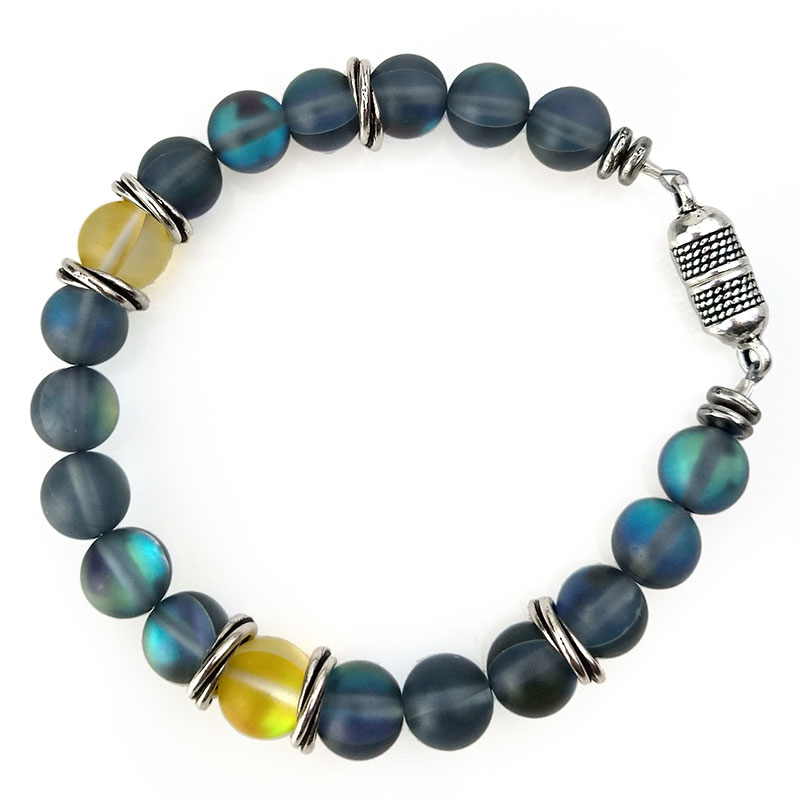
Optimistic Hope Bracelet Tutorial
The pictured design is a 9" bracelet, a good size for most men. These colors are inspired by Pantone's colors of the year for 2021, and pair nicely with the After Glow bracelet and earrings.Created by: Janet BoyingtonDesigner TipsLay out beads on a stringing board to check your length and pattern.Cut approximately 12" of stringing cable (3" more than the finished length of the bead section).Add a crimp tube, add clasp, and go back through crimp tube, making a small loop. Crimp securely, leaving
…
Jan 1st 2021
Cool Your Jets Magnetic Men's Earring Tutorial
Created by: Laurae SatherDesigner TipsCut the post portion off the rivoli earring finding.File the back until you have an approximately 4-5mm flat spot (about the same diameter as the earring magnet).Mix two-part epoxy according to manufacturer's directions.Apply epoxy to the flat portion of the rivoli setting, and place 1 part of the magnet set on the glued area.Once thoroughly cured, mix more epoxy and glue the rivoli into a rivoli setting. Set aside to cure.To wear, place the other part of th
…
Jan 1st 2021
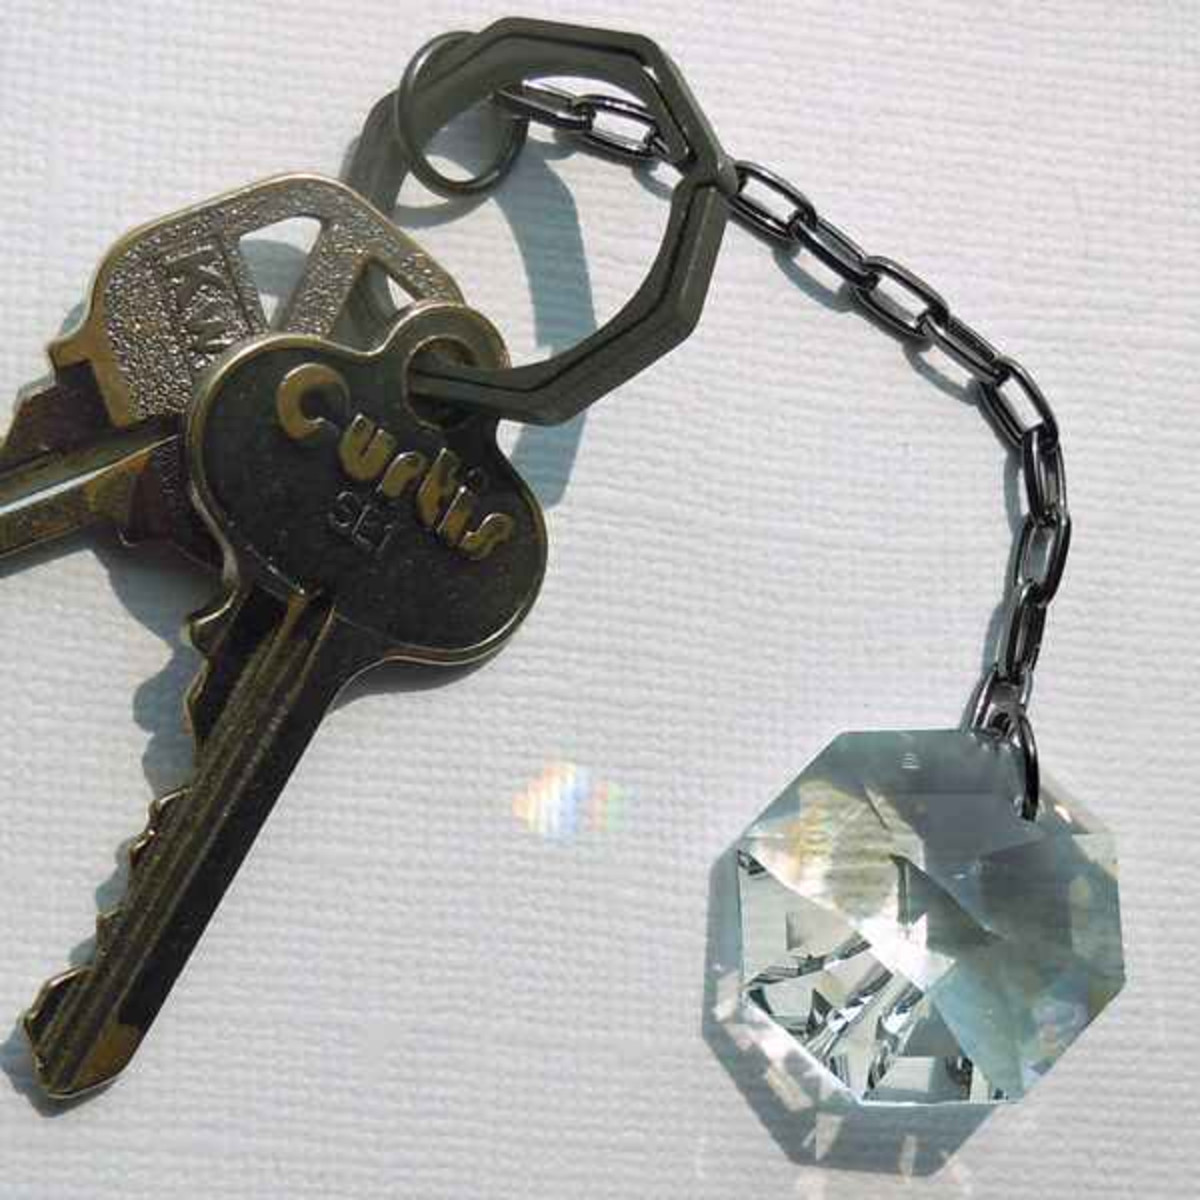
Titanium Octagon Key Ring Tutorial
Created by: Polly Nobbs-LaRueDesigner TipsThese flat-wire octagonal titanium key rings have a nice look and feel, and the octagon Swarovski Strass crystal continues the geometry. (If you it's crazy to put a crystal in a pocket with keys ... See links below for other design possibilities!)Pick the largest (thickest) jump ring that will fit through your chain link, and add the chain to the key ring. For best way to open and close loops, see Jump Ring Hint in Jewelry Basics 101 (PDF)Pick the thicke
…
Jan 1st 2021
Men's Cross Bracelet Tutorial
Created by: Valorie Nygaard-PouzarDesigner TipsCut the leather at an angle to assist in fitting two ends through the hole of the cross connector. For a better grip on the end of the leather, consider using serrated flat-nose pliers to pull the leather through the hole.Loop the leather ends through to make a lark's-head knot.String the beads onto the leather cord.For added strength, add a dab of Bead Fix to the leather ends before crimping.Crimp by squeezing the center of the crimp firmly with r
…
Jan 1st 2021


