Rings & Things Jewelry Blog
Hearts Across the States Keychain Tutorial
Created by: Janet BoyingtonDesigner TipsStamp hearts in desired locations on USA blank, and then use the "." (period) from the punctuation set to connect the hearts. (New to metal stamping? See Metal Stamping 101)If necessary, use nylon or rawhide hammer to re-flatten the blank.Punch hole (For proper technique, see Learn More tab of hole punch.)Patina with Novacan.If needed, sand blank to remove any large scratches.Polish to a mirror finish with Ultra polishing pad.Use split ring pliers to add s
…
Jan 1st 2022
Steel Empire Chain Maille Bracelet Tutorial
Created by: Rita HutchinsonDesigner TipsThis is a variation of the standard Byzantine weave, called Byzantine with 3 connectors. I wanted to use all stainless steel for this bracelet, but the aspect ratio (wire diameter vs inside diameter) of the 6mm stainless steel jump rings would have created a loose weave if I had followed the normal Byzantine weave pattern. By adding the 3rd connector, the weave becomes tighter and sturdier.Weave Got Mail Byzantine kits, or some Chain Mail books, provide st
…
Jan 1st 2022
Simple Silk Swag Men's Magnetic Earrings Tutorial
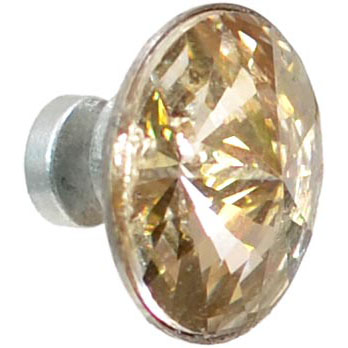
Created by: Laurae SatherDesigner TipsCut the post portion off the rivoli earring finding.File the back until you have an approximately 4-5mm flat spot (about the same diamter as the earring magnet).Mix two-part epoxy according to manufacturer's directions.Apply epoxy to the flat portion of the rivoli setting, and place 1 part of the magnet set on the glued area.Once thoroughly cured, mix more epoxy and glue the rivoli into a rivoli setting. Set aside to cure.To wear, place the other part of the
…
Jan 1st 2022
Dirty Money Clip Tutorial
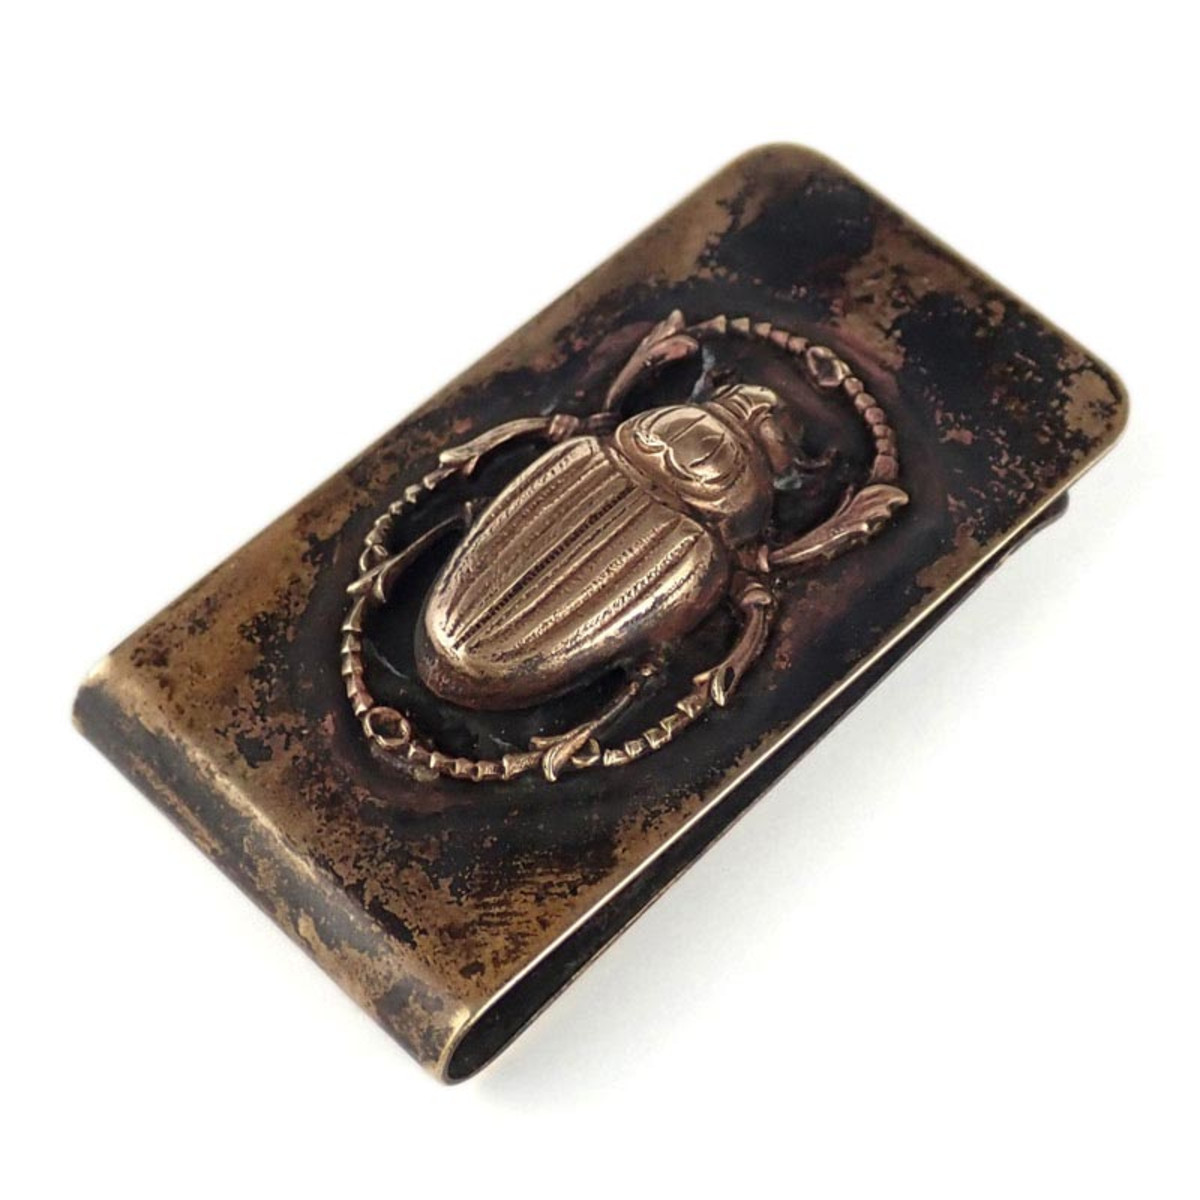
Created by: Rita HutchinsonDesigner TipsClean both parts with alcohol and allow to dry. Apply flux to key points on the back of the scarab, and then apply small dots of solder to these points using soldering iron.Add flux to the flat side of the money clip. Set money clip in pumice, arranging so that the top of the clip is level. Set the scarab on top of the clip in desired location.Using butane torch, concentrate the flame on the ends and edges of the clip. You want the clip to heat up to allow
…
Dec 2nd 2021
Jewelry Design Gallery
Welcome to our new Jewelry Design Gallery! To browse jewelry ideas by category or theme, use the turquoise #tags below (#etched jewelry projects, #enamel projects, etc.) for all projects of a particular category. For a Jewelry Design Gallery / Resources search box, click here or press the turquoise "FREE JEWELRY PROJECTS" link near the bottom of any project's page. You might also like our blog (blog.rings-things.com), filled with step-by-step illustrated projects, and a spot for Q
…
Oct 28th 2021
Kraken Belt Buckle Tutorial
Created by: Elisabeth ValenteDesigner TipsConsider taking a jewelry-making class through a local college or art school. The Complete Metalsmith by Tim McCreight and Simple Soldering: A Beginner's Guide to Jewelry Making are excellent references as well.Glue your image pattern to the metal with rubber cement, and cut along the pattern with a jeweler's saw. Use files to perfect the cut out.Follow the instructions that come with your torch. Always work in a well-ventilated area. Have a fire extingu
…
Oct 27th 2021
Dragonfire Men's Wrapped Bracelet Tutorial
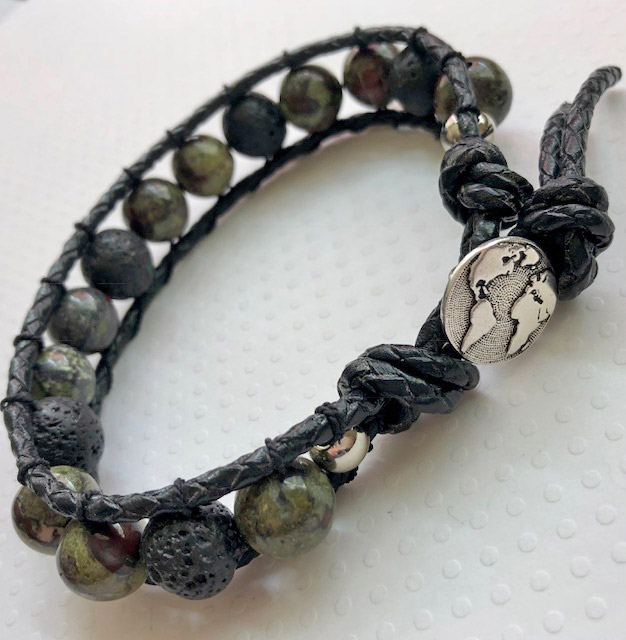
The classic wrapped leather bracelet is a great men's bracelet style already, and becomes even more masculine when you use leather bolo cord for the base.We ran out of 12mm Dragon Blood Jasper beads as soon as this bracelet went on display, so a few striking and exciting alternates are linked below: Created by: Janet BoyingtonDesigner TipsCut approximately 24" of leather. The average man's wrist is 8.5". Putting knots in the leather cord shortens the leather rather quickly, so if you're making t
…
Oct 27th 2021
Off the Map Cuff Links Tutorial
Created by: Mollie Valente Designer TipsSeal the front and back of the images with Crafter's Pick™ The Ultimate adhesive or Mod Podge® to prevent the images from bleeding.To prevent the images from floating, glue them to the bottom of the bezel cups. Allow the glue to dry thoroughly prior to adding resin.Create a level surface for the resin to cure in the cuff links: Turn a cardboard box over and poke holes in the lid with a pen or other sharp object.Follow instructions in the Epox
…
Sep 30th 2021
Craft Beer Can Belt Buckle Tutorial
Upcycle a craft beer can, or any aluminum can with awesome graphics, into a custom belt buckle. Great gift for a craft beer aficionado!Created by: Mollie ValenteDesigner TipsParts are listed below.For the illustrated step-by-step tutorial, including great tips on making a template and preparing your work surface, please see Mollie's full article at blog.rings-things.com:DIY - Make a Belt Buckle from a Craft Beer Can.Suggested Supplies1 each #30-682-01-AS Antiqued Silver Plated Belt Buckle Blank,
…
Sep 30th 2021
Tethered - Lanyard Tutorial
The key to making masculine jewelry is using masculine supplies and keeping it simple. Combine strong leather or waxed cotton cord with bone beads, metal beads, or glass trade beads and then add a bold focal pendant. It is also a benefit if the jewelry has a utilitarian purpose.Here is my version of "men’s jewelry" -- an adjustable lanyard necklace made with guy supplies; it can be used to hold a decorative pendant or be more utilitarian as a key holder. Created by: Mollie ValenteDesigner TipsFo
…
Sep 30th 2021


