Rings & Things Jewelry Blog
Bat Signal Magnetic Pin Tutorial
Created by: Mollie ValenteFor step-by-step instructions -- with photographs -- for this project, see our blog article: Jewelry Making: DIY Bat-Signal Magnetic Pin.Parts-List and More Links Below...Suggested Supplies1 5-pack (use 1 piece) #83-511-02-042 Glass Bezel, Oval, 35x28mm1 each #27-960-23-901 Cameo, Bat, 25x18mm1 meter (use 4 inches) #46-342-1 Crystal/ Rhodium Plated Swarovski Rhinestone Chain, 14pp1 each #38-409-1 White Plated Pin Magnet, Round1 each #60-280 Adhesive, Crafter's Pick, The
…
Oct 30th 2021
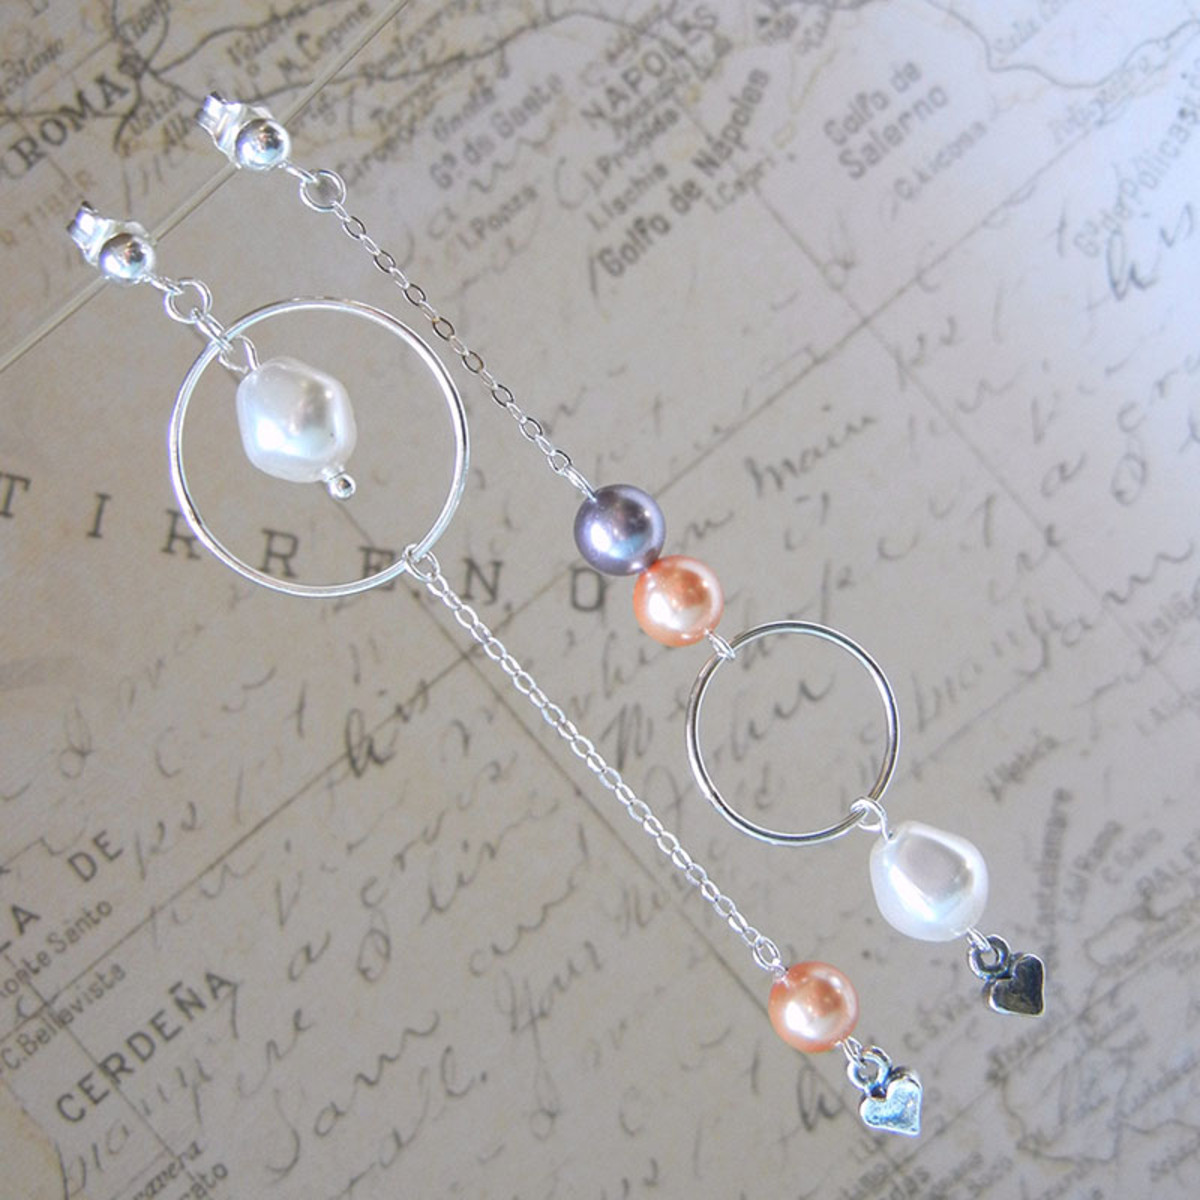
Balancing Act Asymmetrical Earrings Tutorial
Created by: Mollie ValenteDesigner Tips - Earring 1Attach a tiny heart charm to the end of an eye pin. String on a rose-peach pearl and form a simple loop on the end. Then attach to the the end link of chain. New to jewelry-making? See Jewelry Basics 101 (PDF).Cut the chain at 1-1/2 inch in length. Use a 3mm jump ring to attach the chain to the bottom of a 20mm link.String a white Baroque pearl onto a ball-end head pin and form a simple loop on the end. Use a 4mm jump ring to attach to the top o
…
Oct 25th 2021
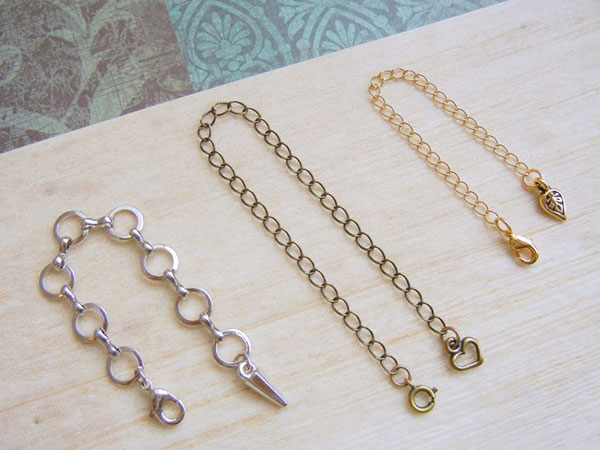
Adjustable Necklace Extenders Tutorial
Created by: Mollie ValenteDesigner TipsFor instructions with step-by-step photos, please see our blog article: How to Make an Adjustable Necklace Extender.Suggested Supplies1 foot (use 4") #40-011-001-4-FT Gold Plated Oval Cable Chain by the FOOT, 2.2mm1 ounce (use 2 pieces) #37-133-2 Yellow Plated Jump Ring, Round, Heavy, 4.5mm1 half-gross (use 1 piece) #39-240-4 Gold Plated Lobster Clasp, 6x10mm1 each #49-958-86-AG TierraCast Antiqued
…
Sep 30th 2021
Belle Starr Leather and Turquoise Bracelet Tutorial
Created by: Mollie Valente Designer TipsStart with extra leather and thread, cutting off any excess is better than not having enough.For security, add additional stitches on the first and last beads.Stay focused, the figure-eight stitching is easily done, but it is also easy to make a mistake.Use the two-hole punch to make two opposing holes, thus turning the wavy disk into a button.For added adornment, use oval jump rings to attach themed charms.Free Technique Sheets & How-Tos
…
Jun 30th 2021
Bee Keeper Reliquary Necklace Tutorial
Created by: Mollie ValenteDesigner TipsFor a step-by-step tutorial with images, check out the How to Create a Reliquary Pendant blog post.Cut and shape the blank: Measure and cut a brass blank 1 x 1-3/4" in size. File the blank to soften the corners.Mark and punch holes: Measure and mark the hanging holes: 3 holes, 1/8" from the top and spaced to match the holes of the triangle filigree and the wire-lashing holes; 2 holes, 1/8" from each side and 5/8" from the top. Punch holes in the marked posi
…
Jan 1st 2021
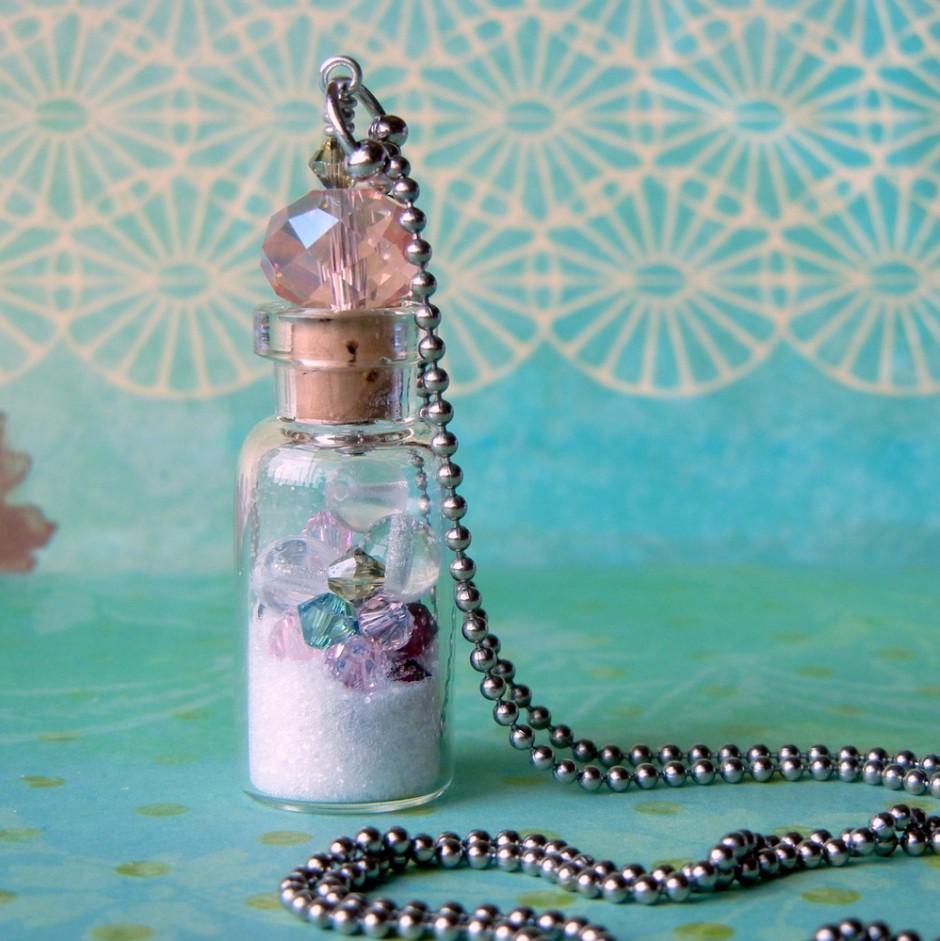
Beachcomber Glass Vial Tutorial
Created by: Mollie ValenteFor step-by-step illustrated instructions to make this Beachcomber glass bottle treasure necklace, see our blog post: How to Make a Glass Vial NecklaceSuggested Supplies1 each #30-187-3515 32x15mm clear glass bottle1 each #05-040-12-02 12mm faceted briolette or rondelle crystal bead1 dozen [use 3-4 beads] #05-328-04-124 Swarovski 5328 Faceted XILION Bicone Beads, 4mm - Indicolite1 dozen [use 3-4 beads] #05-328-04-407 Swarovski 5328 Faceted XILION Bicone Beads, 4mm - Den
…
Jan 1st 2021
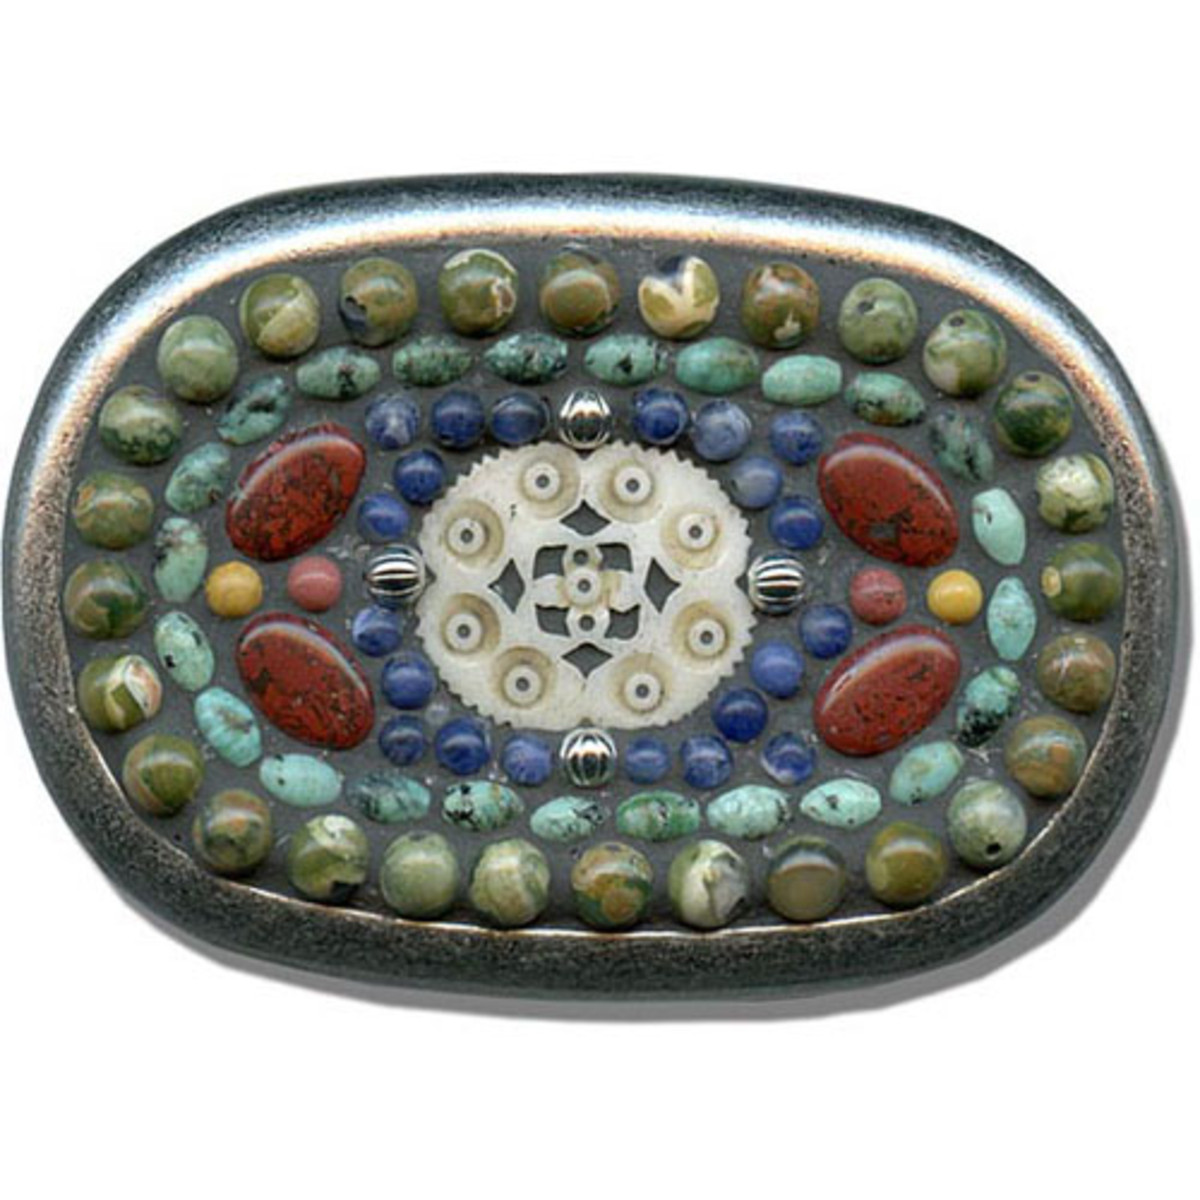
Albuquerque Belt Buckle Tutorial
Created by: Mollie ValenteDesigner TipsPlan your layout for design and fit.Use two-part epoxy to glue the mosaic components in place. Allow to cure overnight.Mix grout according to manufacturer's instructions. Read and follow application and clean up directions.Apply the grout to the mosaic in a circular motion while pushing the grout into all voids.Allow grout to set for 10 minutes, then use a slightly damp sponge to clean up excess grout and smooth the surface. Rinse sponge and repeat until cl
…
Jan 1st 2021


