Rings & Things Jewelry Blog
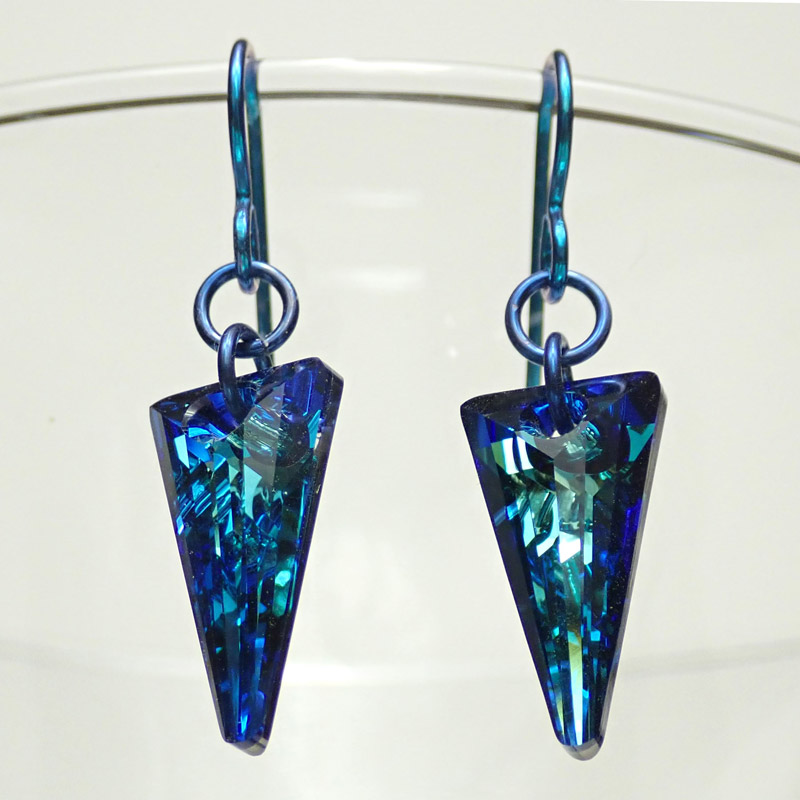
Bermuda Triangle Earrings Tutorial
No mysteries here, just a simple design with a stunning color effect. Bermuda Blue, with its intense flashes of teal and deep blues, has been one of our favorites from Swarovski since we first added it in the 80's. Created by: Rita Hutchinson Designer TipsUsing both the teal and blue Niobium picks up the various shades that are in the Bermuda blue crystals. Simply use jump rings to connect the Bermuda Blue crystals to the ear wires. For best way to open and close loops, see J
…
Aug 31st 2021
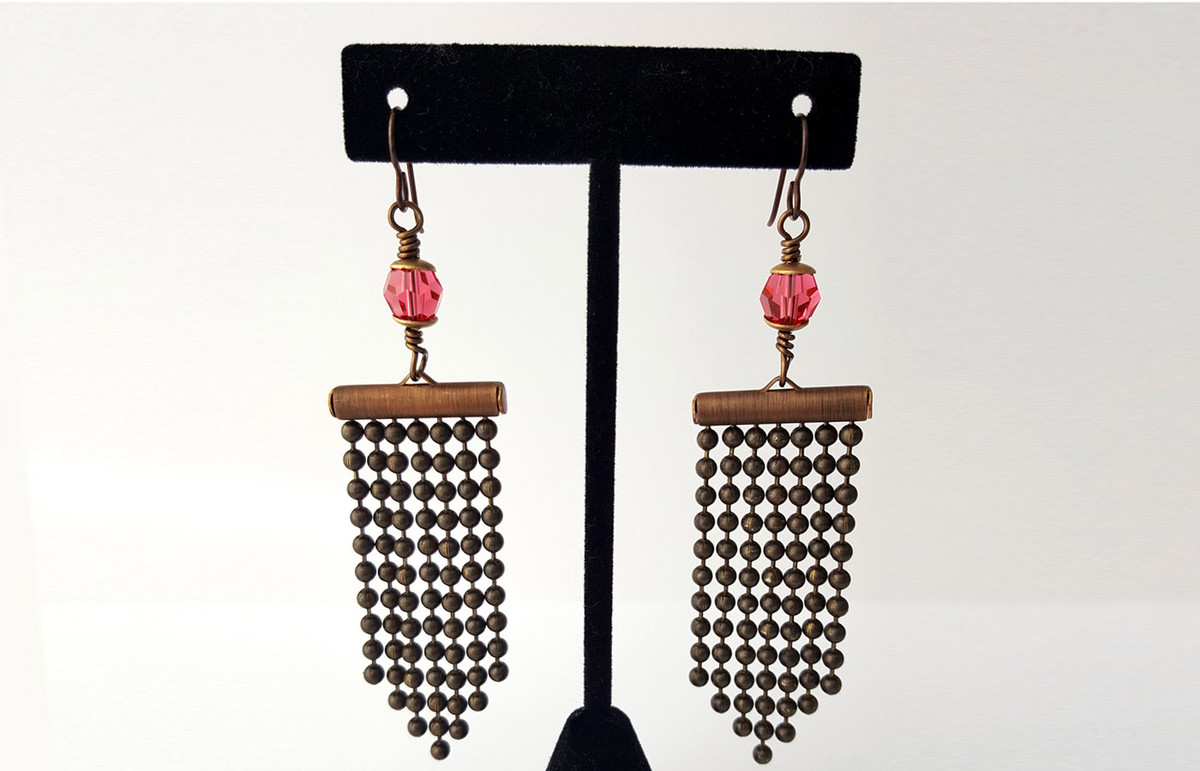
Bead Curtain Earrings Tutorial
Learn to make unusual chain fringe earrings with a dash of crystal. FREE Jewelry Tutorials. No blinkin ads. No login required. Created by: Rita Hutchinson Designer TipsThe bead pod just barely fits the 3.2mm ball chain. You may have to do some extra pushing to get the first ball into the opening.Do not precut the ball chain - slide the end ball into the pod, then cut to length. Using the remainder, slide the end ball into the pod next to the first one, and cut one ball longer. Repeat 2
…
May 31st 2021
Aurora Sprinkles Earrings Tutorial
Created by: Rita Hutchinson Designer TipsCut bezel strip to size (one 8-12" piece) and flatten/ work harden with nylon hammer.Add texture to both sides of bezel strip with texture stamping hammer and included "sprinkles" design stamp. (The wire may distort somewhat. Don’t be concerned, this will not be noticeable at the end.)Cut textured bezel strip in half.If you don’t have a tumbler, use Novacan to antique the wire at this step, and polish the high points with steel wool.Wrap 1 textured
…
Feb 1st 2021
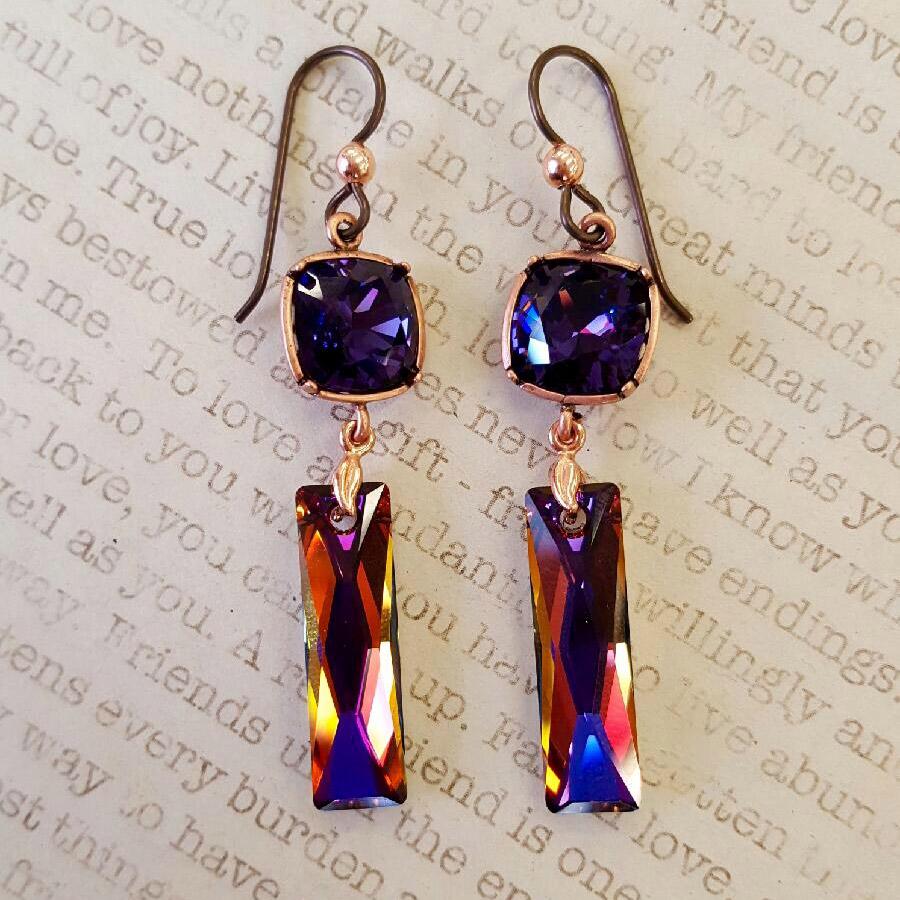
Carnival Queen Earrings Tutorial
Created by: Summer MelaasDesigner TipsPlace 10mm cushion square stone into setting, and use nylon-jaw or chain-nose pliers to gently flatten the prongs onto the stone. See tips in our blog, for best way to keep your stone safe and centered.Carefully add bail to top of pendant (gently open the prongs with needle-nose pliers if needed). Use nylon-jaw or chain-nose pliers to securely close the bail.One loop on the setting is openable. Twist the loop open far enough to add the bail, then twist to se
…
Jan 3rd 2021
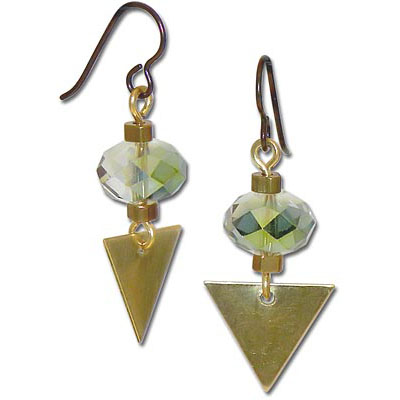
Brass Arrow Earrings Tutorial
Created by: Mollie ValenteDesigner TipsCut the wire in half and form an "eye" loop on one end of each wire.Flatten the loop by striking with a chasing hammer on a steel block.Add the following beads to each handmade eye pin: a brass heishi, a crystal rondelle, and a brass heishi.For each bead link, cut off the excess wire leaving just enough length to form a second eye; form the eye and flatten the loop.Punch a hole centered in the top side of the triangle.Twist open the eye of the eye pin, add
…
Jan 1st 2021
Aztec Princess Earring Tutorial
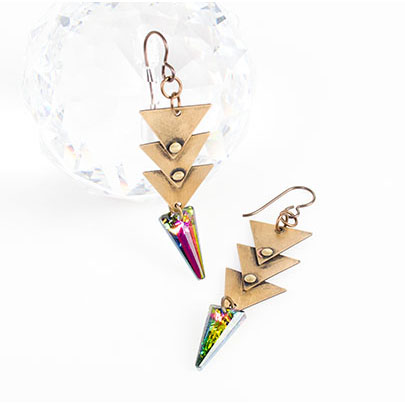
This project uses Swarovski crystals. Created by: Tiffany WhiteDesigner TipsMark all six of your triangle blanks with a permanent marker dot in one of the points and straight down on the opposite side.Use the hole-punching side of the riveting tool to make a hole in the triangle blanks where you placed your dots.Use the riveting tool to rivet the triangles together with the brass rivets.Antique the brass pieces with Novacan black.Using the sanding sponge remove some of the patina from the brass
…
Jan 1st 2021

