Rings & Things Jewelry Blog
Classic Bridal Earrings Tutorial
Created by: Summer MelaasDesigner TipsAttach ear wire to top loop of filigree. For best way to open and close loops, see Jump Ring Hint in Jewelry Basics 101 (PDF).Use jump rings to attach the pear pendants to the bottom loops of the filigree.Repeat for other earring. Suggested Supplies1 pair #34-544-14-042 4mm Cubic Zirconia Bezel Set Sterling Earwire - Diamond2 each #44-199-11 Sterling Silver Flared Filigree - 3 Loops6 each #06-128-08-02 Swarovski 6128 Mini Pear Pendant, 8mm - AB1 ten-pack (us
…
Feb 22nd 2023
Jewelry Design Gallery
Welcome to our new Jewelry Design Gallery! To browse jewelry ideas by category or theme, use the turquoise #tags below (#etched jewelry projects, #enamel projects, etc.) for all projects of a particular category. For a Jewelry Design Gallery / Resources search box, click here or press the turquoise "FREE JEWELRY PROJECTS" link near the bottom of any project's page. You might also like our blog (blog.rings-things.com), filled with step-by-step illustrated projects, and a spot for Q
…
Oct 28th 2021
Pretty Posy Filigree Earrings Tutorial
Created by: Mollie ValenteDesigner TipsMix the adhesive according to the manufacturer's instructions.Apply masking tape to the back side of the filigrees. This will prevent the adhesive from leaking through the openings.Apply adhesive to the back side of the flat back crystal and center it on the filigree and press gently. Repeat with the second filigree and crystal.Set the pieces aside in a warm area to cure. Curing overnight is usually best.Once cured, remove the masking tape from the back sid
…
Jan 1st 2021
Lavender Sachet Tutorial
Created by: Toni PlastinoDesigner TipsCut desired images to size; place in picture frame. Fill organza bag with lavender, pull tight, add picture frame, and securely knot! Suggested Supplies1 dozen [use 1] #63-251-09 Bag, Organza, 4x3"1 each #55-700-13-7 Picture Frame, Hinged, House, 1.75x1"Tools#69-043 Tool, Scissors, Extra-Large LoopAdditional Supplies1/2 cup lavender, dried1 image cut to desired size
…
Jan 1st 2021
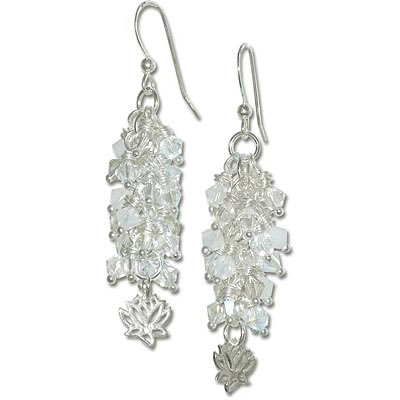
Enlightened Earring Tutorial
Created by: Rita HutchinsonDesigner TipsUsing a longer head pin allows for double "messy" wrapping at the top of each crystal.Attach 4 crystal dangles to each of 6 jump rings. 2 extra jump rings face the charm in the right direction, and allow it to show from under the crystals.For added interest, choose crystal bead colors for the dangles randomly.Free Technique Sheets & How-TosBasic Jewelry-Making Technique Sheet (PDF)Blog post: How to make "Cluster Earrings"Suggested Supplies1 doz [use 2]
…
Jan 1st 2021
Easy Peasy Lariat Tutorial
Created by: Rita Hutchinson Just 3 parts total: leather cord, leather-hole pearls, and a link about the size of a quarter (around 25mm). Choose from a wide variety of link options in sterling silver and gold fill. Designer TipsDetermine finished necklace length (this piece is about 28"").Tie a double overhand knot at one end of leather. Slide all 4 pearls on the leather from the other end.Tie silver link to the other end of the leather with another double overhand knot.Settle one pear
…
Jan 1st 2021
Pearl Wraparound Swarovski Necklace Tutorial
Created by: Swarovski's Create Your Style Design TeamDesigner TipsUsing one head pin, slide on one 5844 10mm elongated baroque pearl, make a simple loop and set aside. Repeat 29 more times and set aside.For step by step instructions on making simple loops, and most secure way to open and close jump rings, see Jewelry Basics 101 (PDF).Using the gold chain, take one side of the chain and beginning 3" up on the chain, attach 15 pearls from step 1, one on each ring.On the other side of the gold chai
…
Jan 1st 2021
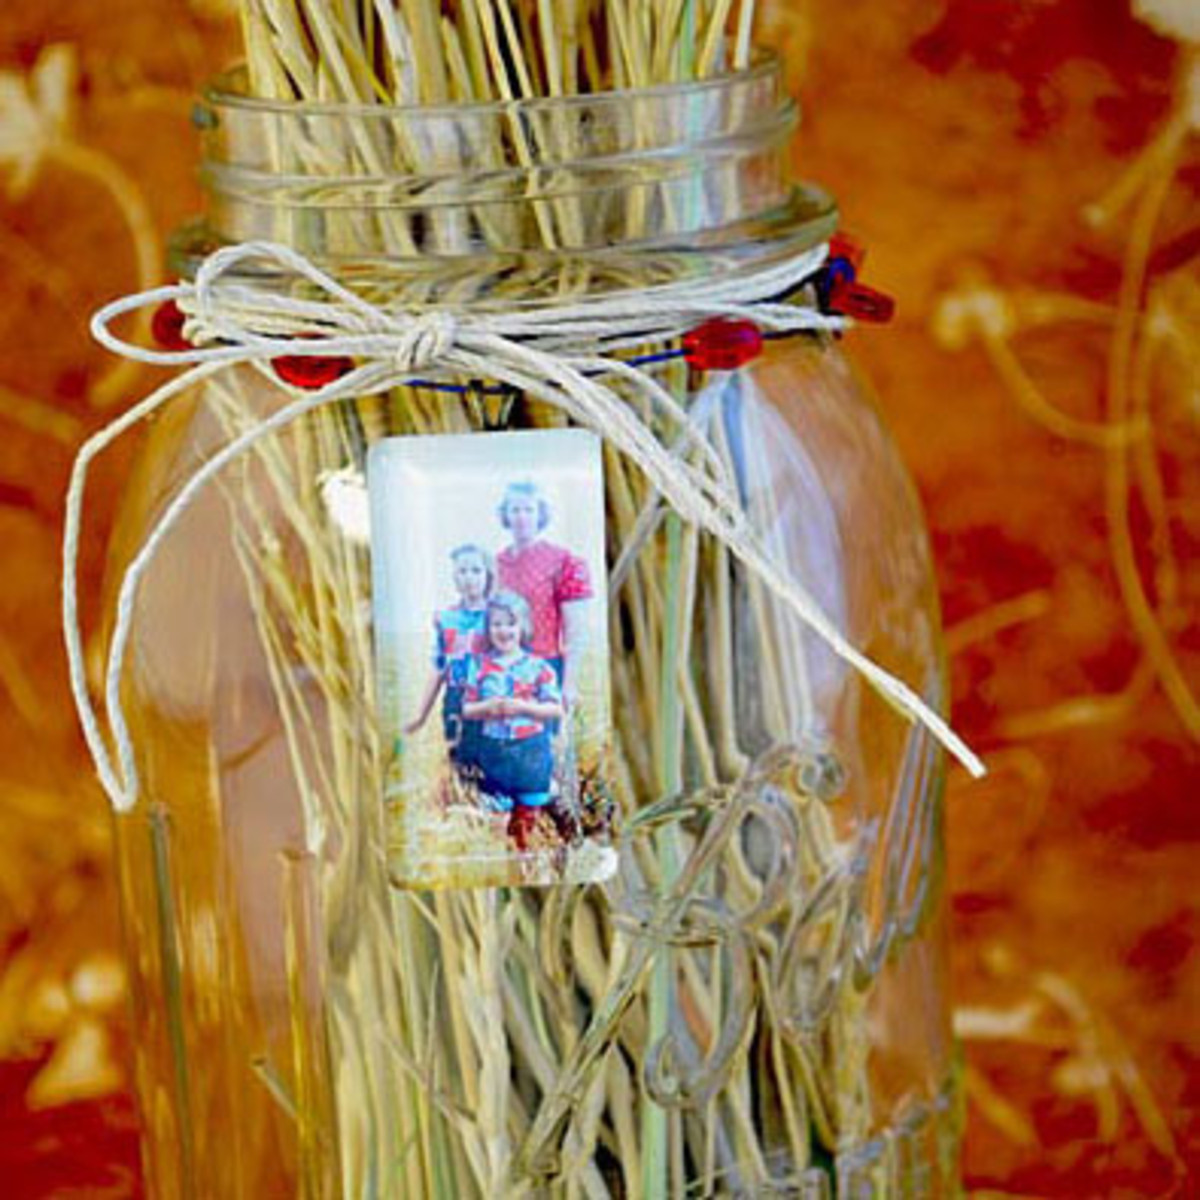
Labor of Love Centerpiece
Created by: Amy MickelsonDesigner TipsSize and cut an image to fit the glass tile.Use a paintbrush to apply the Inkssentials™ Glossy Accents to seal and affix the image to back of the glass tile. Once dry seal the backside of the image.Glue the pendant finding bail to the back, once the backside is dry.Center the pendant on a 16-20" piece of wire and add beads of your choosing to each side.Wrap the wire around the neck of the mason jar, spacing out beads around the neck. (The original beads show
…
Jan 1st 2021
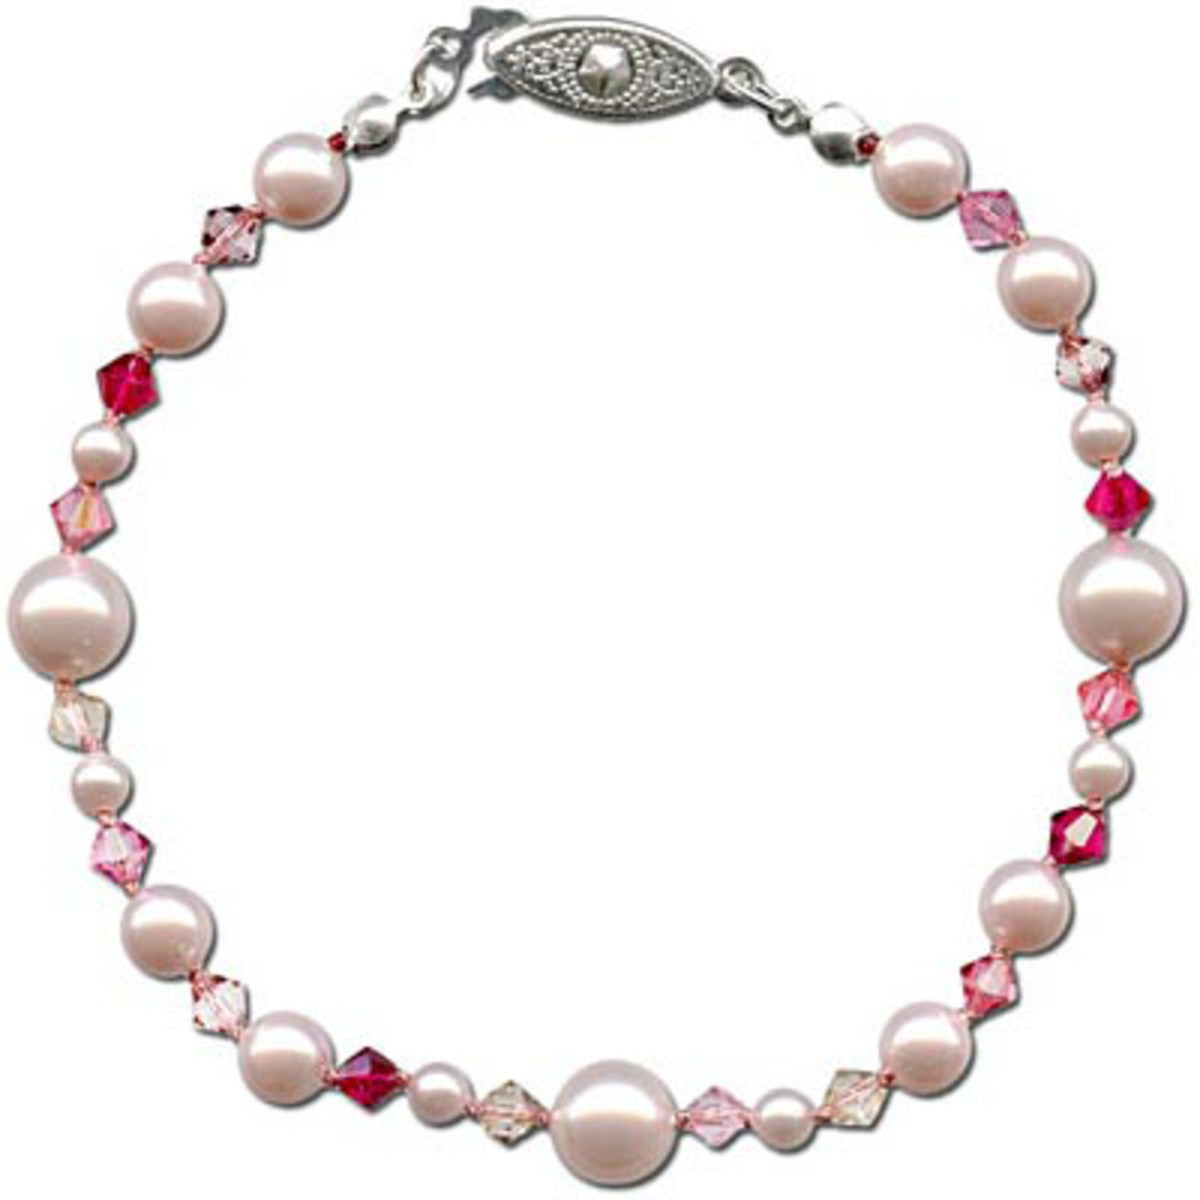
La Fleur Bracelet Tutorial
Created by: Rita Hutchinson Designer Tips This design uses 16 crystal bicones (2-3 of each color linked below).Knotting can be done by hand or with a cord knotter. The key to good knotting is to make sure the knot is as close to the beads as possible, so the beads don't move.Adjust the finished bracelet length by varying the pattern or using an adjustable length clasp. The finished length of this bracelet is 8.5".For other pearl color options, see our full selection of Swarovski Pearls
…
Jan 1st 2021
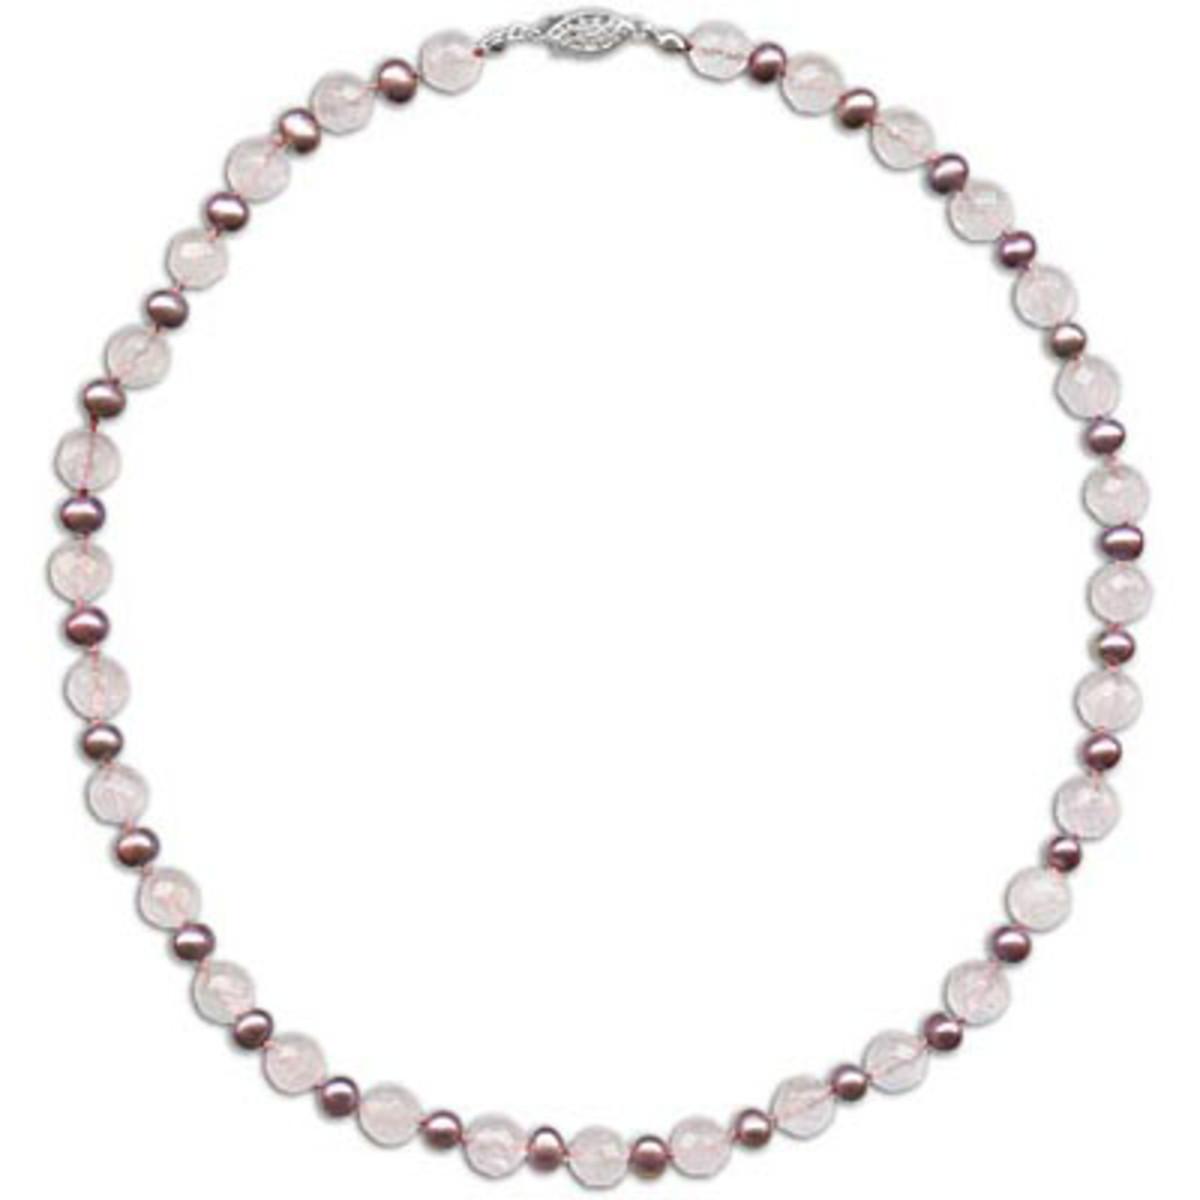
Kind and Gentle Necklace Tutorial
Created by: Rita HutchinsonDesigner TipsString your project at the far end of the needle-end cord. When completed, cut from the strand, and use the remainder of the cord for another project.Knotting can be done by hand or with a cord knotter. The key to good knotting is to make sure the knot is as close to the beads as possible, so the beads don'’t move.Free Technique Sheets & How-TosBasic Jewelry-Making Technique Sheet (PDF)Blog post: How to Make a Knotted Pearl NecklaceYouTube Video: Beada
…
Jan 1st 2021


