Rings & Things Jewelry Blog
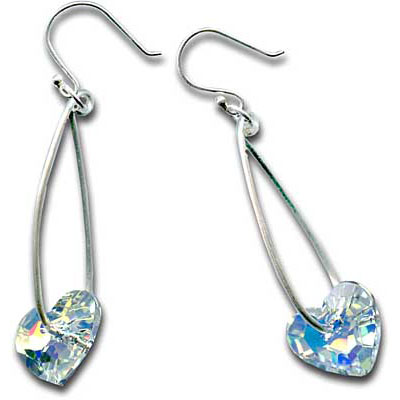
Swinging Hearts Earrings Tutorial
Created by: Amy Scalise. Design by: Swarovski's Create Your Style Design TeamDesigner TipsThese earrings are inspired by the CREATE YOUR STYLE design: "Mother´s Day Earrings: Swinging Hearts".Cut two 3" pieces of 16-gauge wire.Bend two wires at a time to achieve a pair of earrings that match well.Consider using silver-filled jewelry components, as an economical alternative to sterling silver parts.Free Technique Sheets & How-TosBasic Jewelry-Making Technique Sheet (PDF)Suggested Supplies2 ea
…
Feb 14th 2021
Gentle Souls Bracelet 2 Tutorial
As a graceful nod to the free-spirited Bohemian trend, we created a set of beautiful bracelets in softly muted hues: smoky quartz, warm gold, smoked topaz, antique brass, rose gold amber and iridescent green. We added the sparkle of Swarovski and the luster of Pyrite, and some swing with metal chain and thread tassels. The symbolism and metaphysical properties are protection.Created by: Sondra BarringtonDesigner TipsMeasure your wrist, and cut Stretch Magic an extra four inches to give you enoug
…
Feb 11th 2021
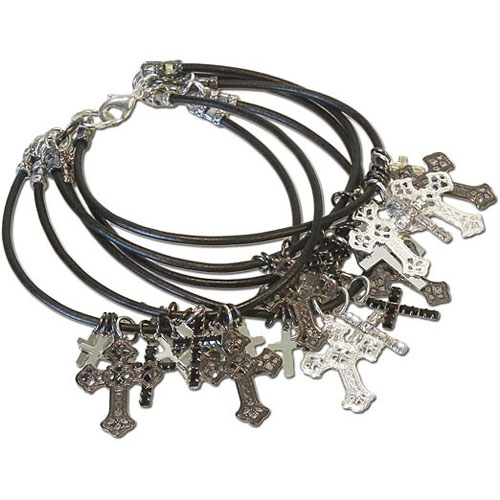
Baptized by Fire Bracelet Tutorial
Created by: Lindsey GreenDesigner TipsMix and match the crosses in any way you would like! No pattern is required.Adjust the length of the leather pieces and number of jump rings to change the size of the bracelet.Free Technique Sheets & How-TosBasic Jewelry-Making Technique Sheet (PDF)Suggested Supplies8 each #41-151-99-25-3 Center-Crimp Tube with Loop, 2.2mm I.D.4 each #41-151-99-25-9 Center-Crimp Tube with Loop, 2.2mm I.D.5 each #46-329-9-24 Crystal, Charm, Cross, 16mm1 dozen [use 3] #44-
…
Feb 5th 2021
Go Zags - March Madness Bracelet
Created by: Summer Melaas Designer TipsStamp the tag with 3mm letter stamps. For longer team names, use a larger tag or smaller set of stamps. See Metal Stamping 101 for detailed stamping instructions. If you're new to stamping, get a few extra tags, as stamping can be unpredictable and there may be mess ups.Place crystal stones in bezels, and carefully bend prongs down using fingers and/or nylon-jaw pliers.Add a large round jump ring to the basketball charm. For best way to open and clos
…
Feb 1st 2021
Double Wrap Hammered Rings Tutorial
Depending on the beads you use, this quick and easy unisex design can go from frilly and feminine to macho and masculine.Created by: Michelle HorningDesigner TipsFor step-by-step instructions, see the Double Wrap Hammered Ring portion of our 2014 blog post on creating rustic hammered wire wrapped Swarovski crystal rings.Make sure the ends of the large gauge wire don't hang too far over, or they will catch on things and bend."Balance" Copper Ring is a modification with two smaller beads. Add one
…
Feb 1st 2021
Good Fortune Necklace Tutorial
Created by: Mollie ValenteDesigner TipsAssemble the bead-adorned pendant:Fold the 18" piece of waxed cotton cord in half. String the cord ends through the Dragon Coin Pendant loop, then form a Lark's head knot.String a Mirage bead and then a large-hole carnelian bead onto the doubled cord so they rest snuggly against the pendant loop.Attach the pendant to the leather choker by tying a "Fancy Knot" bail (see PDF technique sheet for instructions).Suggested Supplies1 each #49-943-21-AB TierraCast D
…
Feb 1st 2021
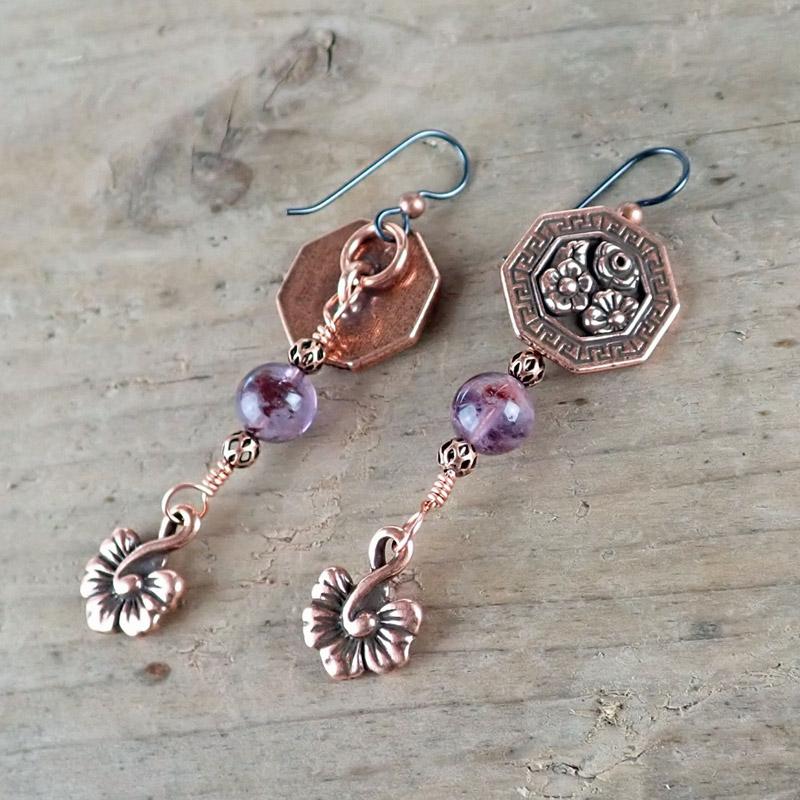
Floral Intuition Earrings Tutorial
Created by: Rita HutchinsonDesigner TipsCreate wire wrapped link with Cacoxenite and Filigree Beads to attach Blossom charm to the shank of the button. New to jewelry-making? See Jewelry Basics 101 (PDF). For the earrings to hang properly, the loop for the charm should be perpendicular to the loop for the shank.Determine "top" and "bottom" of the button and use round jump ring to attach earwire to the top of the button shank.Repeat for other earring.The filigree beads add interest and texture to
…
Feb 1st 2021
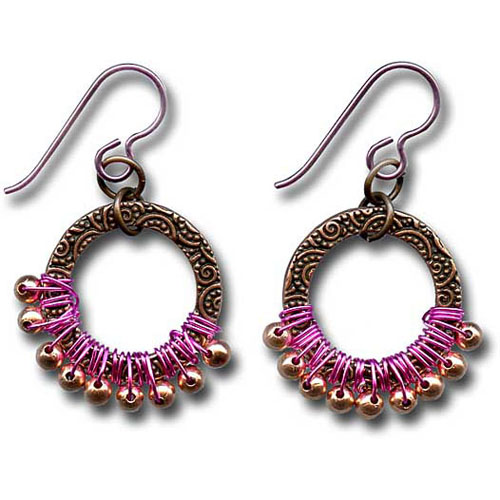
Boho Barbie Earrings Tutorial
Created by: Laurel NewnhamDesigner TipsCut wire into two 16" lengths, one for each earring. Trim excess as needed.Hold wire tightly to create loops that are closer together.Experiment with the position of the beads if using other shapes such as bicones, firepolish rounds or tiny cubes. Some shapes are easier to add on the outer rim of the ring, than others.Free Technique Sheets & How-TosBasic Jewelry-Making Technique Sheet (PDF)Blog post: Wire lashing: an easy way to cover your jewelry with
…
Feb 1st 2021
Dumortierite and Copper Coin Necklace Tutorial
Created by: Dee MuellerDesigner TipsCreate bead connectors with the 8mm rondelles and 14mm faceted round beads.Cut eight 1" pieces of chain. With jump rings attach two pieces of chain to each of six bead connectors in a series.Cut twenty 3" pieces of chain. Attach 2 pieces of chain to a connector loop with a jump ring and through the hole in a coin. Attach the other end of the chain pieces back on the same jump ring on the connector. Connect remianing coins and connectors as well as the pendant
…
Feb 1st 2021
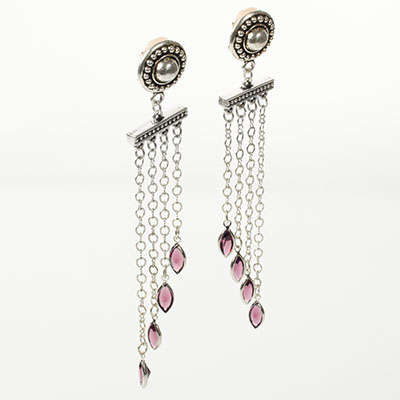
Amethyst Cascade Earring Tutorial
Necklace ends can be used for things other than securing multistrand necklaces. This project uses necklace ends as a design element in cascading chain earrings.Amethyst is February's birthstone, making this a great February birthstone gift. (Other color options below.)Created by: Amy MickelsonDesigner TipsCut chain into the following lengths: 2 pieces each at 2.5", 2.0", 1.75", 1.5". Design Option: Cut the chain pieces all the same length.Use an oval jump ring to attach a crystal navette to the
…
Feb 1st 2021

