Rings & Things Jewelry Blog
Cute as a Button Necklace Tutorial
Created by: Mollie Valente Designer TipsCenter the button on the pendant finding and mark the hole locations with a Sharpie® pen. Punch holes in the pendant finding.Tie the button onto the pendant finding in a criss-cross pattern. Secure the knot in the back with glue.Use a 10mm jump ring to connect the button pendant and the lanyard hook.Wire-wrap the crystal dangles as pictured; use a 4.5mm jump ring to attach the three dangles to the lanyard hook. See Basic Jewelry-Making Technique Sheet (PDF
…
Jan 25th 2021
Custom Anniversary Bracelet Tutorial
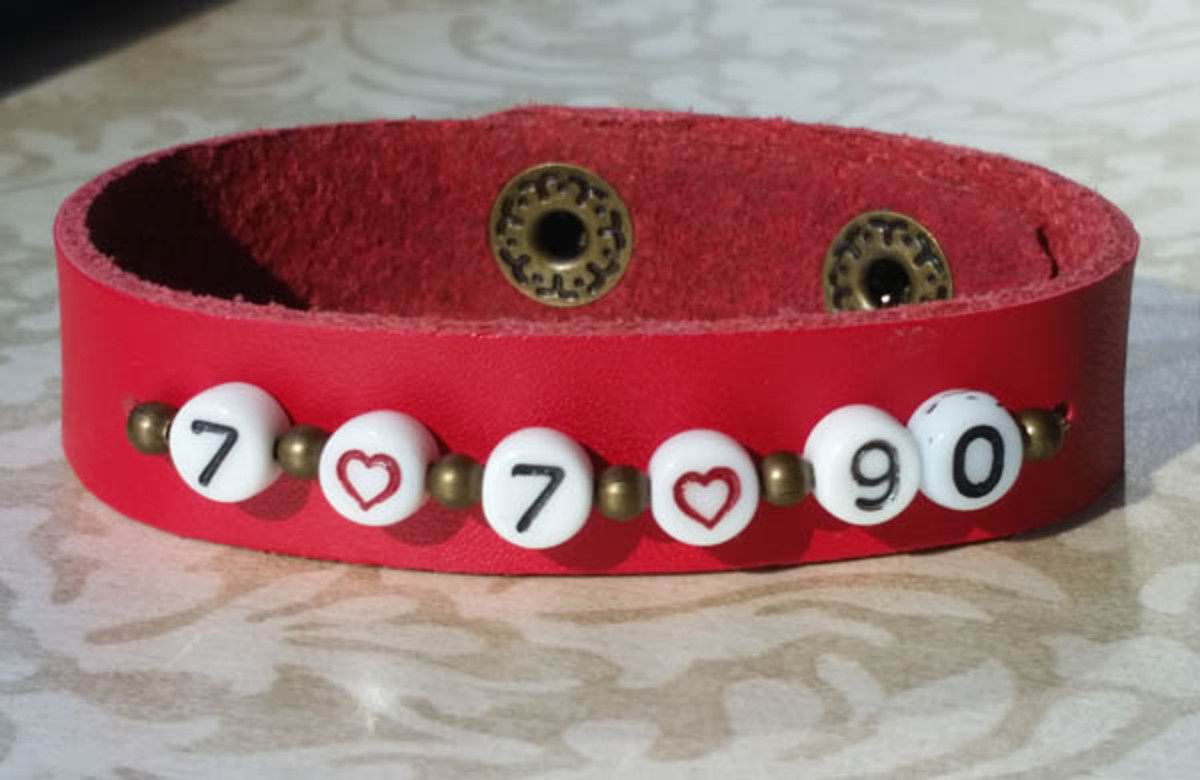
Learn how to make a leather anniversary bracelet using porcelain number beads to "spell out" a custom anniversary date (7/7/90).Created by: Polly Nobbs-LaRueDesigner TipsUse a finished leather bracelet blank, or create the bracelet from scratch using a leather strip and clasp of your choice.Select your beads: Here I used black & white porcelain number beads, red & white porcelain heart beads, and 2mm round brass spacer beads.I used 26g non-tarnish brass Artistic wire to "stitch" the bead
…
Jan 25th 2021
Copper & Purple Love - Bracelet Tutorial
Created by: Polly Nobbs-LaRueDesigner Tips
Set link on leather bracelet, and use a sharp pencil, or fine-point non-smudging marker, to make a dot at each spot to punch.Rotate leather hole punch to smallest setting, and carefully punch holes.Click into the rivet below, and follow the steps in the "more details" section for setting these 2-part rivets.Optional: Use bracelet-bending pliers to gently shape the link into a smooth wrist-shaped arc.For more information about riveting, download and pri
…
Jan 25th 2021
Coeur de Paris Earring Tutorial
This project uses Swarovski crystals.Created by: Amy MickelsonDesigner TipsPlace flat back crystal hearts on a work surface with the flat side up.Mix two-part epoxy according to the package directions.Use a toothpick to apply a small amount of epoxy to the flat pad of each earring post and glue each to the center of a flat back crystal heart. Set aside to cure.These sparkly yet simple earrings can be worn with jeans, or for a festive occasion.Free Technique Sheets & How-TosGluing Metal Findi
…
Jan 25th 2021
Chasing the Golden Moon Earrings Tutorial
Created by: Rita HutchinsonDesigner TipsCut 2 lengths of wire, each about 30" long. You want enough to lash all the crystals, but not so much that the wire is in the way.Anchor 26-gauge wire to the heart shape, and then lash crystals in a random color pattern around the shape. Use approximately 17 beads per earring (34 beads total).Open loop on earwire, and attach to one of the lashing loops.See our Wire Lashing blog article for further details on lashing beads.New to jewelry-making? For best wa
…
Jan 25th 2021
Astral Love Resin Necklace Tutorial
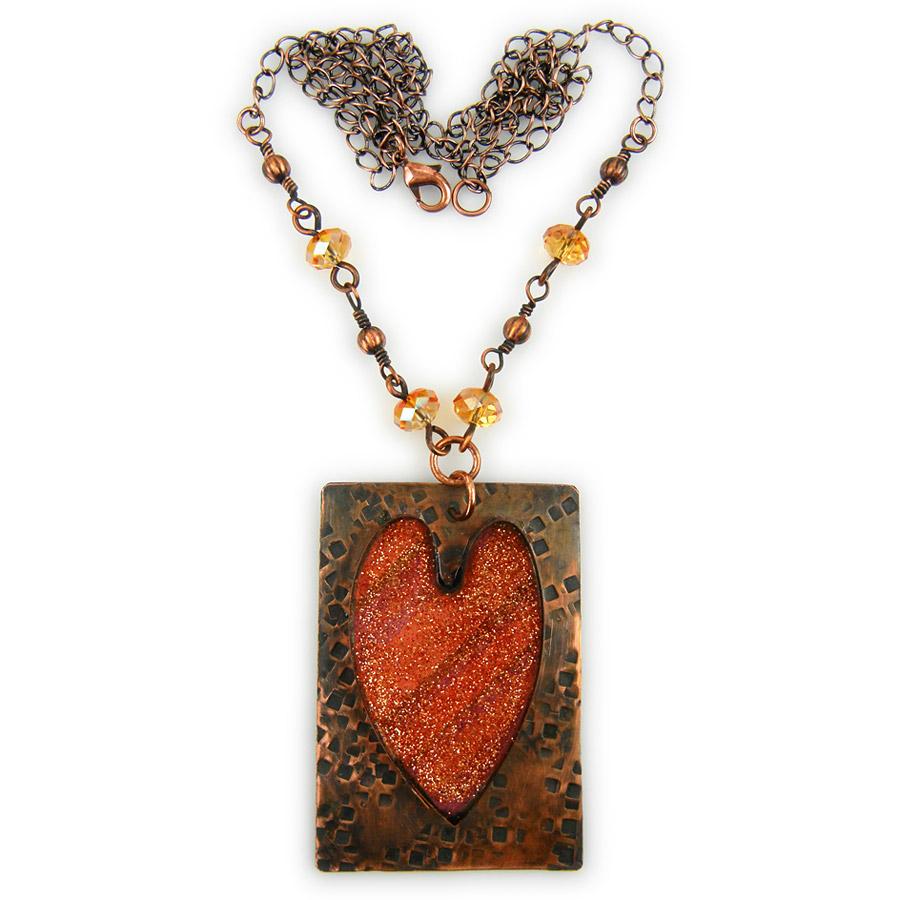
Created by: Rita HutchinsonDesigner TipsSee instruction page for making no-solder bezels.Cut paper to match bezel wire shape.Seal paper and adhere to inside of bezel.Mix a small batch of resin and pour a starting layer.When first pour is cured, mix a new batch (add glitter), and pour to fill the bezel.Create decorative section of chain with crystal and metal beads. The crystals are on thicker wire with simple loops. The corrugated beads are on 24-gauge wire with wrapped loops. Wrap the beaded se
…
Jan 25th 2021
Red Hot Love Bracelet Tutorial
Take our inexpensive rough-looking raw brass bracelet, and learn how easy it is to add color and a high shine! Created by: Rita HutchinsonDesigner TipsRemove age patina and minor blemishes from the bangle bracelet, with ultrafine sanding sponge.Shake Ranger ""patina"" well and apply to imprinted portions of the bracelet. Lightly remove excess with baby wipe. Allow to dry.Remove dried-on ""patina"" that is outside of the imprinted area with sanding sponges (I also used my fingernails).Sand with u
…
Jan 25th 2021
Going with Garnets Earrings Tutorial
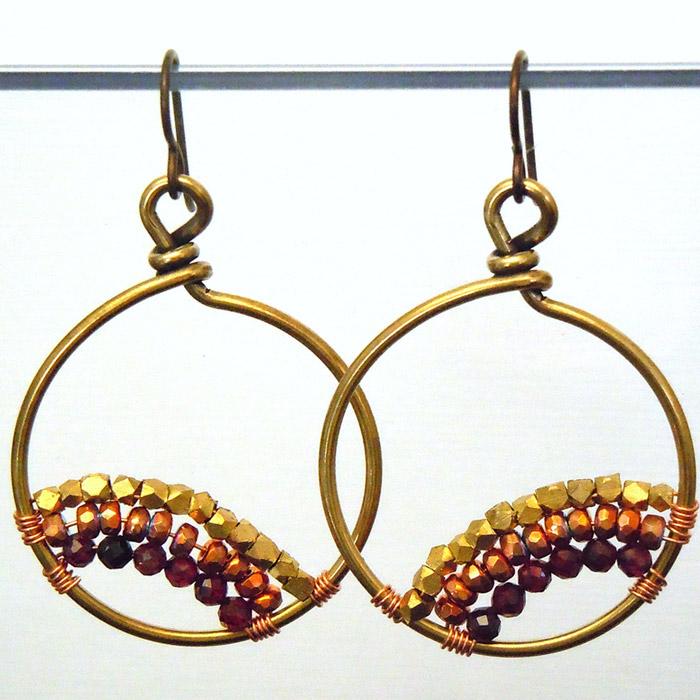
We went with garnets, for a subtle January birthstone pair of earrings, and this design would be easy to make with any other birthstone, or simply use your favorite faceted beads for a non-birthstone option. Created by: Rita Hutchinson Designer TipsPick a starting position, and anchor 26-gauge wire on hoop with 4-5 tight lashes.String first row of beads, and wrap wire around hoop at desired point, add second row of beads, and wrap on the same side as the anchor.Add third row and an
…
Jan 15th 2021
J is for January - Birthstone Necklace Tutorial
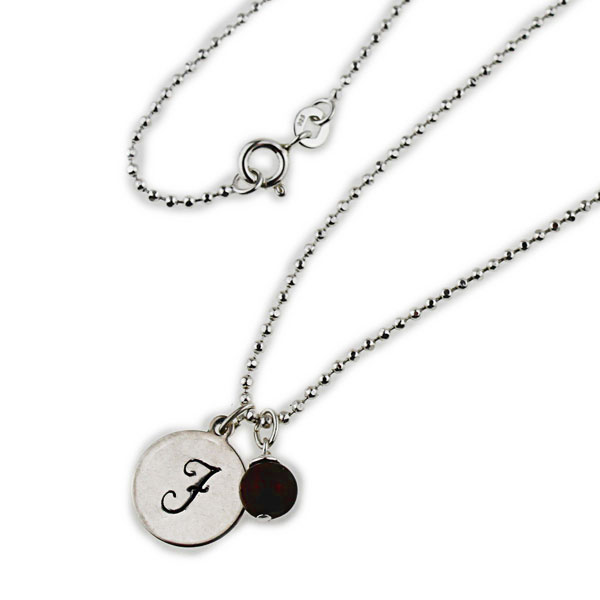
Created by: Janet BoyingtonDesigner TipsPlace your charm on a steel block, and use a brass hammer and letter of your choice to stamp the monogram / initial. New to metal stamping? See Metal Stamping Technique Sheet below.Following instructions on package, oxidize design with Liver of Sulphur, or apply Stamp Enamel.Allow to dry, then polish letter charm to a high shine with Ultra Polishing Pad. (Or for a matte finish, use steel wool.)Make a wire-wrapped loop with the head pin and garnet bead. New
…
Jan 15th 2021
Carnival Queen Earrings Tutorial
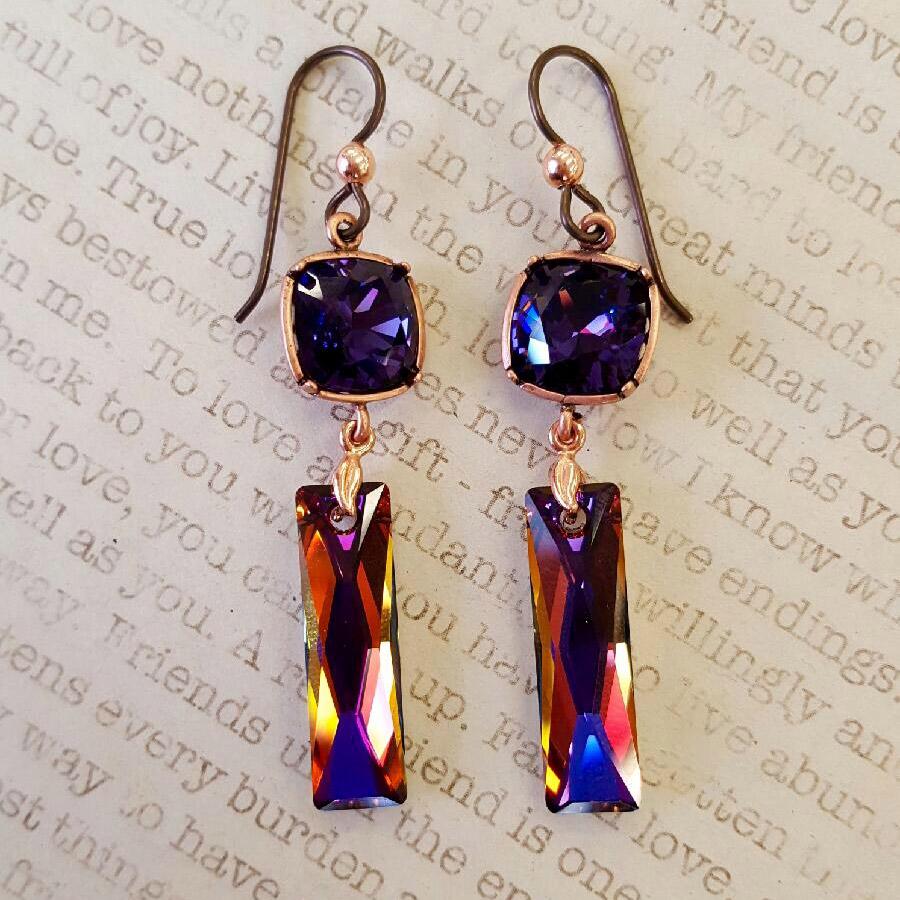
Created by: Summer MelaasDesigner TipsPlace 10mm cushion square stone into setting, and use nylon-jaw or chain-nose pliers to gently flatten the prongs onto the stone. See tips in our blog, for best way to keep your stone safe and centered.Carefully add bail to top of pendant (gently open the prongs with needle-nose pliers if needed). Use nylon-jaw or chain-nose pliers to securely close the bail.One loop on the setting is openable. Twist the loop open far enough to add the bail, then twist to se
…
Jan 3rd 2021


