Rings & Things Jewelry Blog
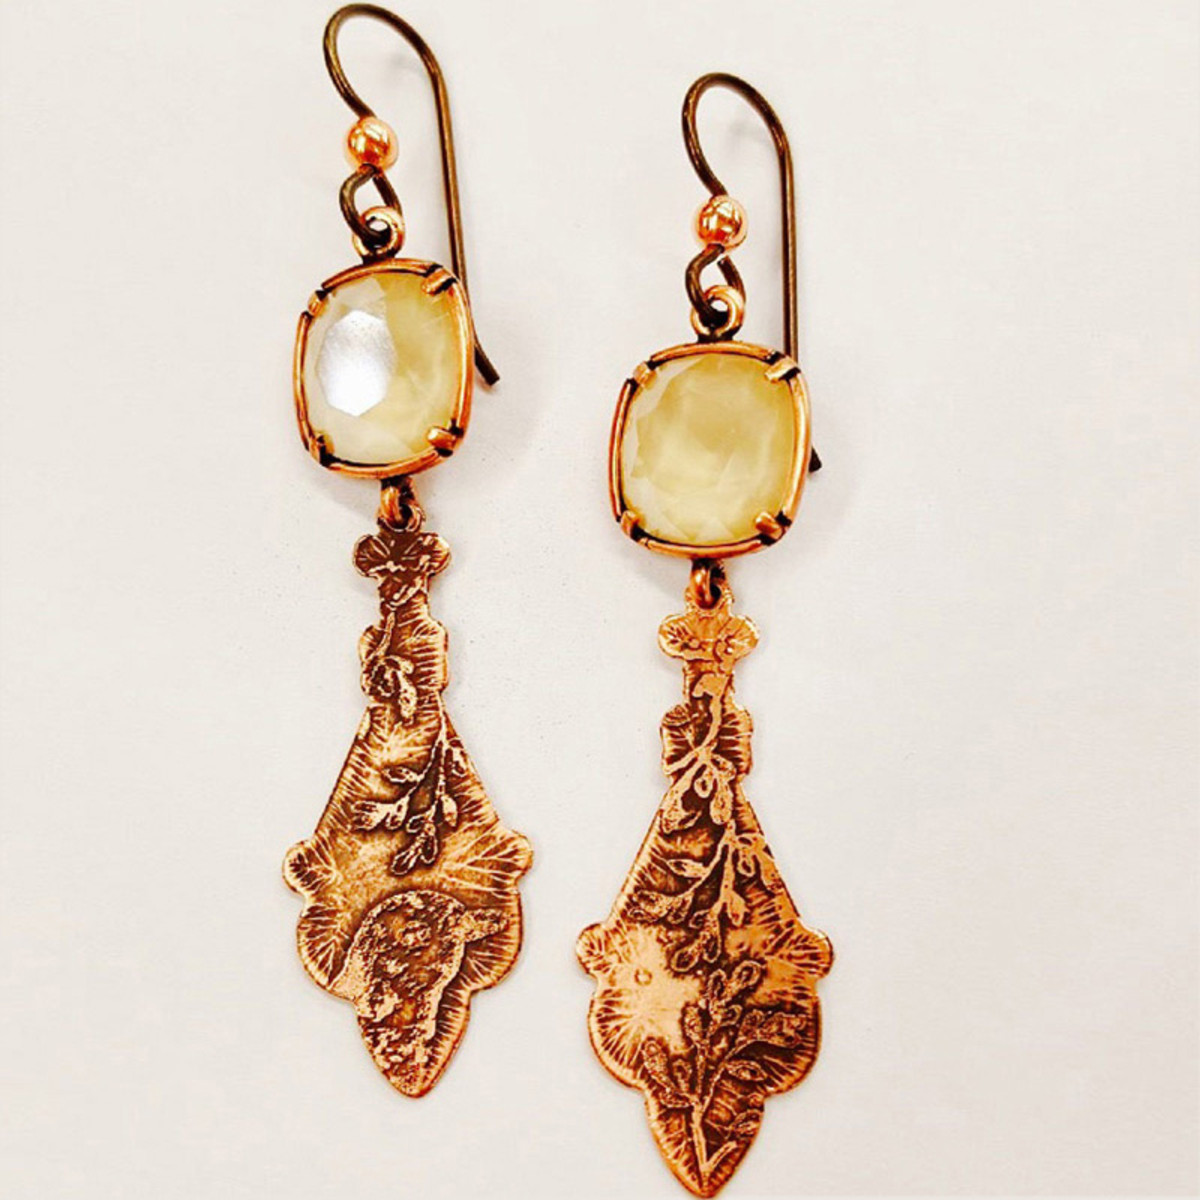
Victoria - Etched Earrings Tutorial
Created by: Summer MelaasDesigner TipsEtch earrings (See etching tutorial below).Place cushion in cushion setting and fold over tabs using nylon-jaw pliers or a burnisher.Attach French hooks to top of cushion.For best way to open and close loops, see Jump Ring Hint in Jewelry Basics 101 (PDF)Attach etched copper drop to bottom of cushion.Suggested Supplies1 pair #34-003-8 TierraCast Earring Hook Findings, Niobium - Bronze and Copper Color2 each #41-878-51-10-7 Antiqued Copper Plated 2-Loop Bezel
…
Jan 1st 2021
Stardust Earrings II Tutorial
Created by: Veronica GreenwoodDesigner TipsLink together 7 apatite or aquamarine beads with the 26-gauge gold-filled wire. Link 1 more blue bead but add 1 CZ drop at the end: For step-by-step linking instructions, see Jewelry Basics 101 (PDF). Set aside.Link together 6 tourmaline beads with 26-gauge gold-filled wire. Link one more tourmaline but add 1 CZ drop at the end. Set aside.Link together 4 pearls with 26-gauge gold-filled wire. Link one more pearl bead but add 1 CZ at the end. Set aside.S
…
Jan 1st 2021
Sun Valley Earrings Tutorial
Created by: Mollie ValenteDesigner TipsMeasure and mark the hanging hole placement near the upper corners of the half-round blanks. These should be set back from the edge about 1/16".Use the hole punch pliers to punch holes at the marked positions.The half-circle blanks can be used as is, or textured/stamped/embossed to add pattern (see texturing suggestions below).Cut the length of wire into 2 equal pieces.Use a ring mandrel to bend a size-14 curve in the middle of each wire; this should result
…
Jan 1st 2021
Purple and Gold Bracelet Tutorial
Created by: The R&T Showroom Team Designer TipsStamp the tag with 3mm letter stamps. For longer team names, use a larger tag or smaller set of stamps. See Metal Stamping 101 for detailed stamping instructions. If you're new to stamping, get a few extra tags, as stamping can be unpredictable and there may be mess ups.Place crystal stones in bezels, and carefully bend prongs down using fingers and/or nylon-jaw pliers.Add a large round jump ring to the football charm. For best way to ope
…
Jan 1st 2021
Swarovski Emerald Eye Necklace Tutorial
Modified from a design created by Swarovski's Create Your Style Design Team
Designer Tips
Using the 1.5mm plier punch, or the smaller (silver) side of the 2-hole punch, make 6 holes in the Mandala Eye blank (5 on the bottom, and one on the top).
Using the jump rings, attach in order of the 5 holes left to right, one 9mm Emerald-cut Pendant, one 11.5mm, one 16mm, one 11.5mm, and a final 9mm. Attach another jump ring to the center hole on the top, and close. New to jewelry-making?
…
Jan 1st 2021
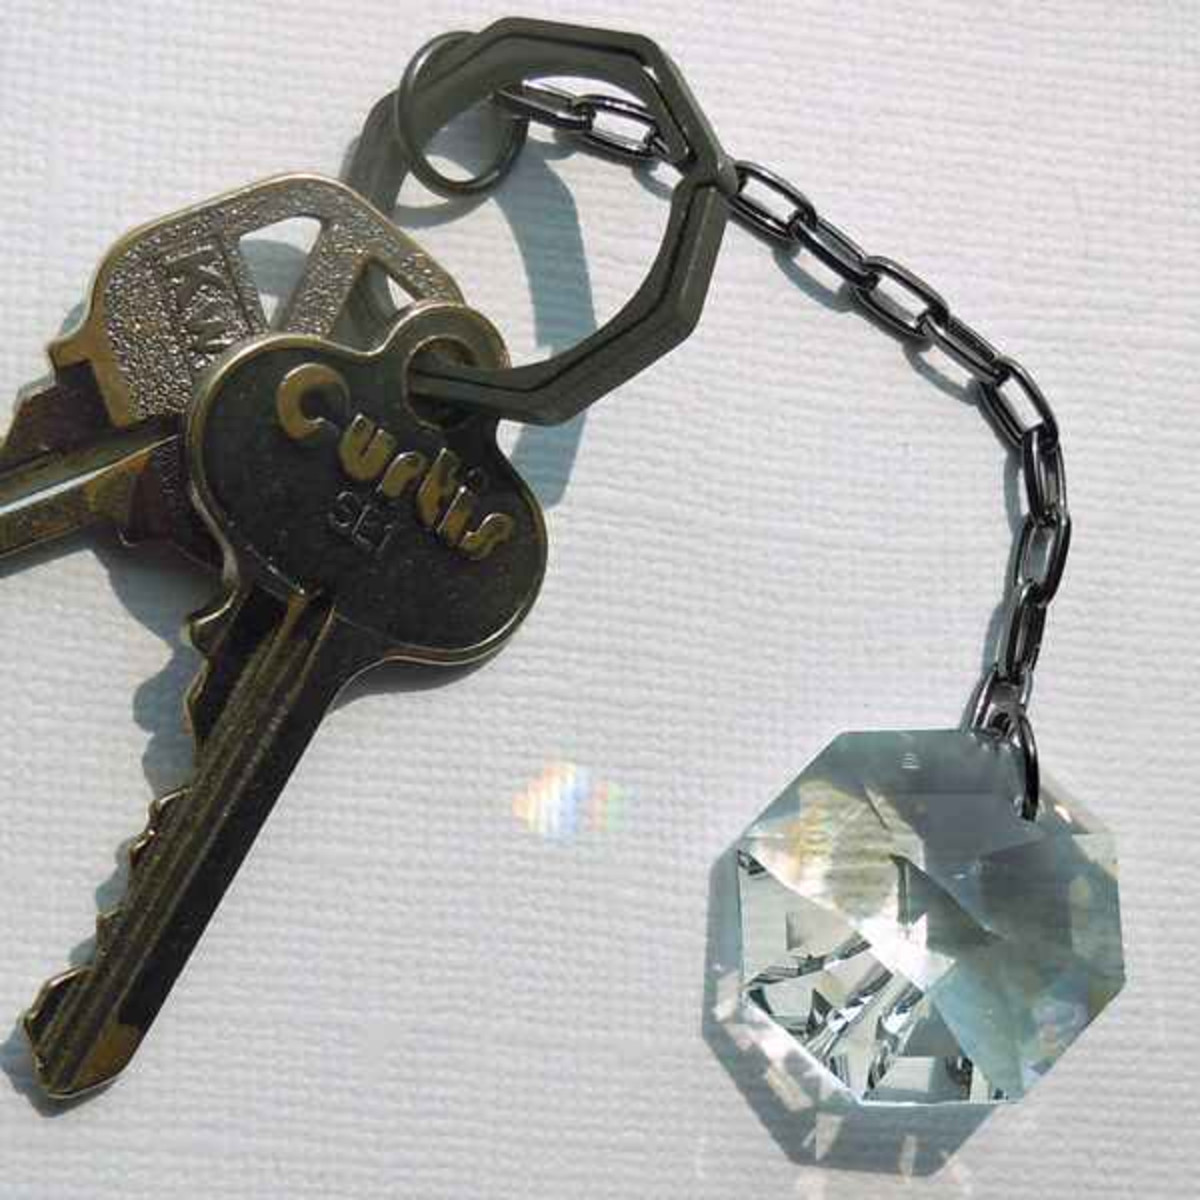
Titanium Octagon Key Ring Tutorial
Created by: Polly Nobbs-LaRueDesigner TipsThese flat-wire octagonal titanium key rings have a nice look and feel, and the octagon Swarovski Strass crystal continues the geometry. (If you it's crazy to put a crystal in a pocket with keys ... See links below for other design possibilities!)Pick the largest (thickest) jump ring that will fit through your chain link, and add the chain to the key ring. For best way to open and close loops, see Jump Ring Hint in Jewelry Basics 101 (PDF)Pick the thicke
…
Jan 1st 2021
REACH Stamped Aluminum Cuff Bracelet Tutorial
Created by: Polly Nobbs-LaRueDesigner TipsTo get a feel for the aluminum, firmly stamp the star in a few spots. For a detailed tutorial on metal stamping, see Metal Stamping 101 (PDF).Stamp the word REACH. With a light touch, use the thinnest center punch to stamp a small star point in a few spots. Note: Some of letters ended up a little "light" so I used the point as a design element to extend the missed spots of the letters.Use a ball pein hammer (or the round side of a chasing hammer) to text
…
Jan 1st 2021
Samba Scarlet Smile Bracelet Tutorial
Created by: Polly Nobbs-LaRue Designer TipsLinks Updated!Use a nylon hammer to gently flatten the rock & roll oval link before stamping the plain side.Stamp a practice pattern on paper to make sure your letter placement will fit on the link, and then repeat on the plain side of the link. See Metal Stamping 101:Techniques for Creating a Stamped Metal Charm (PDF).Wrap bracelet three times around a wrist (or oval bracelet mandrel) to determine best placement of components. Use a permanent
…
Jan 1st 2021
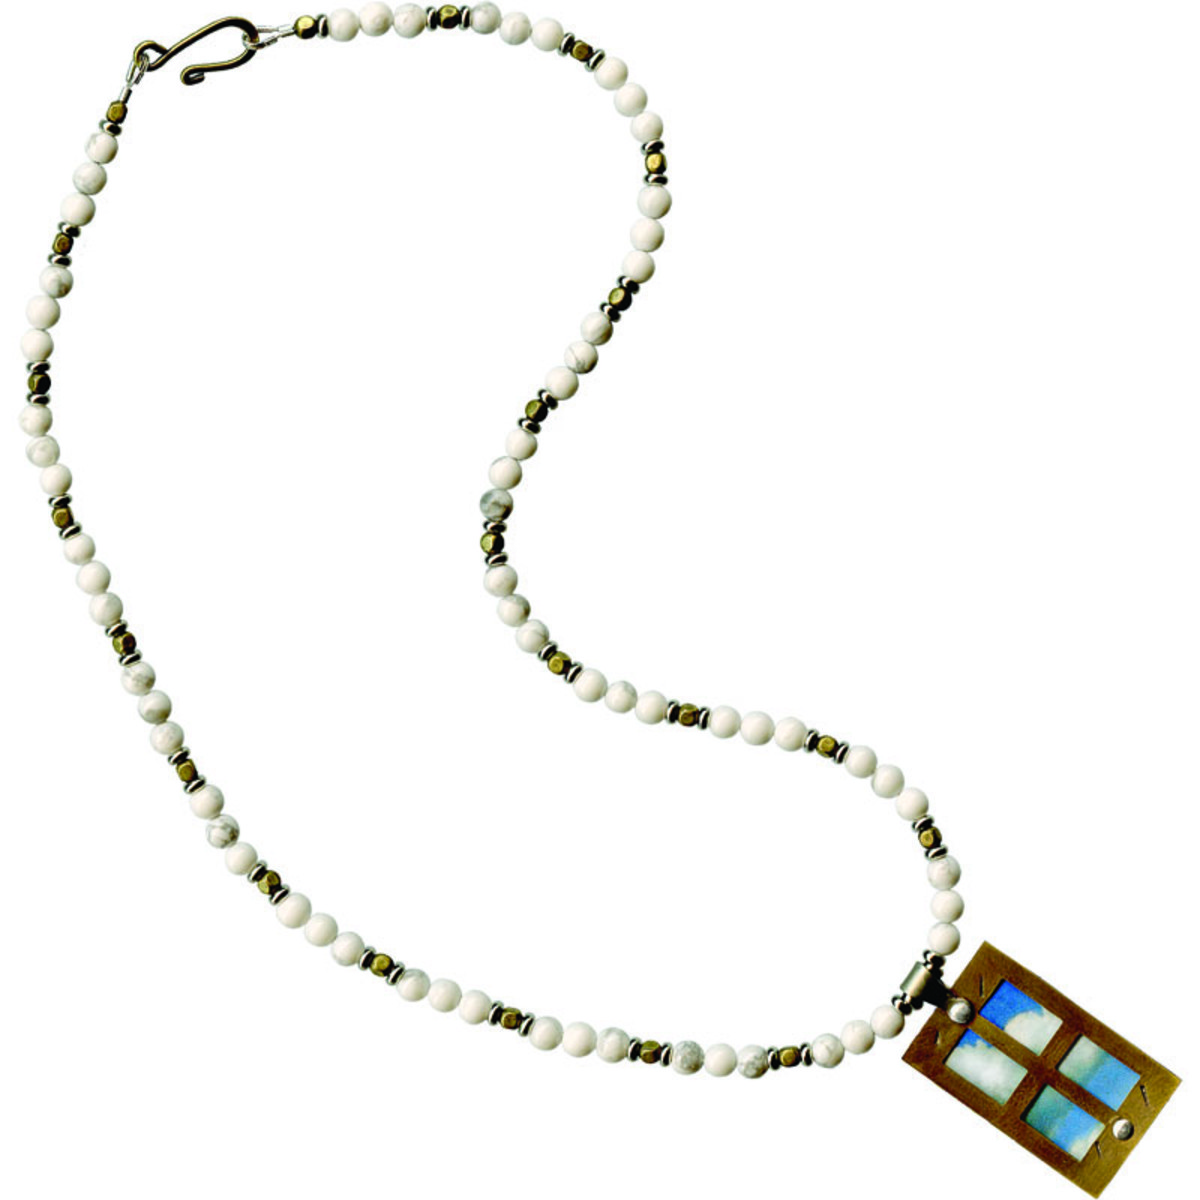
The View Necklace Tutorial
Created by: Cindy MorrisDesigner TipsStamp front piece first (I used the "l" to make diagonal lines on the window frame). Flatten. Patina with Win-Ox™ and clean with steel wool.Clean back piece with rubbing alcohol. Decoupage or seal an image onto the back piece – allow to dry.Punch holes in the top piece only with the hole punch side of the rivet tool.Place over the back piece and mark hole location at top only. Attach a rivet bail with a 5/32" long (1/16" diameter) rivet.Then punch a second ho
…
Jan 1st 2021
Russ Recycles Clip Tutorial
Created by: Amy MickelsonDesigner TipsPostage stamp charmThe canceled postage stamp was scanned and reduced to fit the square picture-frame charm.Seal front and back of the image with a waterproof barrier before applying the Magic-Glos™ resin. Use clear packing tape, transparent shelf liner, laminating film or a coating of liquid polymer clay. Do not use a water-soluble sealer like decoupage fluid or Mod Podge®.Burnish around the the edges to make sure the image is sealed completely.Use a small
…
Jan 1st 2021


