Rings & Things Jewelry Blog
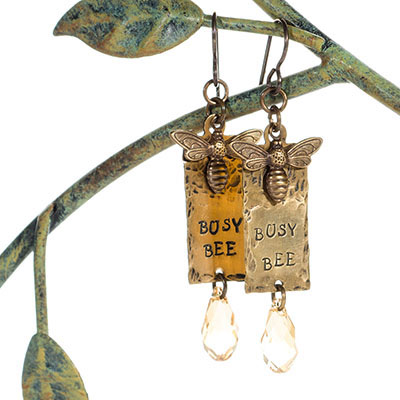
Busy Bee Earring Tutorial
Created by: Tiffany WhiteDesigner TipsTape the stamping blanks to the steel block. Use a permanent marker to draw lines where you want to stamp the phrase "BUSY BEE".When stamping, make sure that each letter is facing the correct way before you stamp.Use the pein (round) side of the hammer to texturize the stamping blank around the edges.Use the metal hole punch to make a hole at the bottom of the stamping blanks.Antique the brass with Novacan Black.Polish the blanks, so the lettering and textur
…
Jul 31st 2021
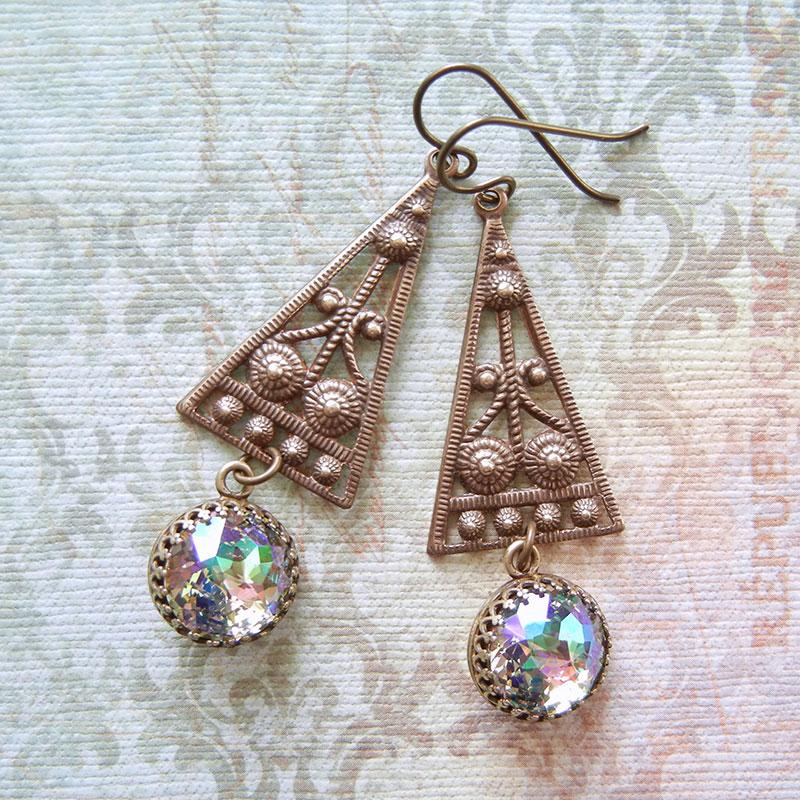
Garden Gate Earrings Tutorial
Created by: Mollie ValenteDesigner TipsFor step-by-step illustrated instructions for making this pair of earrings, see our Swarovski Dome Round Stone blog article.Suggested Supplies2 each #01-400-12-445 Swarovski 1400 Domed Round Stone, 12mm - Crystal Paradise Shine2 each #41-878-01-12-6 Pendant Bezel Setting, 1 Loop, 12mm I.D. - Antiqued Brass Plated1 pair #88-103-24-0 Vintaj Natural Brass Charm, Scrolling Abacus, 42x19mm1 pair #34-061-27 TierraCast Brass-colored Niobium Earring Hook Findings1
…
Jul 31st 2021
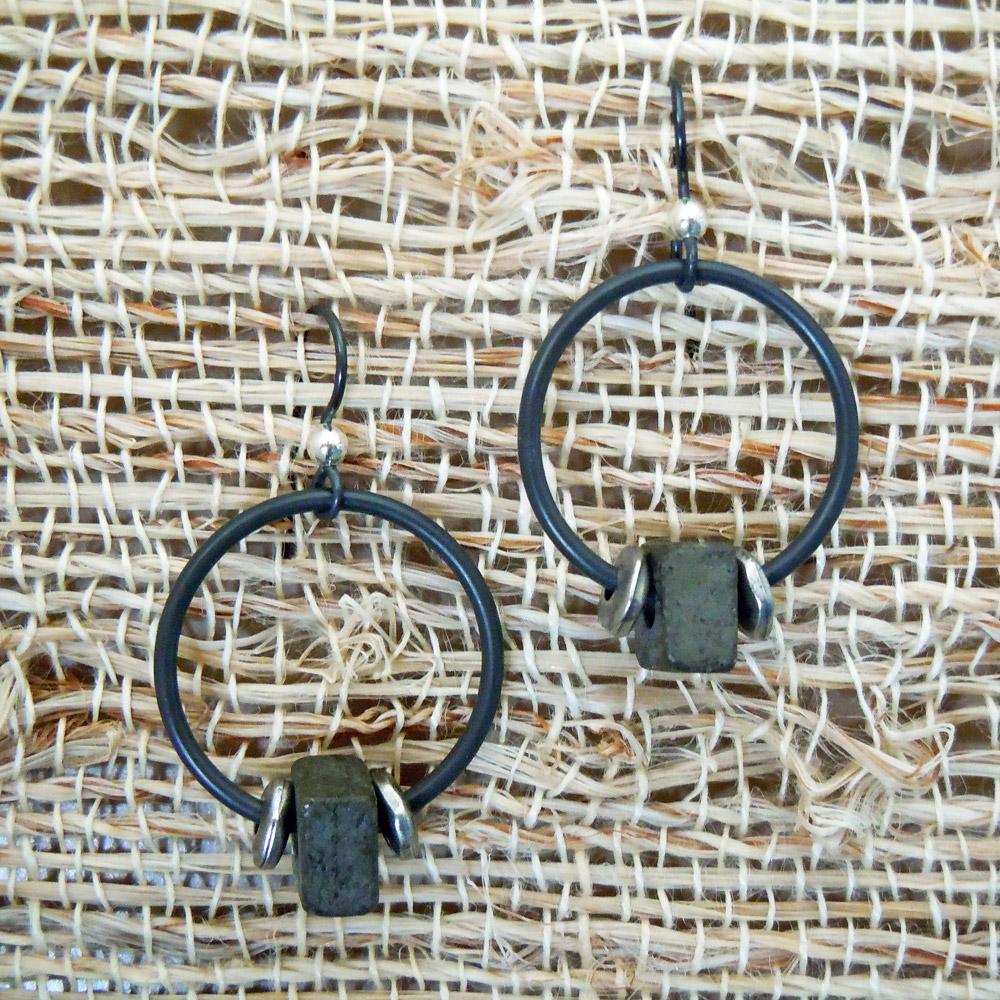
Industrial Ease Earrings Tutorial
Large-hole Pyrite Heishi and 14-gauge iron color Artistic Wire make these industrial-looking earrings a breeze to create.Created by: Rita HutchinsonDesigner TipsCoil wire around largest portion of wrap 'n' tap pliers at least 2-1/2 times.Cut single rings from the coil of wire.Open ring and slip on nugget bead, earwire, another nugget and pyrite bead. For best way to open and close loops, see Jump Ring Hint in Jewelry Basics 101 (PDF)Close ring tightly. (Optional, add drop of superglue gel – If y
…
Jul 31st 2021
Sunset Ombre Necklace Tutorial
This necklace project uses Kato PolyClay™ to create a pretty ombre effect that's easy to display on cable chain, or another jewelry chain of your choice.Created by: Tiffany White Designer Tips Using a craft blade, cut each of 3 colors of polymer clay into small pieces. Keep each color of cut up pieces in separate piles.Now, rearrange your pieces into 7 piles that include the following: all red, mostly red with some orange, mostly orange with some red, all orange, mostly orange with som
…
Jul 31st 2021
Sunset Ombre Earrings Tutorial
This earring project uses Kato PolyClay™ to create a pretty ombre effect that's easy to add to ear wires.Created by: Tiffany White Designer TipsUsing a craft blade, cut each of 3 colors of polymer clay into small pieces. Keep each color of cut up pieces in separate piles.Now, rearrange your pieces into 7 piles that include the following: all red, mostly red with some orange, mostly orange with some red, all orange, mostly orange with some yellow, mostly yellow with some orange, all yellow.B
…
Jul 31st 2021
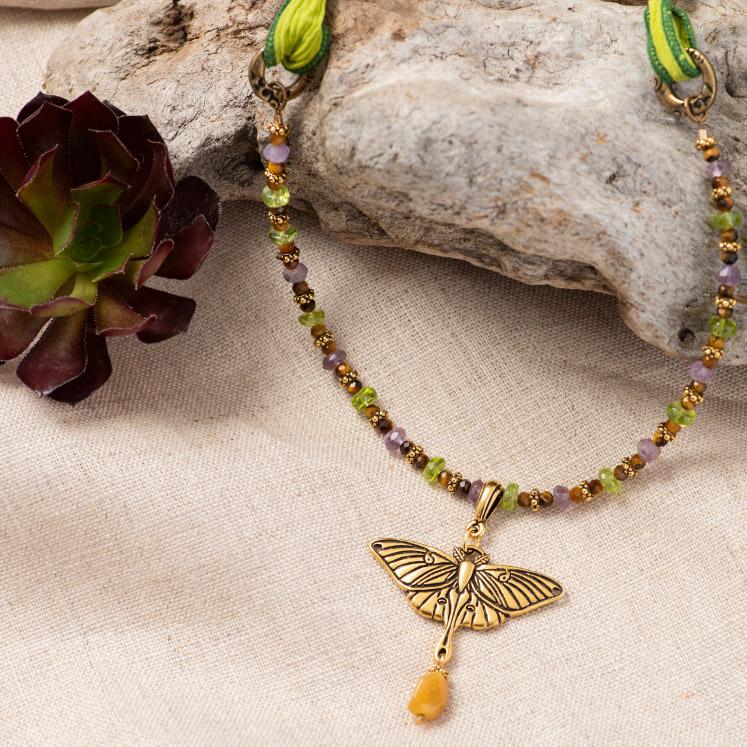
TierraCast Luna Moth Necklace Tutorial
Created by: Tracy Proctor of TierraCastDesigner TipsString 8mm gemstone pebble bead and 1 gold spacer onto head pin. Bend wire over at top of spacer and use round nose pliers to form a 1/8" simple loop, trimming excess wire. New to jewelry-making? For step-by-step looping and stringing instructions, see Jewelry Basics 101 (PDF).Open simple loop and attach at bottom of Luna Moth. Close loop. Set aside.Use jump ring to attach luna moth to bail. String spacer and gemstone bead onto head p
…
Jul 31st 2021
Ava's Big Day Bridal Set Tutorial
Created by: Valorie Nygaard-Pouzar Designer Tips Determine placement of the stamped letters on metal charm, or paper.Carefully stamp the blank.Antique the charm so the impressions are more pronounced.Gently sand and polish.Attach to jump ring & chain.Make a pearl dangle, and slide onto the chain.For earrings, make two pearl dangles like the one for the necklace and attach to ear wires.Pendants for the bride and bridesmaids are elegant jewelry, as well as keepsakes that will last
…
Jul 18th 2021
Independence Day Fireworks Earrings Tutorial
Mix & match your favorite shades of red, white and blue -- we used Siam, Light Siam, Alabaster, Opal, Sapphire and Capri, but linked in a few other shades below as well.Created by: Polly Nobbs-LaRueDesigner TipsCut 6 matching pairs of chain links: 7 links, 9 links, 11 links, 13 links, 15 links, and 18 links.Tip: To use just 1 foot of chain total, you can cut all of these 2 links shorter.Open a jump ring, and add the longest chain first, then 13 and 7 on one side, 15 and 9 on the other side.
…
Jul 3rd 2021
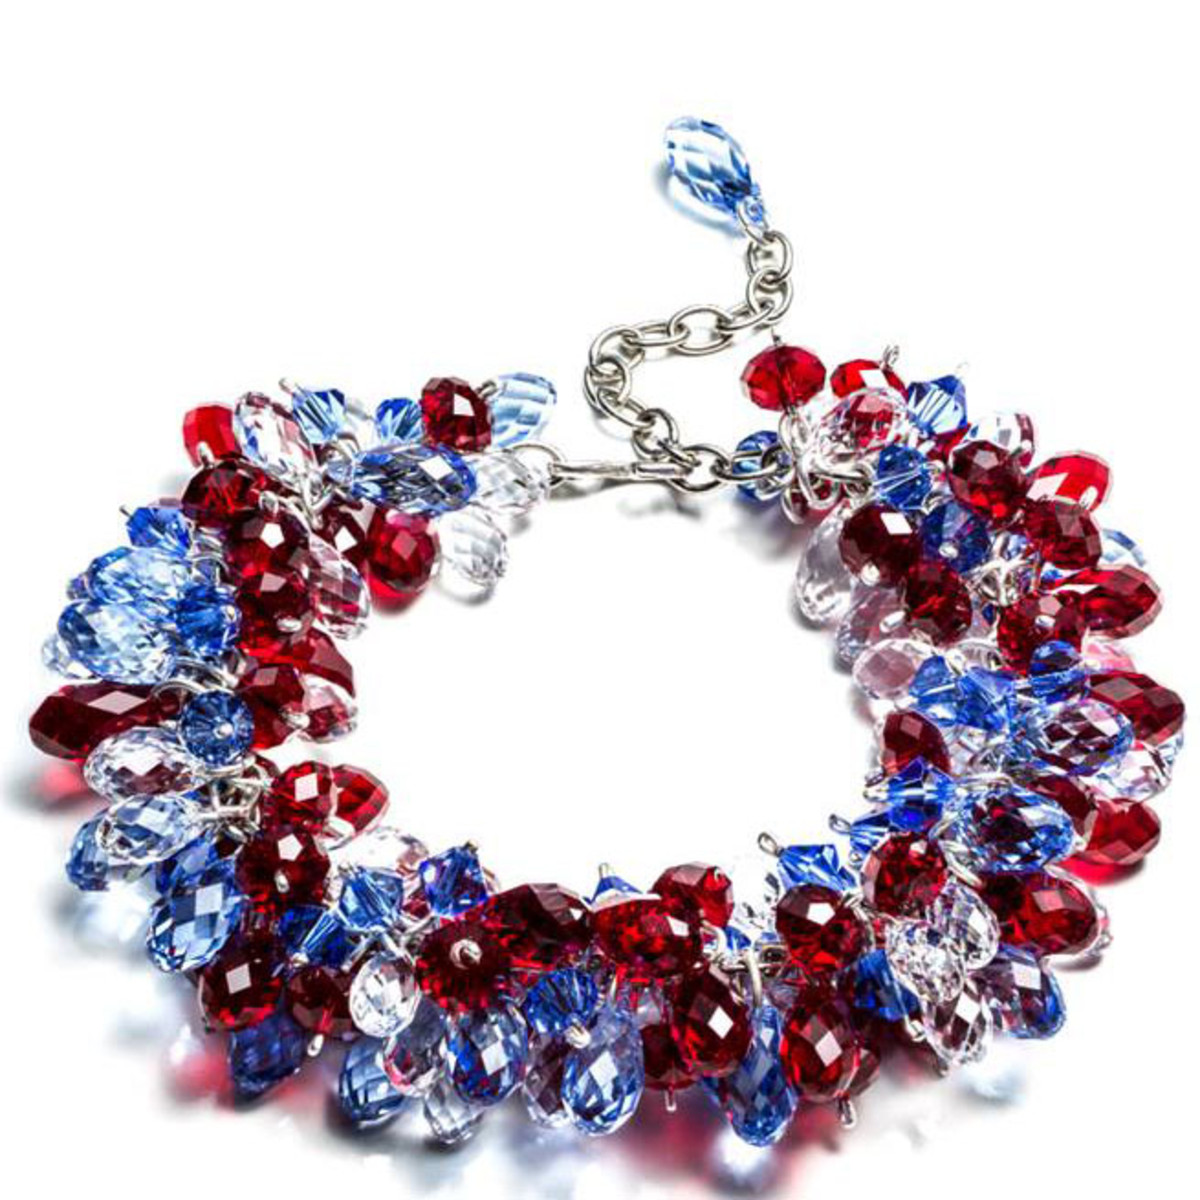
Fire Cracker Crystal Bracelet Tutorial
With this Fire Cracker bracelet, there is NO CHANCE you will not stand out at any Independence Day gathering, even with social distancing. This exquisite piece of jewelry is very easy to make, but it will take some time to create.Created by: The Swarovski Design Team at Create Your Style.Designer TipsUsing a 2" head pin, slide on one 6mm Sapphire bicone bead and make a simple loop. Repeat 39 more times and set aside. Jump Ring How-To. If you haven't made simple loops before, practice on a few in
…
Jul 3rd 2021
Patriotic Drops Earrings Tutorial
Created by: Amy ScaliseDesigner TipsUse the 1-Step Looper to create 36 (12 of each color) crystal pearl dangles.Cut two 1" pieces of chain and attach approximately 2 dangles per link directly onto the chain. Do not attach any dangles to the last links of the chain.Use 10mm jump rings to attach the crystal star pendants to the last chain link, and attach the hammertone links to the third link from the bottom.Create two connectors with the bicones. Attach the earwires to one end, and the chain to
…
Jul 3rd 2021

