Rings & Things Jewelry Blog
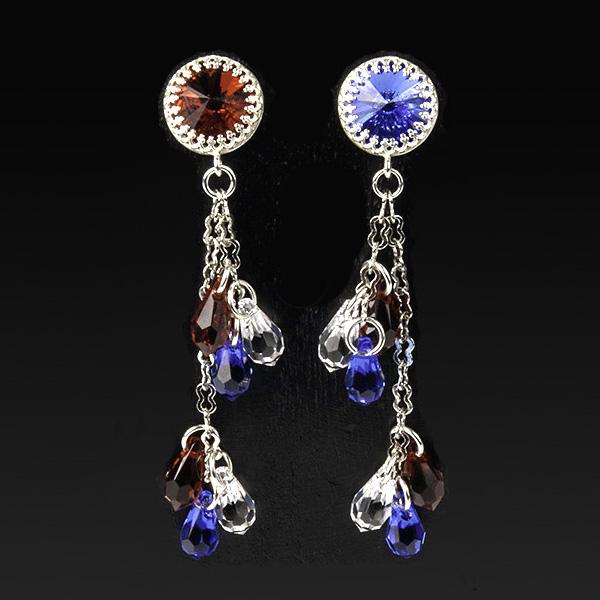
4th of July Earrings Tutorial
Created by: Polly Nobbs-LaRueDesigner TipsCenter a stone in a setting and gently squeeze prongs in (with your fingers or pliers) working from opposite sides to keep the stone centered. Once the prongs are bent in, use the burnishing tool to smooth them firmly into place.Cut 2 pieces of chain, 5 links long.Cut 2 pieces of chain, 10 links long.The links on this 2.8mm peanut chain are a nice size, easy to add medium jump rings to. Also, the flattened links nicely catch the light.Select 12 matching
…
Jul 3rd 2021
Red, White and Blue Sparklers Bracelet Tutorial
Need a little patriotic sparkle? This sweet bracelet is a brilliant red, white and blue sparkler for your wrist on Independence Day or any time of year. Bonus: it's easy to swap out the charms for other seasons!Created by: Polly Nobbs-LaRueDesigner TipsCenter a stone in a setting and gently squeeze prongs in (with your hands or pliers) working from opposite sides to keep the stone centered. Once the prongs are bent in, use the burnishing tool to smooth them firmly into place.Repeat for other 2 s
…
Jul 3rd 2021
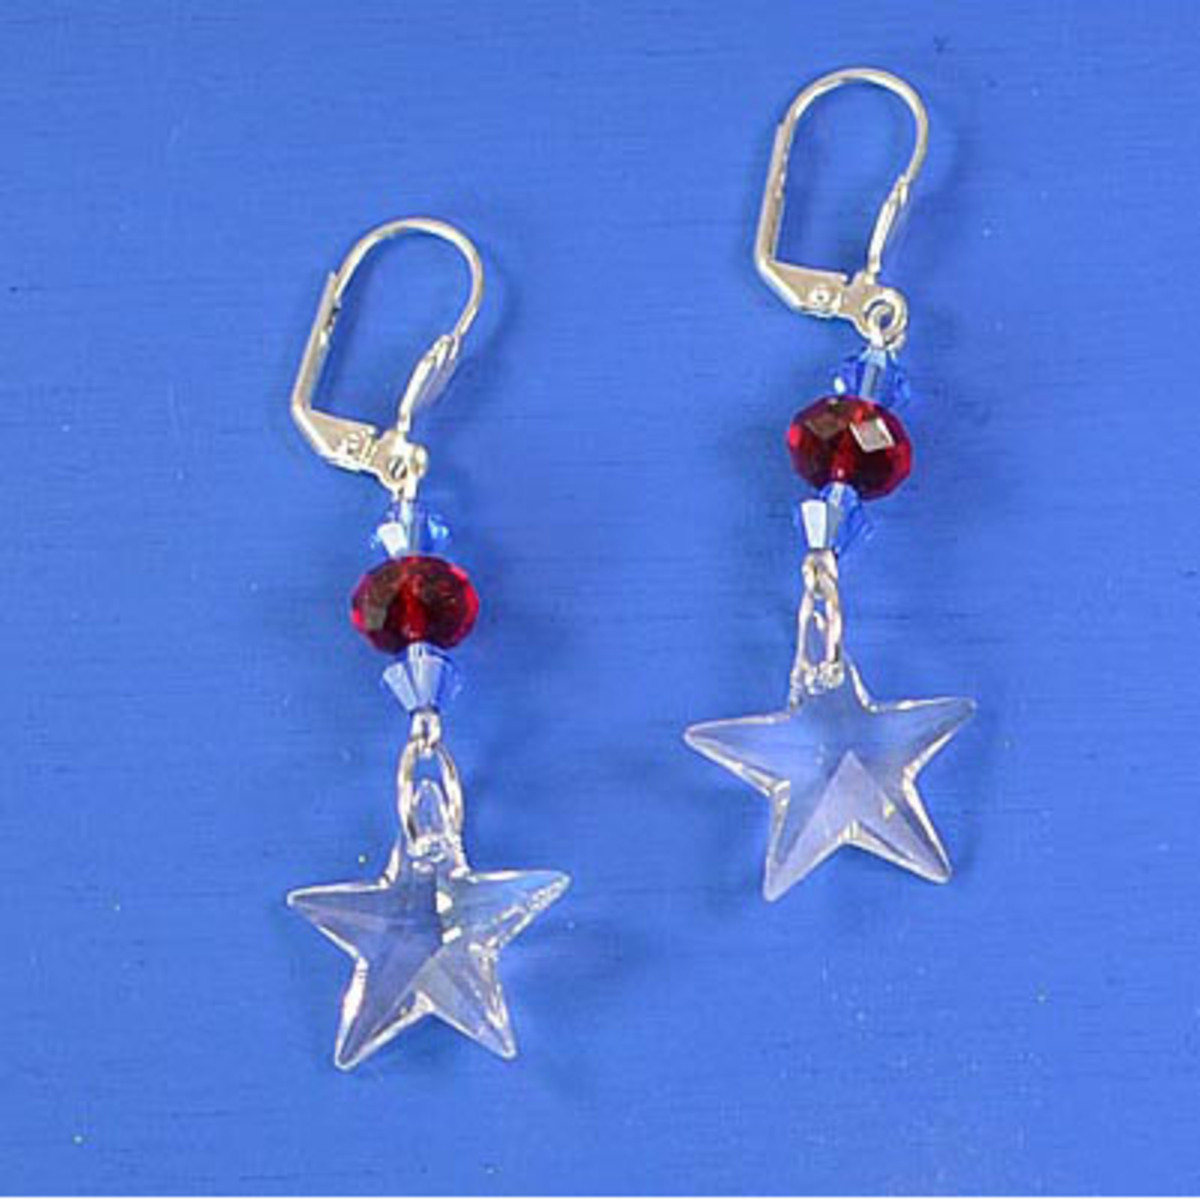
Stars and Stripes Earrings Tutorial
Created by: Kayla HeflingDesigner TipsAttach the French clip to the eye pin. See Basic Jewelry-Making Technique Sheet (PDF) for best way to open and close loops.Add bicones and briolette crystal to the eye pin and use the 1-Step Looper to make your end loop.Attach the crystal star pendant to the bottom loop with an 8mm jump ring.Suggested Supplies1 dozen [use 2] #05-040-08-20 Crystal, Bead, Briolette, 8mm1 dozen [use 4] #05-328-05-18 Crystal, Bead, Faceted Bicone, 5mm2 each #06-714-20-01 Crystal
…
Jul 3rd 2021
Red, White and Blue Sterling Bracelet Tutorial
Created by: Polly Nobbs-LaRueDesigner TipsCenter a stone in a setting and gently squeeze prongs in (with your hands or pliers) working from opposite sides to keep the stone centered. Once the prongs are bent in, use the burnishing tool to smooth them firmly into place.Repeat for other 2 stones.Use a jump ring to attach the siam (red) crystal to the bottom rung of the bracelet. See: Jump Ring How-To.Attach the other 2 charms next to the first charm, in the same way. Enjoy the sparkle!If you prefe
…
Jul 3rd 2021
Milky Way Cuff Links Tutorial
Created by: Rita HutchinsonDesigner TipsCut the images to size.Seal with packing tape and cut out.Adhere to bottle cap with Hypo Cement.Apply UV resin following package instructions.Attach cuff link findings with two-part epoxy.Free Technique Sheets & How-TosGluing Hints for Metal Findings (PDF)Suggested Supplies1 pkg of 100 [use 2] #55-075-17-43 Bottle Cap, 17mm1 doz [use 2] #30-322-1 Cuff Link, 10mm Pad1 ea #82-501-01 Magic-Glos™ UV Resin, 1oz1 ea #60-230 Adhesive, Epoxy, 3301 ea #60-250 A
…
Jun 30th 2021
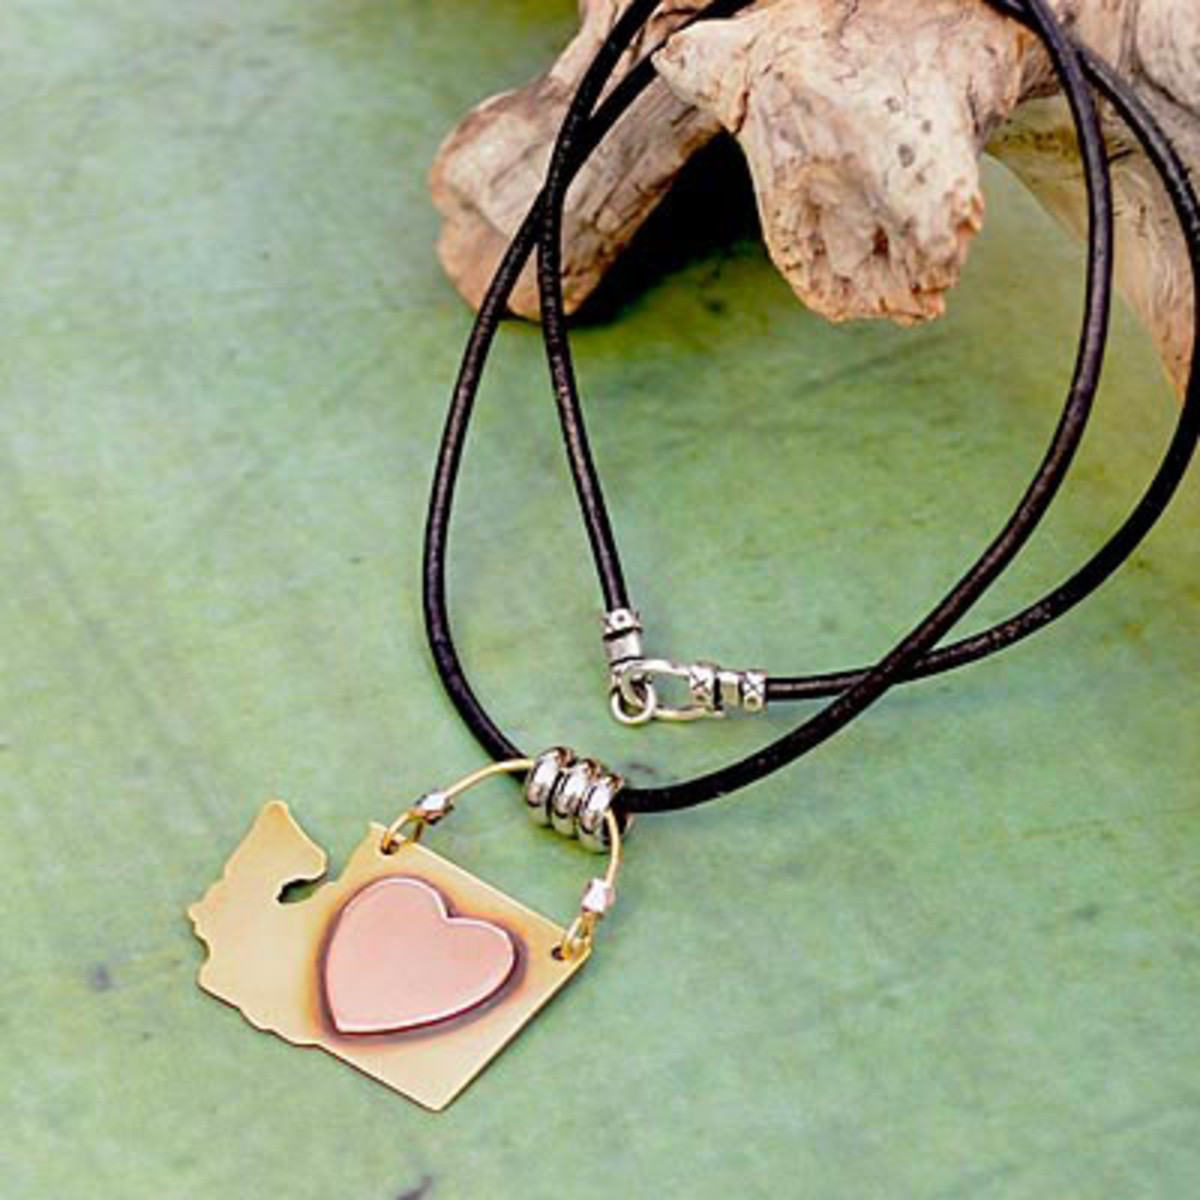
Go West Necklace Tutorial
Created by: Mollie ValenteDesigner TipsMaking the Pendant:Cut the handle loop of the heart charm and file smooth.Mark hole locations with a Sharpie®, and use the hole punch to make two 1/16th-inch hanging holes in the upper corners of the state charm.Prepare the blanks by cleaning with a 3M™ sanding sponge.Apply flux and then heat with a torch to melt a thin layer of solder to the backside of the heart blank.Apply flux again, and position the heart (solder-side down) on the state charm.With a to
…
Jun 30th 2021
Belle Starr Leather and Turquoise Bracelet Tutorial
Created by: Mollie Valente Designer TipsStart with extra leather and thread, cutting off any excess is better than not having enough.For security, add additional stitches on the first and last beads.Stay focused, the figure-eight stitching is easily done, but it is also easy to make a mistake.Use the two-hole punch to make two opposing holes, thus turning the wavy disk into a button.For added adornment, use oval jump rings to attach themed charms.Free Technique Sheets & How-Tos
…
Jun 30th 2021
Bee Moody Bracelet Tutorial
The moody bee and sensitive side beads on this adjustable Shamballa-style macramé bracelet change color with slight temperature changes, like mood rings from the 70's!by: Michelle Horning Designer TipsFor step-by-step knotting instructions, see our DIY Shamballa-Style Macrame Bracelet Tutorial.All beads can be strung onto the bottom of the anchor cords before anchoring to the board, and slid into place as you knot. All 4 cords can fit through the bee bead, so I put the small beads on, wor
…
Jun 30th 2021
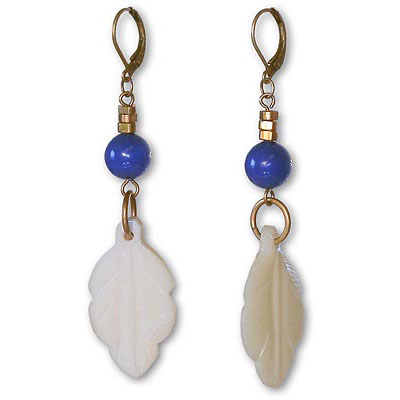
BeBop Blues Earrings Tutorial
This project uses Swarovski crystal pearls. Created by: Cindy MorrisDesigner TipsSince you only need to make simple loops and open/close jump rings, these earrings are a perfect project to make on the run with a mini tool kit!Add a 10mm round lapis, sodalite, or blue crystal pearl bead to an eye pin, then 3 metal spacer beads. Make a simple loop. Use a small jump ring to attach this drop to the bottom loop of an ear wire.Use a larger jump ring to attach the bone leaf charm to the bottom. If your
…
Jun 30th 2021
Oval Constellation Pendant Tutorial
Make this constellation pendant with crystal head pins and ball-end head pins for different sizes of stars, using Swarovski Ceralun Ceramic Epoxy Clay.Created by: Sondra BarringtonDesigner TipsBegin by choosing a constellation from a preferred book or website, to use as reference.Read our blog article:Ceralun Constellation Jewelry for step-by-step instructions on how to set head pins, swirl clay and more.You can make a larger (or more delicate) necklace by selecting a different bezel cup and cry
…
Jun 30th 2021


