Rings & Things Jewelry Blog
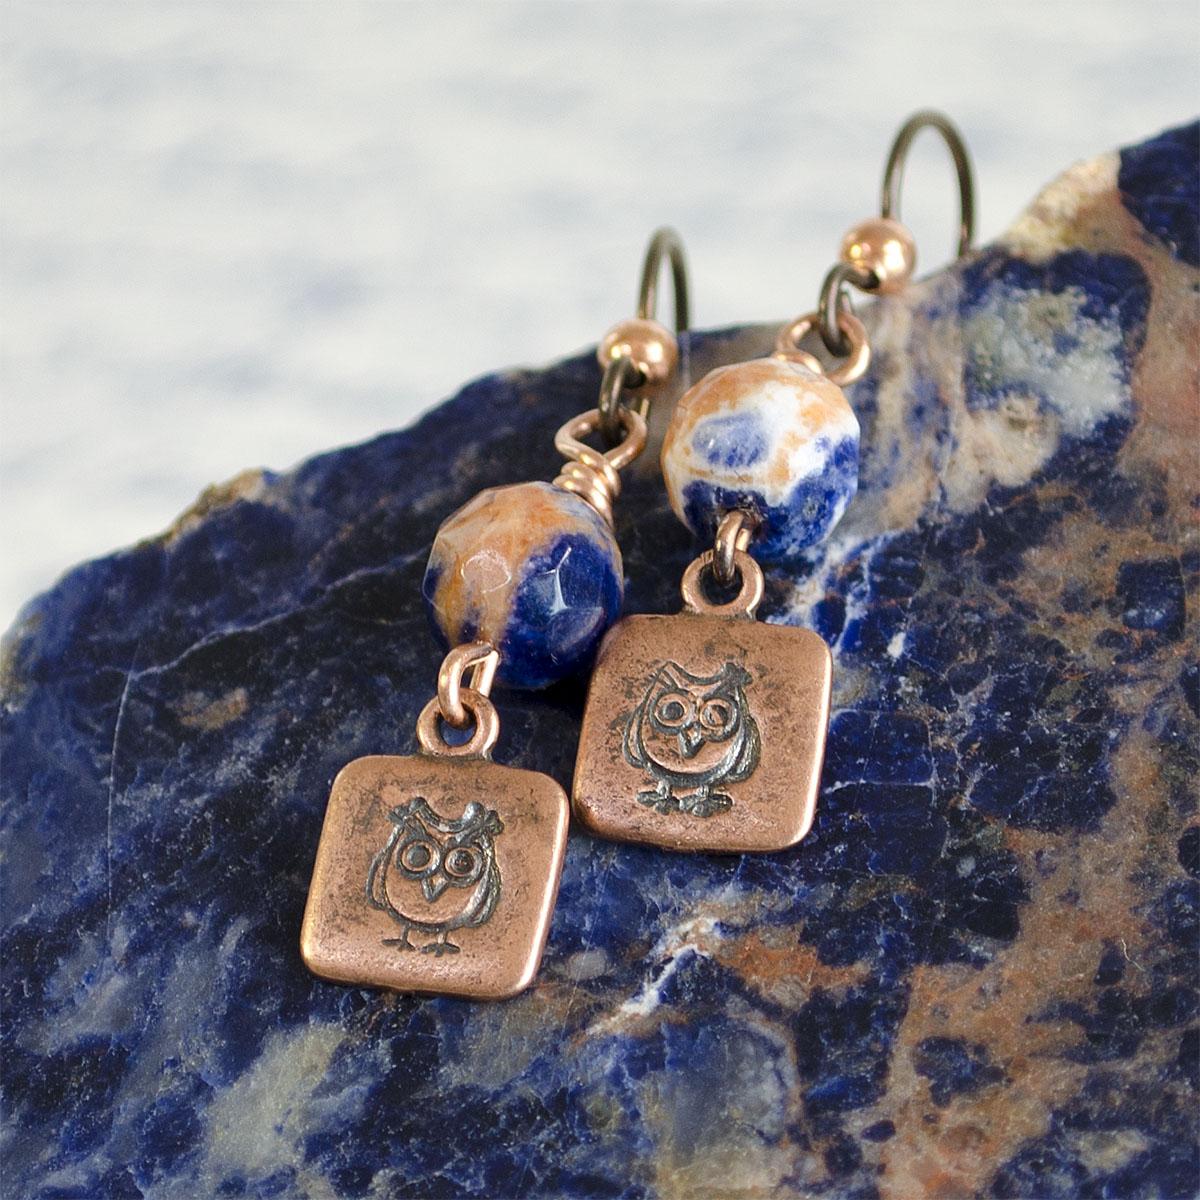
Hootie and the Sodalites Earring Tutorial
Learn how to make stamped earrings using an owl stamp, copper findings and orange sodalite gemstones.Created by: Amy MickelsonDesigner TipsChoose a metal design stamp to fit the metal blank.Use tape to secure the blank to the steel block to keep it from moving.Make sure the stamp is perpendicular to the blank and hit the stamp with a hammer with one firm blow.Patina if desired, before assembling the earrings. Lightly polish the stamped charms to remove some of the patina.Add a bead to an eye pin
…
Aug 31st 2021
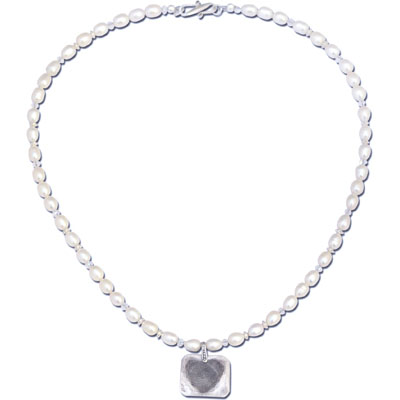
Becoming One Necklace Tutorial
Created by: Rita HutchinsonDesigner TipsTo make the fingerprint heart pendant, form the desired pendant shape in silver metal clay. Allow it to dry, and pre-finish, then spritz thoroughly with distilled water. Allow the water to permeate the pendant before applying fingerprints.Thoroughly dry the pendant before firing.Once fired, patina the metal clay pendant to highlight the fingerprint.Use the regular crimping pliers to smoothly close the crimp covers.Free Technique Sheets & How-TosBeading
…
Aug 31st 2021
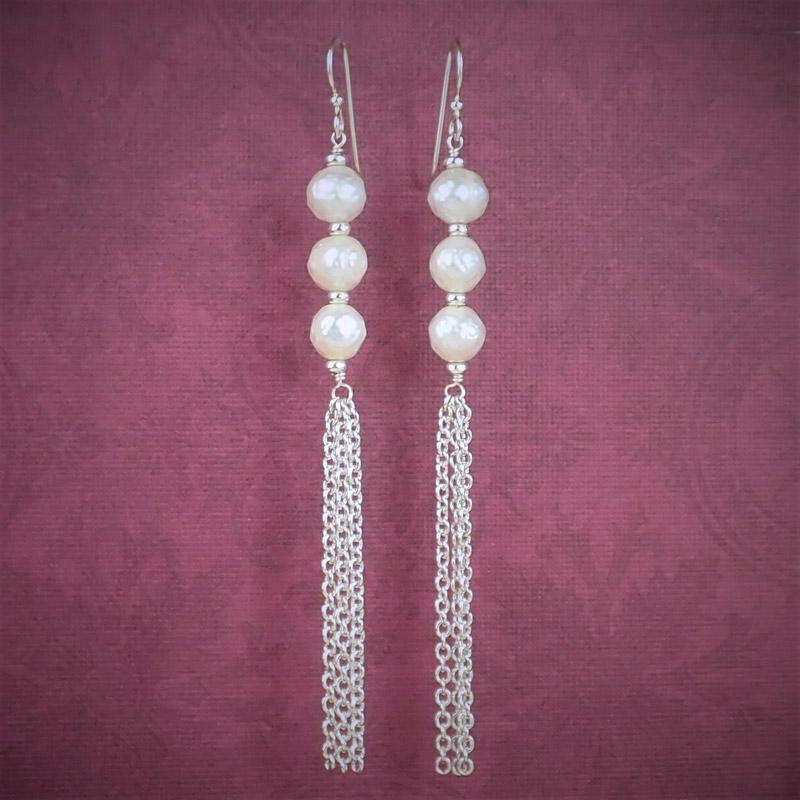
Pearl and Tassel Madness Earrings Tutorial
Created by: Janet BoyingtonDesigner TipsCut six 2" lengths of chain.Cut 5" of Artistic wireMake a loop with round nose pliers, slide 3 lengths of chain onto the loop, wire wrap that end. For step-by-step instructions for making wire-wrapped loops, see Jewelry Basics 101 (PDF).Add a heishi spacer, pearl, heishi spacer, pearl, heishi spacer, pearl, heishi spacer.Wire wrap the end, add to the ear wire.Voila! Beautiful earrings!Suggested Supplies1 strand (use 6 beads) #20-638-09-011 Freshwater Pearl
…
Aug 31st 2021
Patterned Wire Earrings Tutorial
Created by: Polly Nobbs-LaRue Designer TipsMeasure, mark and cut patterned wire to desired length.File ends smooth with slightly rounded corners, so the wire pieces match the curve of the disks.Use nylon hammer and metal block to flatten pieces if needed.Mark locations for rivet and eyelets on wire, and punch holes. Rivet size is 1/16" and eyelet size is 3/32".Use these hole locations, to mark hole locations on the disks. Punch holes.Optional: Antique if desired before assembling!Match up
…
Aug 31st 2021
Delightfully Dotty Enameled Necklace Tutorial
Created by: Rita HutchinsonDesigner TipsCut copper sheet to size or use a premade copper blank. If you have cut your own blank, punch hole in appropriate location and file edges to remove roughness.Create rings for pendant polka dots. Use solid copper wire and either a coiling tool to create coils of different sizes or the jaws of round nose pliers to create a tapered coil.Cut individual rings from coils with flush cutter. Alternate sides when cutting the coil and trimming the end to maintain fl
…
Aug 31st 2021
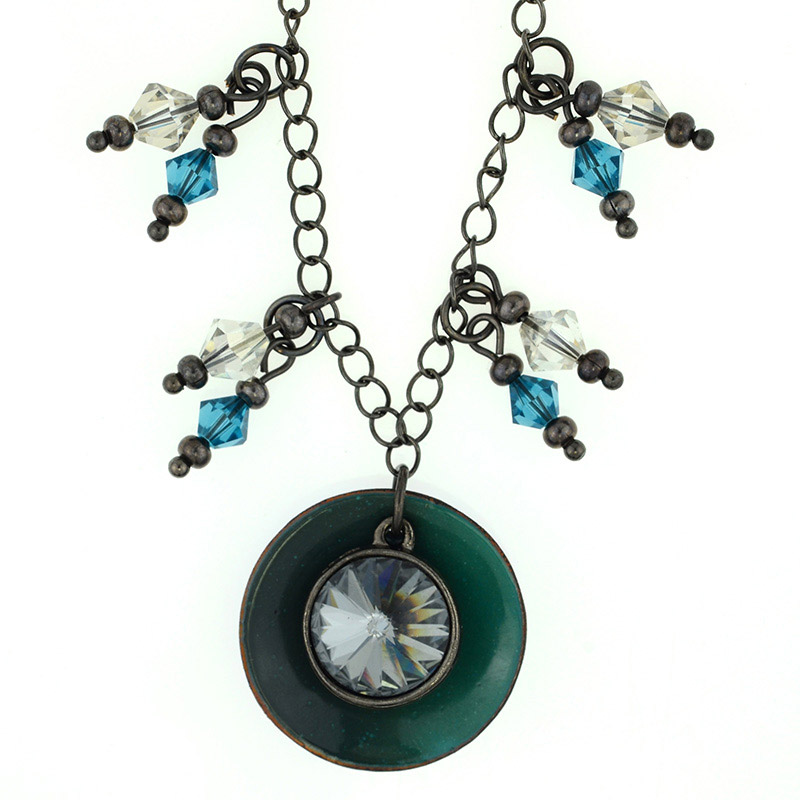
Dark Skies Enameled Pendant Tutorial
Created by: Rita HutchinsonDesigner TipsUse dapping block to shape blank.After dapping, punch 1/16" hole using the smaller (silver) side of a EuroTool "helicopter" punch.Clean blank with penny brite and enamel one side. Allow to cool.Clean other side of blank with penny brite and enamel. Allow to cool.Glue rivoli into setting.Cut chain to desired length.Add enameled pendant and rivoli to center link of chain with jump ring.Create dangles with crystal beads and gunmetal rondelles.Attach dangles t
…
Aug 31st 2021
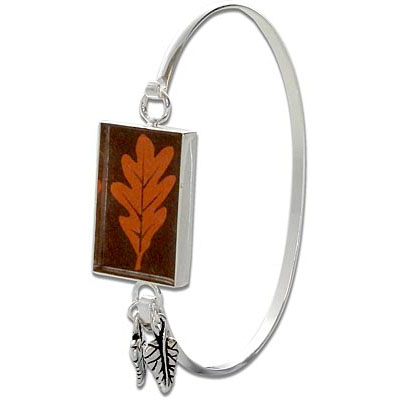
All Fall Resin Bracelet Tutorial
Created by: Rita Hutchinson Designer TipsGently reshape longer loop of the cuff bracelet with round nose pliers to prevent bezel piece from inadvertently detaching.This combination of large bezel and large cuff makes an extra-large bracelet. Use smaller bezel and/or smaller cuff as needed.Use instructions in Epoxy Resin Tip Sheet (PDF) to set and seal a favorite image in the bezel.Use jump rings to attach charms to one loop of the bezel (the loop that you're attaching to the lon
…
Aug 31st 2021
Moonrise Necklace Tutorial
Created by: Summer Melaas and Janet BoyingtonDesigner TipsStretch and wax 1 yard of thread.Using a size 12 needle, add Delica beads to the charm following the instructions in the free printable PDFs below.Cut eleven 1.25 - 1.5" sections of chain. Make 10 wire-wrapped links (with one labradorite bead on each), and wire-wrap these links directly to the chain sections, creating a 19.5" beaded chain.Cut two approximately 3.25" sections of chain. String remaining labradorite beads onto Soft Flex wire
…
Aug 31st 2021
Autumn Waterfall Earrings Tutorial
Created by: Polly Nobbs-LaRue Designer Tips3 sunny shades of orange crystal bicones cascade in a warm ombre waterfall, from Vintaj hammered brass rings.Make wire-wrapped loops using ball-end head pins and 10 crystal beads, then use large jump rings to cascade them from the Vintaj® ring.Gently slide the jump rings onto the hammered Vintaj ring, so you don't scratch the ring with the open edge of the jump rings.For tips on creating wire-wrapped loops and the best way to open and close jump
…
Aug 31st 2021
Upcycled Cog Bracelet Tutorial
Created by: Polly Nobbs-LaRueDesigner TipsWhenever walking, watch for unusual/interesting metal objects on the ground! When they are an unknown metal, do not try antiquing them or punching holes with your jewelry tools. Aluminum may cause undesirable (toxic) chemical reactions, and steel is likely to break your jewelry tools. As a safer alternative, wrap with cord, wire or leather.Cut the snaps off the 1/2" wrap bracelet and fold one end around the edge of the tribuckle's smaller hole. Mark the
…
Aug 31st 2021

