Rings & Things Jewelry Blog
Wedding Doves Necklace and Earring Tutorial
Created by: Rings & Things StaffDesigner TipsThis symmetrically designed necklace has a finished length of 17". For a different length, adjust the amount of beads, bead caps and stringing cable accordingly.The necklace pictured was made with large 10mm, 12mm and 14mm "shell" pearls, which are no longer available. Please note: 6, 8 and 10mm Swarovski pearls are now listed below. This will give you a more petite necklace. (The bead caps listed work great on 10mm and smaller beads.)Free Techniq
…
Jan 1st 2021
Sunshine Squared Necklace Tutorial
Created by: Bridget AustinDesigner TipsNo jump rings are needed; all you need are the links from the chain, to combine the sew-on stones and clasp.See the Jewelry Basics 101 (PDF) for instructions on opening jump rings. Use this technique to open and close the chain links.Suggested Supplies1 each #03-252-20-401 Swarovski 3252 Sew-on Emerald Cut, 20x14mm - Sunflower4 each #03-252-14-401 Swarovski 3252 Sew-on Emerald Cut, 14x10mm - Sunflower2 feed #40-090-41-3 Silver Plated Flat Textured Long &a
…
Jan 1st 2021
Squidly Necklace Tutorial
Created by: Jaci BostonDesigner TipsPunch holes in desired locations (click into hole-punch details for usage instructions for this tool).Use ring bending pliers to make the brass blanks wavy.Use 3mm jump rings to attach the wavy pieces.For maximum security, make sure your jump rings are securely closed.Free Technique Sheets & How-TosBasic Jewelry-Making Technique Sheet (PDF)Suggested Supplies1 doz [use 9] #44-722-50-0 Blank, Long Bar with Hole1 doz [use 1, not shown] #39-340-6 Clasp, Lobste
…
Jan 1st 2021
Wedding Date Necklace Tutorial
Created by: Polly Nobbs-LaRueDesigner TipsStamp design: If you're new to stamping, see metal stamping technique sheet.When stamping the date, keep in mind that tiny stamps require less stamping strength than larger stamps. Don't stamp too hard or the date will be hard-to-read globs.Use a center punch for the dot between the numbers in the date. Again, be careful not to stamp too hard.The border stamps are awesome but a little tricky -- make sure you have good lighting before using. The Simple St
…
Jan 1st 2021
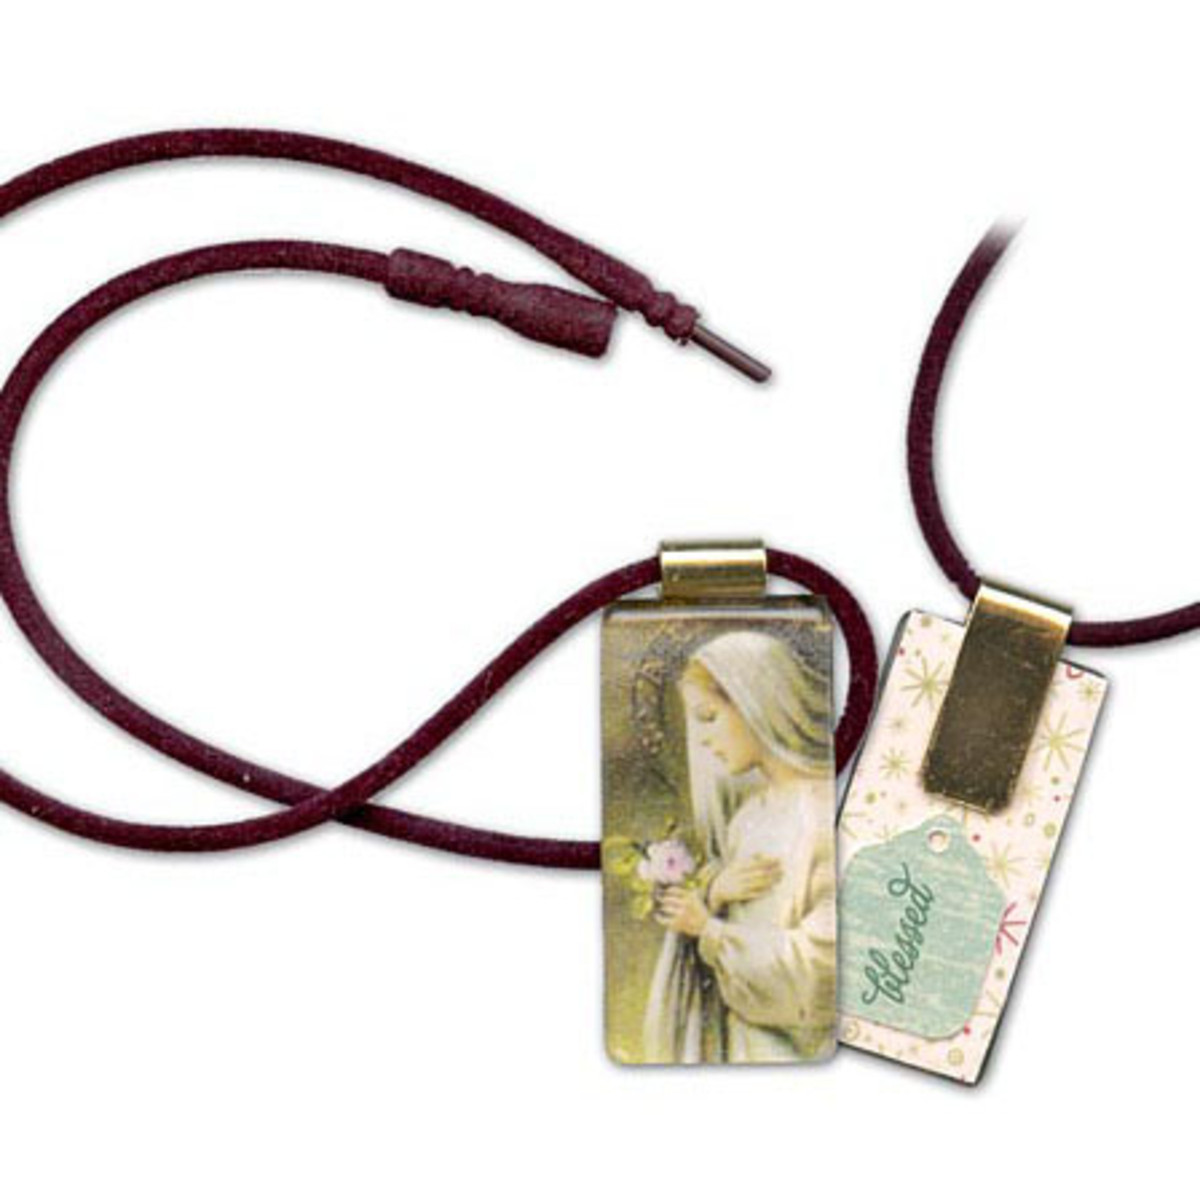
Silent Night Glass Tile Necklace Tutorial
Created by: Mollie ValenteDesigner TipsRoughen the bail with sandpaper before gluing.Use adhesive to: * Seal the front and back of the image. * Affix some fine glitter to the image for extra sparkle. * Attach the image to the glass tile. * Attach the bail; allow glue to cure.String onto silkie necklace cord.Free Technique Sheets & How-TosGluing Hints for Metal Findings (PDF)Suggested Supplies1 ea #60-280 Adhesive, Crafter's Pick™ The Ultimate1 pkg of 10 [use 1] #41-792-02-2 Bail, Tube Top fo
…
Jan 1st 2021
Rose Quartz Healing Necklace Tutorial
Created by: Tiffany WhiteDesigner TipsCut 12" of wire to wrap the gemstone donut.Center the wire on the donut and wrap each side 2 times.Pinch the two wires flush together with chain-nose pliers.Use round-nose pliers to make a large loop (3mm or so in diameter) with both pieces of wire, about 3-4mm up from the top of the donut.Wrap the two pieces of wire around several times to create a handmade wire-wrapped bail on the donut.Clip the excess wire with wire cutters and use chain-nose pliers to pi
…
Jan 1st 2021
Twisted, Not Tangled, Necklace Tutorial
Created by: Rita HutchinsonDesigner TipsThis 24.5"" necklace uses 26 twisty bar connectors. Adjust the finished length of the piece by adding or subtracting connectors.Connect all components together using sterling jump rings. For best way to open and close jump rings, twist sideways (see Jump Ring Hint in Jewelry Basics 101 PDF).Each connector has one smaller and one larger loop. For best results, connect the small loop on one link to the large loop on the next link.Suggested Supplies26 each #4
…
Jan 1st 2021
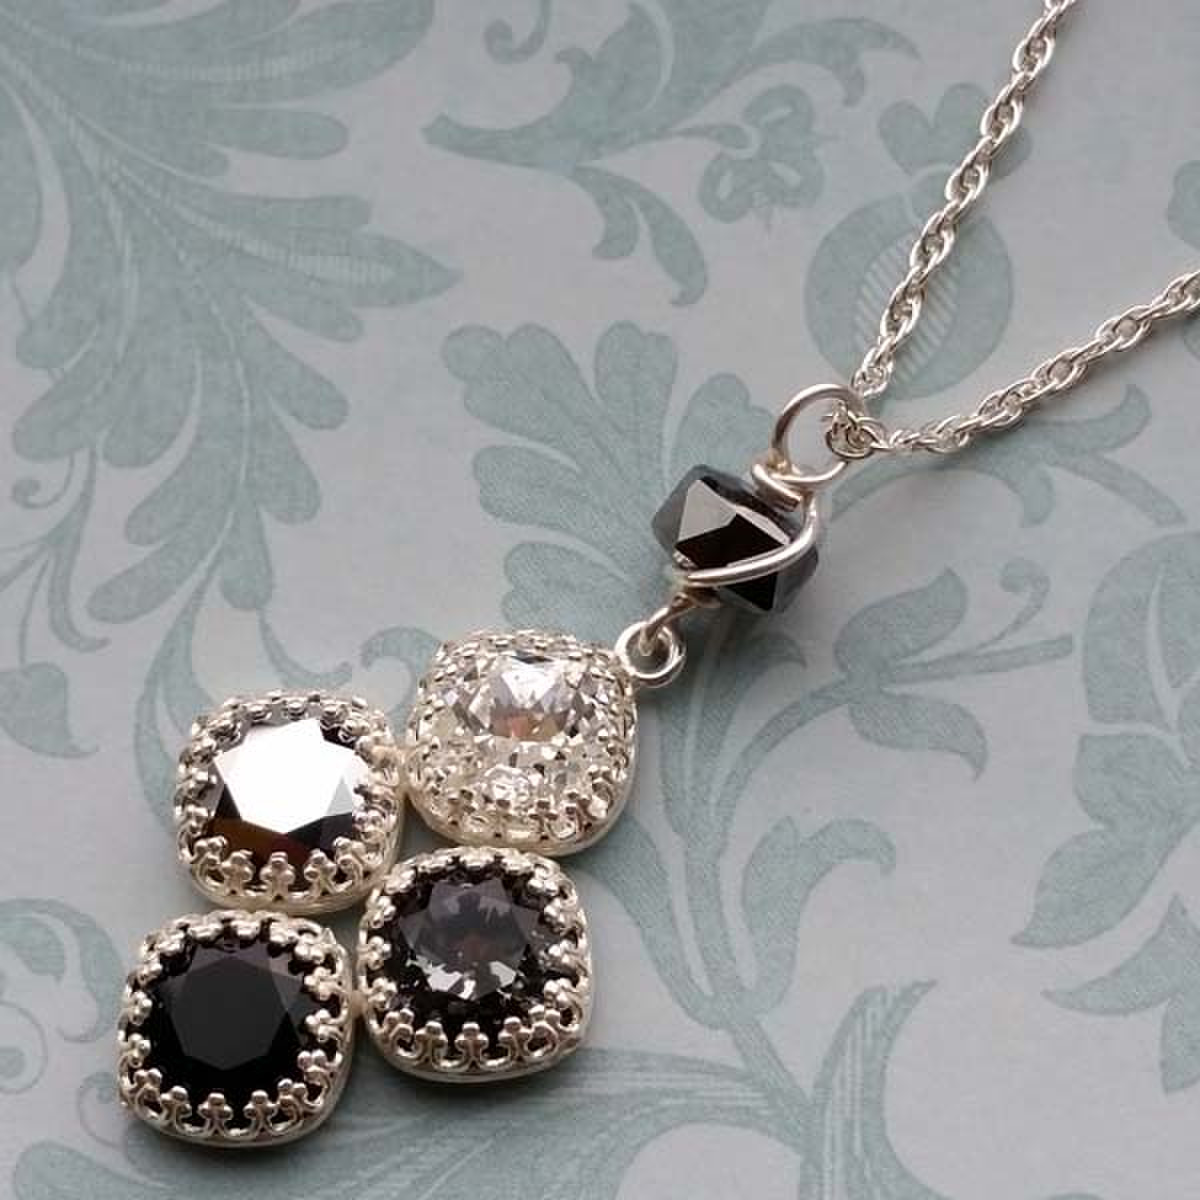
Sparkling Squares Necklace Tutorial
Created by: Summer MelaasDesigner TipsPlace a crystal stone into the setting. Use a burnishing tool to gently press the bezel down on all sides of the crystal. Use the burnisher to smooth all sides of the bezel evenly up and over over the stone.Repeat with other crystal cushion stones.Use pliers to open the loop on an ear wire, and attach to the top of the setting. (See Jump Ring Hint in Jewelry Basics 101 (PDF) for best way to open and close a loop.)Suggested Supplies6 each #04-470-10-445 Swaro
…
Jan 1st 2021
Unfurled Copper and Oval Gemstone Necklace Tutorial
Created by: Cindy MorrisDesigner TipsSince the gemstones are fairly heavy, use two crimp beads for extra security. Flatten crimps with flat-nose pliers.Use two jump rings for the "S" hook to connect to both for style and extra security.Vary chain length and stringing pattern as desired.Placing the clasp to one side rather than the back makes it easier to close for some people.Free Technique Sheets & How-TosBasic Jewelry-Making Technique Sheet (PDF)Beading Cable Technique Sheet (PDF)Suggested
…
Jan 1st 2021
Shaping Up - Necklace Tutorial
Created by: Rita HutchinsonDesigner TipsRemove the clasp from the end of one bracelet, and replace the oval jump ring with a round jump ring.For best way to open and close loops, see Jump Ring Hint in Jewelry Basics 101 (PDF)Remove the oval jump ring from the opposite end of the other bracelet and replace with a round jump ring. Link the sterling frames together with jump rings in a pattern you like, and attach to the two bracelets with the round jump rings you just added. Clasp the bracelets to
…
Jan 1st 2021


