Rings & Things Jewelry Blog
Funky Bohemian Spike Set Tutorial
Created by: Tiffany WhiteDesigner TipsCut three pieces of 20-gauge copper wire, each 6" long.Make a wrapped loop at one end of each wire.For step-by-step illustrated instructions, see our blog article: DIY Funky Bohemian Turquoise Spike Jewelry SetChoose beads, and add them to each wire.Make a wrapped loop on the other side of each set of beads.Dip the copper parts in Novacan to antique them.Rinse with water and pat dry, then polish off the high points with an ULTRA polishing cloth.For the earri
…
Jan 1st 2021
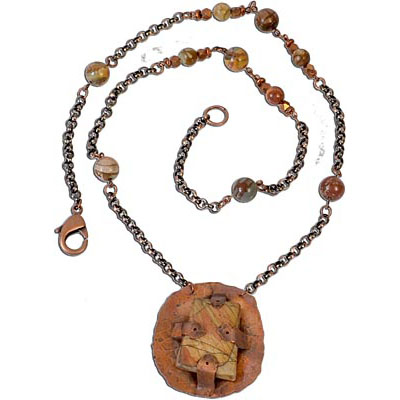
Cave Man Necklace Tutorial
Created by: Jaci BostonDesigner TipsCarefully plan the cutting pattern. The shape of these cuts creates decorative prongs or tabs to hold the gemstone slab bead.For this design draw the shape to be cut with a Sharpie®. For a more intricate pattern, print out an image of the design and glue it to the metal with rubber cement found at any office supply center.For tips for sawing sheet metal with a jeweler’s saw, check out our blog post.Punch holes for adding chain, and to embellish the tabs.Textur
…
Jan 1st 2021
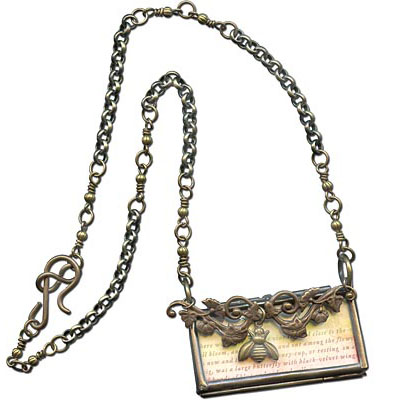
Fleur de Bee Pendant - Necklace Tutorial
Created by: Sondra BarringtonDesigner TipsPatina the bee and darken the frame with Win-Ox™.Apply wax to seal the pieces, after you have achieved desired patina effect.Attach the bee and filigree using jump rings. Adding these pieces is an easy way to customize your piece without soldering.The finished length is 16".Free Technique Sheets & How-TosBasic Jewelry-Making Technique Sheet (PDF)Suggested Supplies1 gross [use 12] #26-463-6 Bead, 3mm Round, Corrugated (Antiqued Brass Plated)1 spool [u
…
Jan 1st 2021
Let it Snow Stamped Necklace Tutorial
Created by: Cindy MorrisDesigner TipsCut 24-gauge sterling sheet into a 1" to 1.5" square. (Cindy's is about 1.25" or 32mm)Use a file to smooth the edges and round the corners.Create the stamped metal charm (see Techniques for Creating a Stamped Metal Charm - PDF).Punch 1/16" holes.Attach jump rings to the top holes (see Basic Jewelry-Making Technique Sheet - PDF), and slide onto the ball chain necklace.Attach the crystal snowflake to the pendant using a triangle bail.The pictured design uses a
…
Jan 1st 2021
Gianni's Garden Necklace Tutorial
Created by: Mollie ValenteDesigner TipsMeasure, mark and punch the hanging holes: 3 holes spaced to match the loops of the triangle, and one hole on the bottom.Use a rubber stamp of your choice and the Rings & Things Etching kit to create the etched pendant.Etch as directed following instructions in the kit as well as the Rings & Things metal etching blog post.The pendant is antiqued using Jax Green Patina. You an achieve a similar look using Vintaj's "Weathered Copper" Patina Kit (#86-4
…
Jan 1st 2021
Holiday Lights Necklace Tutorial
This sparkling "Christmas light" project is a fun, festive winter design to create with Swarovski crystal teardrop beads in colors of your choice.Created by: Rings & Things Staff Designer TipsAdd a crystal teardrop bead to a head pin (narrow tip towards the head of the pin), add a rhinestone wheel bead, then a round crystal bead. Make a simple loop. Repeat for other colors of teardrop beads, until you have approximately 14 sparkling holiday lights.Cut chain to desired length, and use a 5mm j
…
Jan 1st 2021
Easy Peasy Lariat Tutorial
Created by: Rita Hutchinson Just 3 parts total: leather cord, leather-hole pearls, and a link about the size of a quarter (around 25mm). Choose from a wide variety of link options in sterling silver and gold fill. Designer TipsDetermine finished necklace length (this piece is about 28"").Tie a double overhand knot at one end of leather. Slide all 4 pearls on the leather from the other end.Tie silver link to the other end of the leather with another double overhand knot.Settle one pear
…
Jan 1st 2021
Pearl Wraparound Swarovski Necklace Tutorial
Created by: Swarovski's Create Your Style Design TeamDesigner TipsUsing one head pin, slide on one 5844 10mm elongated baroque pearl, make a simple loop and set aside. Repeat 29 more times and set aside.For step by step instructions on making simple loops, and most secure way to open and close jump rings, see Jewelry Basics 101 (PDF).Using the gold chain, take one side of the chain and beginning 3" up on the chain, attach 15 pearls from step 1, one on each ring.On the other side of the gold chai
…
Jan 1st 2021
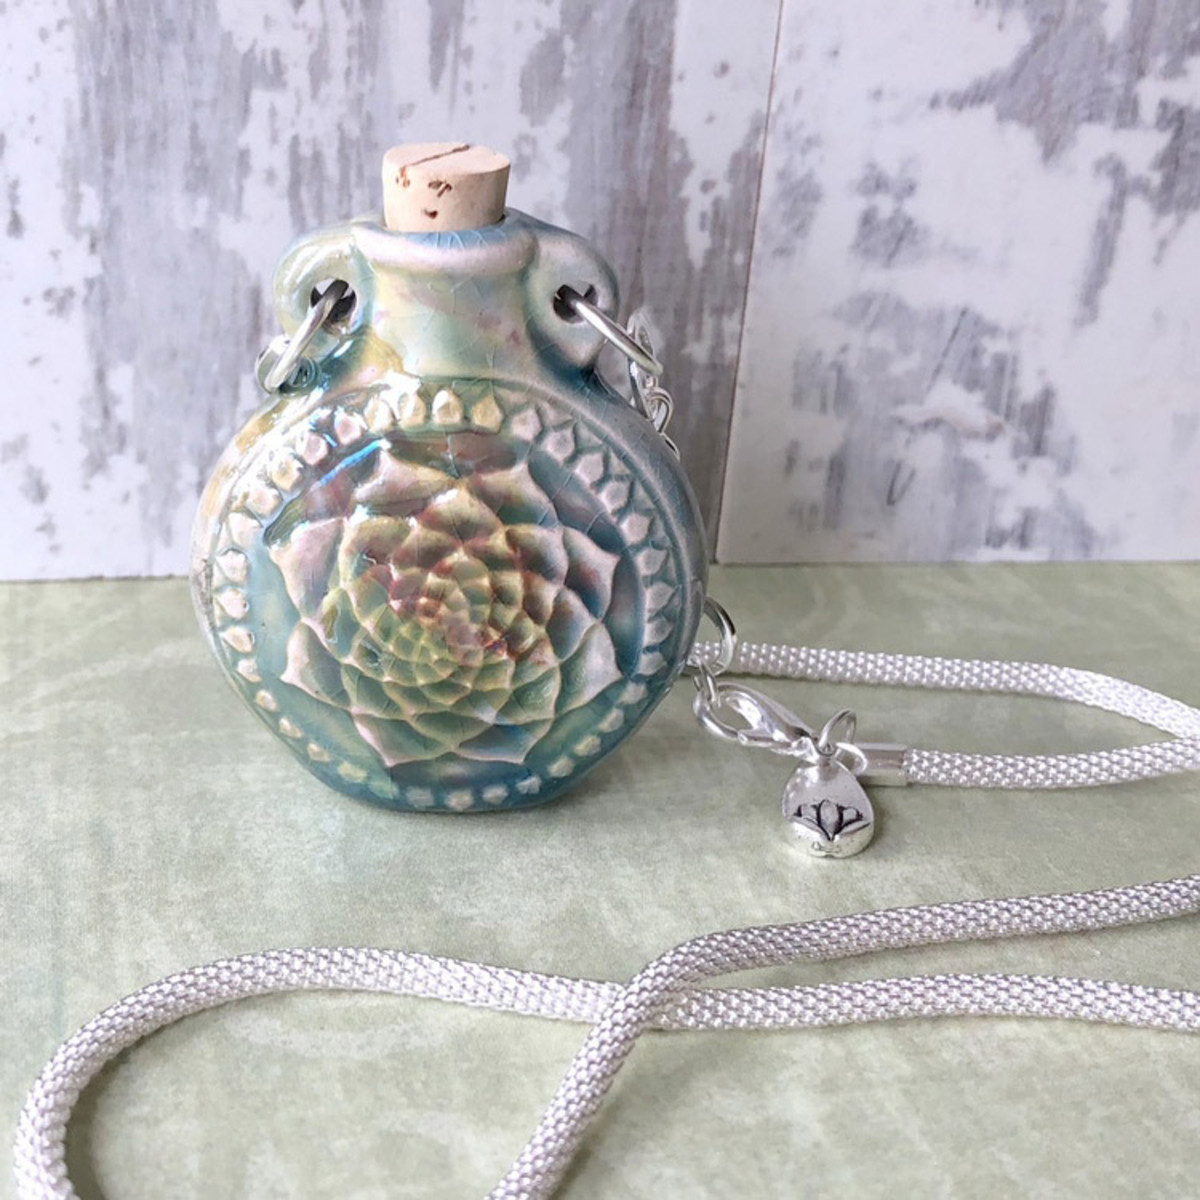
Peaceful Thoughts Lotus Necklace Tutorial
Created by: Mollie ValenteDesigner Tips - Part 1: Prepare ComponentsDisassemble the metal mesh choker necklace and temporarily set aside the lobster clasp and metal mesh chain. For best way to open and close loops, see Jump Ring Hint in Jewelry Basics 101 (PDF).Create a 3-ring and a 4-ring section of ring & connector chain by opening and discarding end connector links. Our finished necklace has a three-ring section of chain (this is on the clasp-side of the necklace) and a four-ring section
…
Jan 1st 2021
Passion Play Toursade Tutorial
Created by: The Swarovski Crystal CREATE YOUR STYLE Design TeamDesigner TipsCut stringing cable into three 24"" pieces.Add a bead stopper to one end of a 24"" stringing cable. Slide on one 4mm 5328 Crystal Golden Shadow, one 6mm Rouge Pearl, one 4mm 5328 Crystal Golden Shadow, one 6mm Rouge Pearl, one 4mm 5328 Crystal Golden Shadow, one 8mm Rouge Pearl, one 4mm 5328 Crystal Golden Shadow, one 10mm Rouge Pearl, (continue pattern with only 10mm pearls for 29 more times) then slide on one 4mm 5328
…
Jan 1st 2021


