Rings & Things Jewelry Blog
Aqua Love Necklace Tutorial
Created by: Cindy MorrisDesigner TipsString necklace and finish ends following directions in Beading Cable How-To Sheet below. Use Wire Guardians for a professional finish at the ends of your beading cable.When using soft solder, you can use either a soldering iron, or a gentle touch with a butane micro torch.It's important to use separate firing surfaces for soft solder and silver or copper solder. Do not use the same firing brick for both.For the pendant, melt soft solder onto the ba
…
Dec 2nd 2021
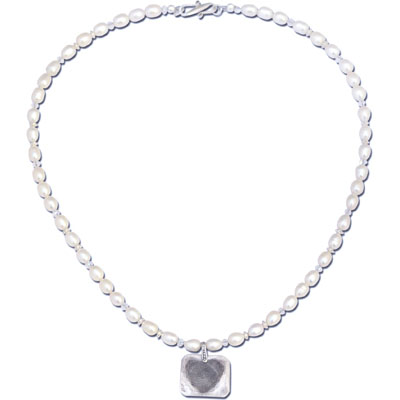
Becoming One Necklace Tutorial
Created by: Rita HutchinsonDesigner TipsTo make the fingerprint heart pendant, form the desired pendant shape in silver metal clay. Allow it to dry, and pre-finish, then spritz thoroughly with distilled water. Allow the water to permeate the pendant before applying fingerprints.Thoroughly dry the pendant before firing.Once fired, patina the metal clay pendant to highlight the fingerprint.Use the regular crimping pliers to smoothly close the crimp covers.Free Technique Sheets & How-TosBeading
…
Aug 31st 2021
Ava's Big Day Bridal Set Tutorial
Created by: Valorie Nygaard-Pouzar Designer Tips Determine placement of the stamped letters on metal charm, or paper.Carefully stamp the blank.Antique the charm so the impressions are more pronounced.Gently sand and polish.Attach to jump ring & chain.Make a pearl dangle, and slide onto the chain.For earrings, make two pearl dangles like the one for the necklace and attach to ear wires.Pendants for the bride and bridesmaids are elegant jewelry, as well as keepsakes that will last
…
Jul 18th 2021
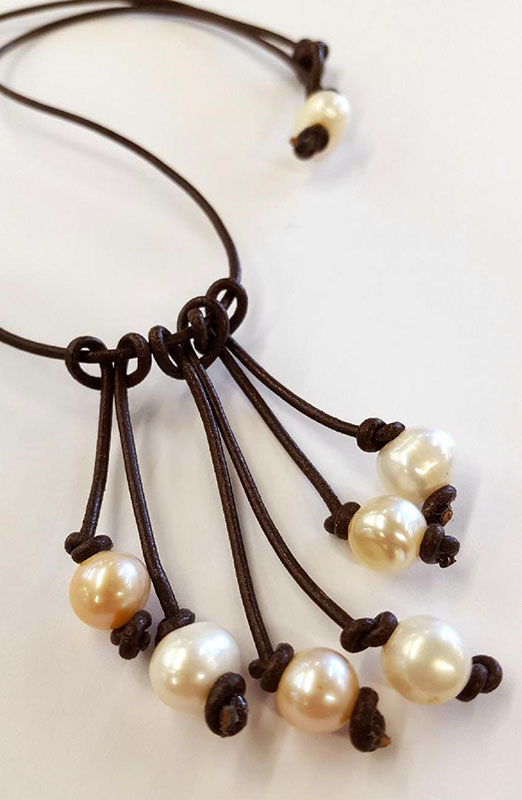
Big Bold Pearls as Tassels - Necklace Tutorial
Created by: Sondra BarringtonDesigner TipsCut approximately 25" of cord, add a pearl, and tie a simple overhand knot at one end. Pull the knot tight, then pull the pearl up against this knot and add another knot at the other side of the pearl. Use an awl or strong needle to pull the knot tight against the pearl.At the other end, make a loop for a button/loop style closure, and secure it with a knot. Before tightening the knot, make sure the loop fits over the knotted pearl bead. (See "Trio of Pe
…
May 31st 2021
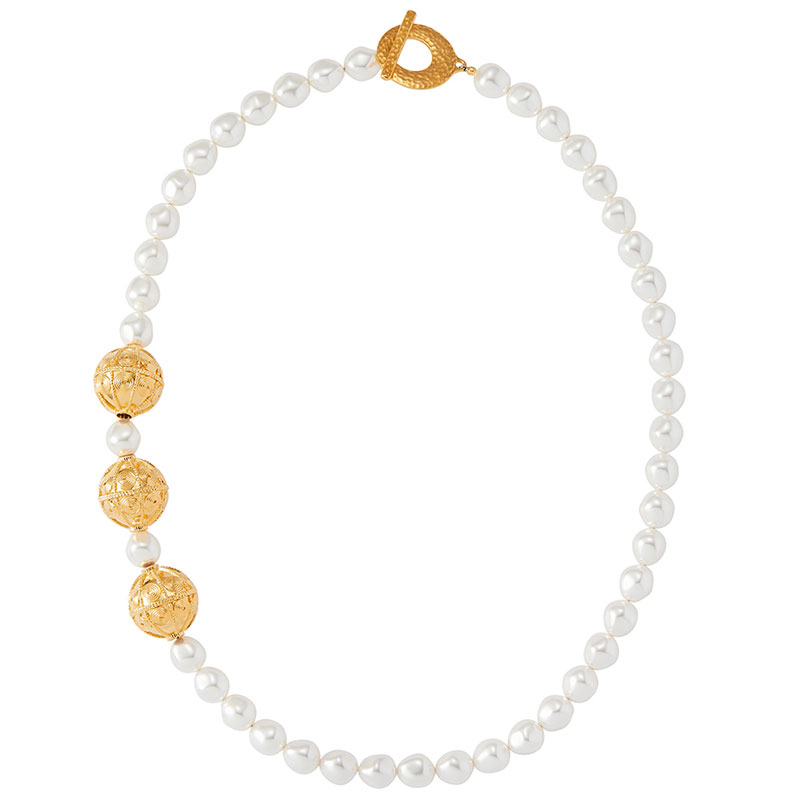
Baroque Beauty Pearl Necklace Tutorial
Modified from a design created by Swarovski's Create Your Style Design Team Designer TipsUsing beading wire, slip on one crimp bead and one end of the Maker's Toggle, and crimp to close. Add crimp cover. New to jewelry-making? See Jewelry Basics 101 (PDF).String beads in desired pattern. For a 16-18" necklace, string number of beads shown (44 pearls total). For a 24" necklace, string 40 pearls for the longer section, and 15 pearls for the shorter section. Exact quantity may
…
May 31st 2021
Botanical Bird Necklace Tutorial
Created by: Summer MelaasDesigner TipsFollow wire-wrapped loop instructions in Jewelry Basics 101 (PDF) to create wire-wrapped link sections with the crystal beads. Be sure to add the various components to your beaded links before finalizing each wire wrap! (Alternately, make simple loops, and /or use jump rings to connect the sections.)Use 24-gauge wire to link one Aurum (gold) crystal to bottom right of songbird and to 5" of chain.Use one gold crystal to link the other end of chain to bottom l
…
Mar 31st 2021
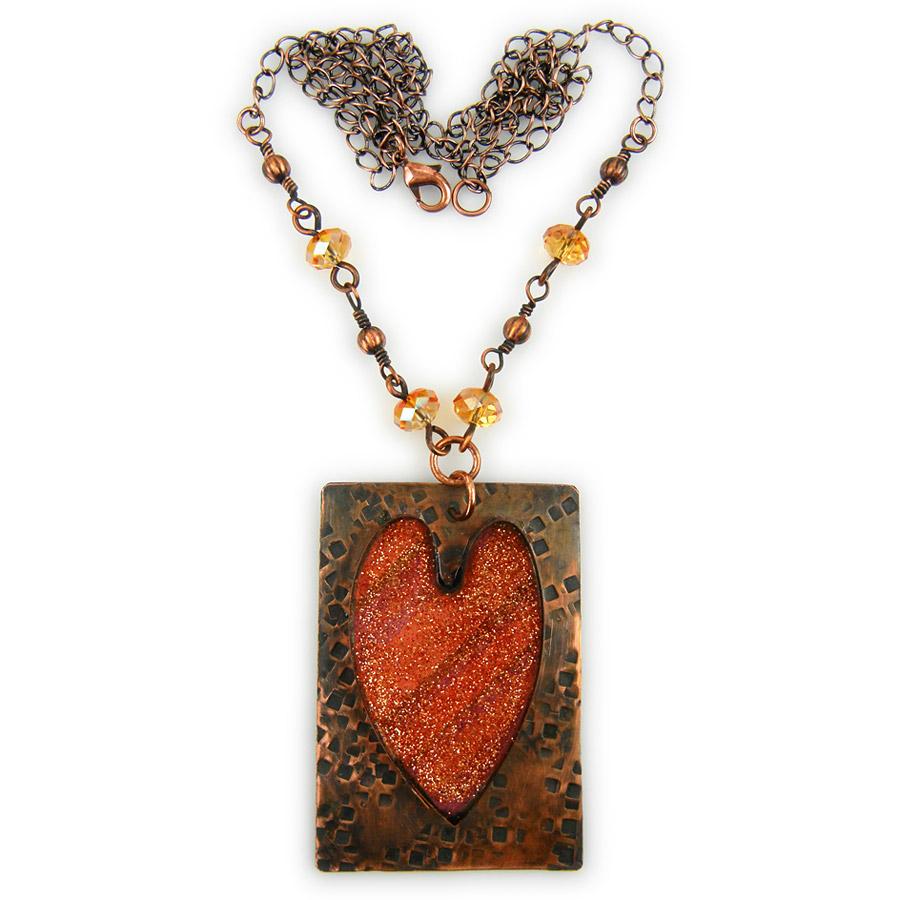
Astral Love Resin Necklace Tutorial
Created by: Rita HutchinsonDesigner TipsSee instruction page for making no-solder bezels.Cut paper to match bezel wire shape.Seal paper and adhere to inside of bezel.Mix a small batch of resin and pour a starting layer.When first pour is cured, mix a new batch (add glitter), and pour to fill the bezel.Create decorative section of chain with crystal and metal beads. The crystals are on thicker wire with simple loops. The corrugated beads are on 24-gauge wire with wrapped loops. Wrap the beaded se
…
Jan 25th 2021
Bee Keeper Reliquary Necklace Tutorial
Created by: Mollie ValenteDesigner TipsFor a step-by-step tutorial with images, check out the How to Create a Reliquary Pendant blog post.Cut and shape the blank: Measure and cut a brass blank 1 x 1-3/4" in size. File the blank to soften the corners.Mark and punch holes: Measure and mark the hanging holes: 3 holes, 1/8" from the top and spaced to match the holes of the triangle filigree and the wire-lashing holes; 2 holes, 1/8" from each side and 5/8" from the top. Punch holes in the marked posi
…
Jan 1st 2021
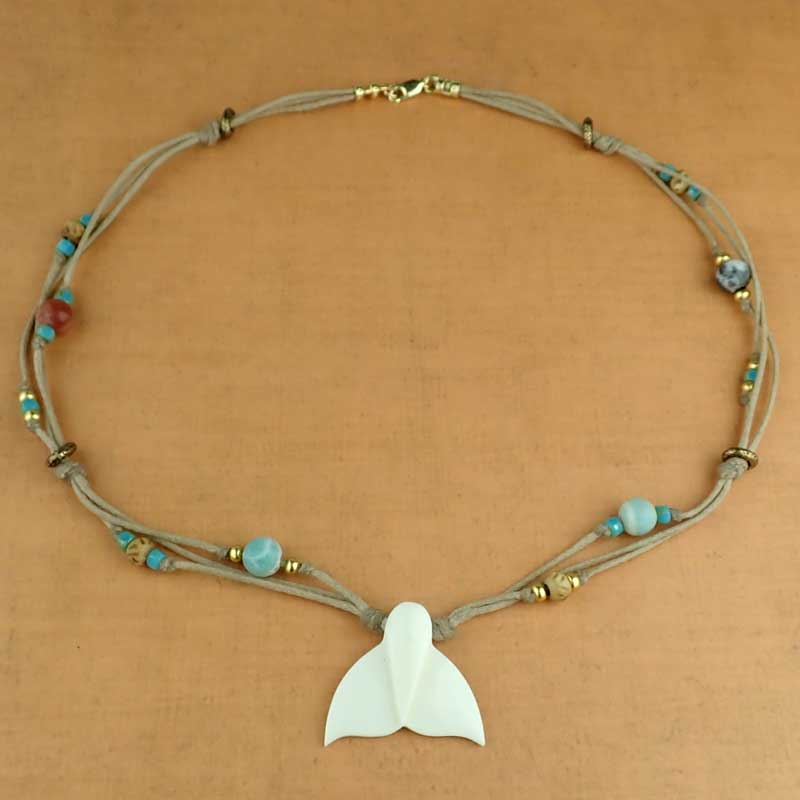
A Whale of a Tail Necklace Tutorial
Created by: Veronica Greenwood Designer TipsCut three equal lengths of waxed cord (make sure to cut enough cord for the knotting).Fold all three cords in half and slide your pendant to the center of one of the cords.Knot all three cords together on each side of the pendent (you will have one cord thru the pendent and two cords behind the pendant).All knots in this project are basic overhand knots.Randomly knot and add beads in a pattern that you like until you get your desired look and le
…
Jan 1st 2021
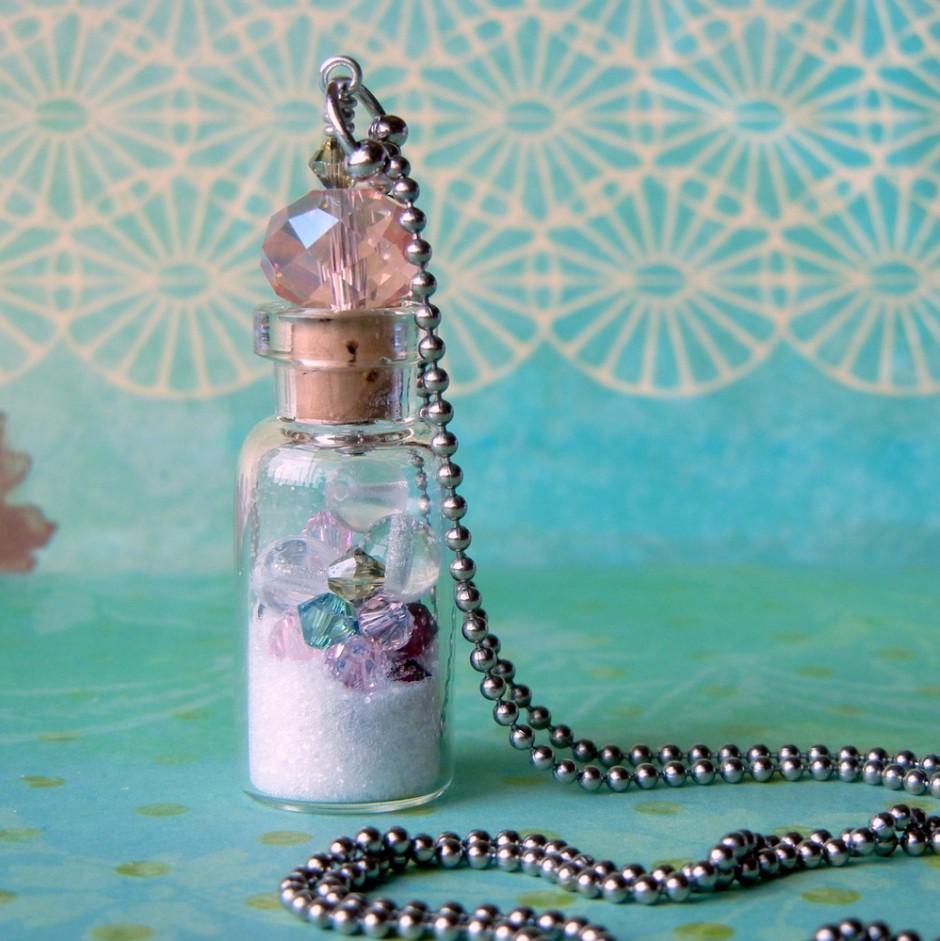
Beachcomber Glass Vial Tutorial
Created by: Mollie ValenteFor step-by-step illustrated instructions to make this Beachcomber glass bottle treasure necklace, see our blog post: How to Make a Glass Vial NecklaceSuggested Supplies1 each #30-187-3515 32x15mm clear glass bottle1 each #05-040-12-02 12mm faceted briolette or rondelle crystal bead1 dozen [use 3-4 beads] #05-328-04-124 Swarovski 5328 Faceted XILION Bicone Beads, 4mm - Indicolite1 dozen [use 3-4 beads] #05-328-04-407 Swarovski 5328 Faceted XILION Bicone Beads, 4mm - Den
…
Jan 1st 2021


