Rings & Things Jewelry Blog
Resin 101
Resin Jewelry 101 Epoxy jewelry resins are durable, usually clear or translucent, resins that come in two parts: the resin and the hardener. When the two parts are mixed together, a chemical reaction occurs that changes the epoxy from a liquid to a solid. When you mix the 2 parts together, you have the option of adding colorants and other inclusions such as sand, glitter, mica, and more. You can add inclusions (mica, glitter, images, chain, crystals, charms...) to a bezel or a mold before
…
Oct 27th 2021
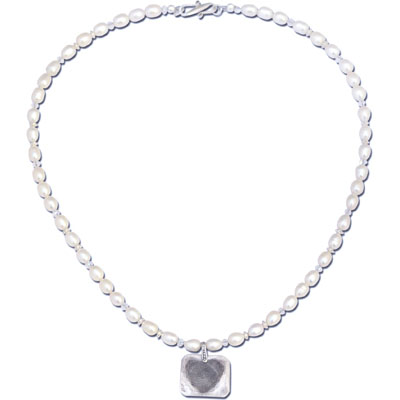
Becoming One Necklace Tutorial
Created by: Rita HutchinsonDesigner TipsTo make the fingerprint heart pendant, form the desired pendant shape in silver metal clay. Allow it to dry, and pre-finish, then spritz thoroughly with distilled water. Allow the water to permeate the pendant before applying fingerprints.Thoroughly dry the pendant before firing.Once fired, patina the metal clay pendant to highlight the fingerprint.Use the regular crimping pliers to smoothly close the crimp covers.Free Technique Sheets & How-TosBeading
…
Aug 31st 2021
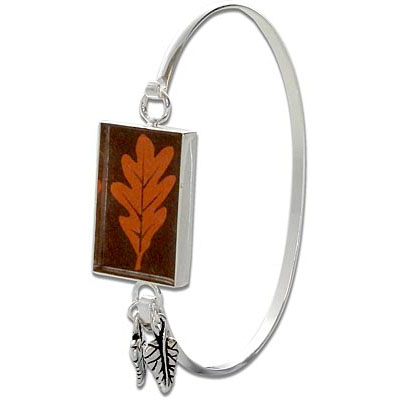
All Fall Resin Bracelet Tutorial
Created by: Rita Hutchinson Designer TipsGently reshape longer loop of the cuff bracelet with round nose pliers to prevent bezel piece from inadvertently detaching.This combination of large bezel and large cuff makes an extra-large bracelet. Use smaller bezel and/or smaller cuff as needed.Use instructions in Epoxy Resin Tip Sheet (PDF) to set and seal a favorite image in the bezel.Use jump rings to attach charms to one loop of the bezel (the loop that you're attaching to the lon
…
Aug 31st 2021
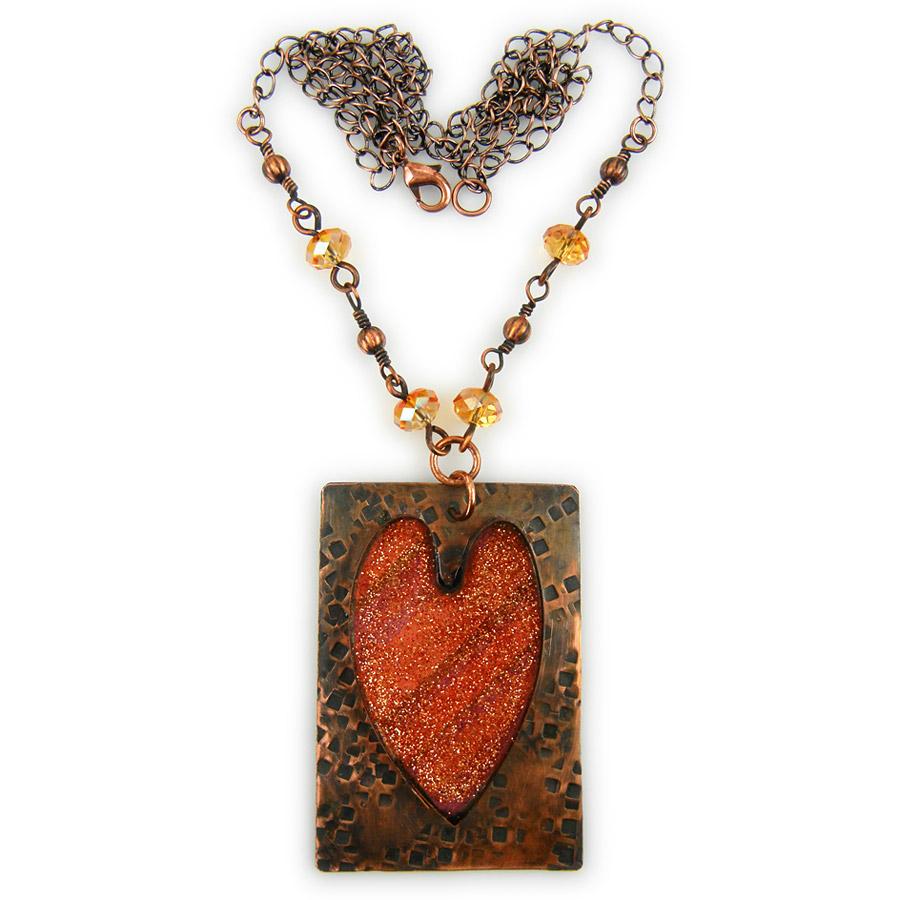
Astral Love Resin Necklace Tutorial
Created by: Rita HutchinsonDesigner TipsSee instruction page for making no-solder bezels.Cut paper to match bezel wire shape.Seal paper and adhere to inside of bezel.Mix a small batch of resin and pour a starting layer.When first pour is cured, mix a new batch (add glitter), and pour to fill the bezel.Create decorative section of chain with crystal and metal beads. The crystals are on thicker wire with simple loops. The corrugated beads are on 24-gauge wire with wrapped loops. Wrap the beaded se
…
Jan 25th 2021
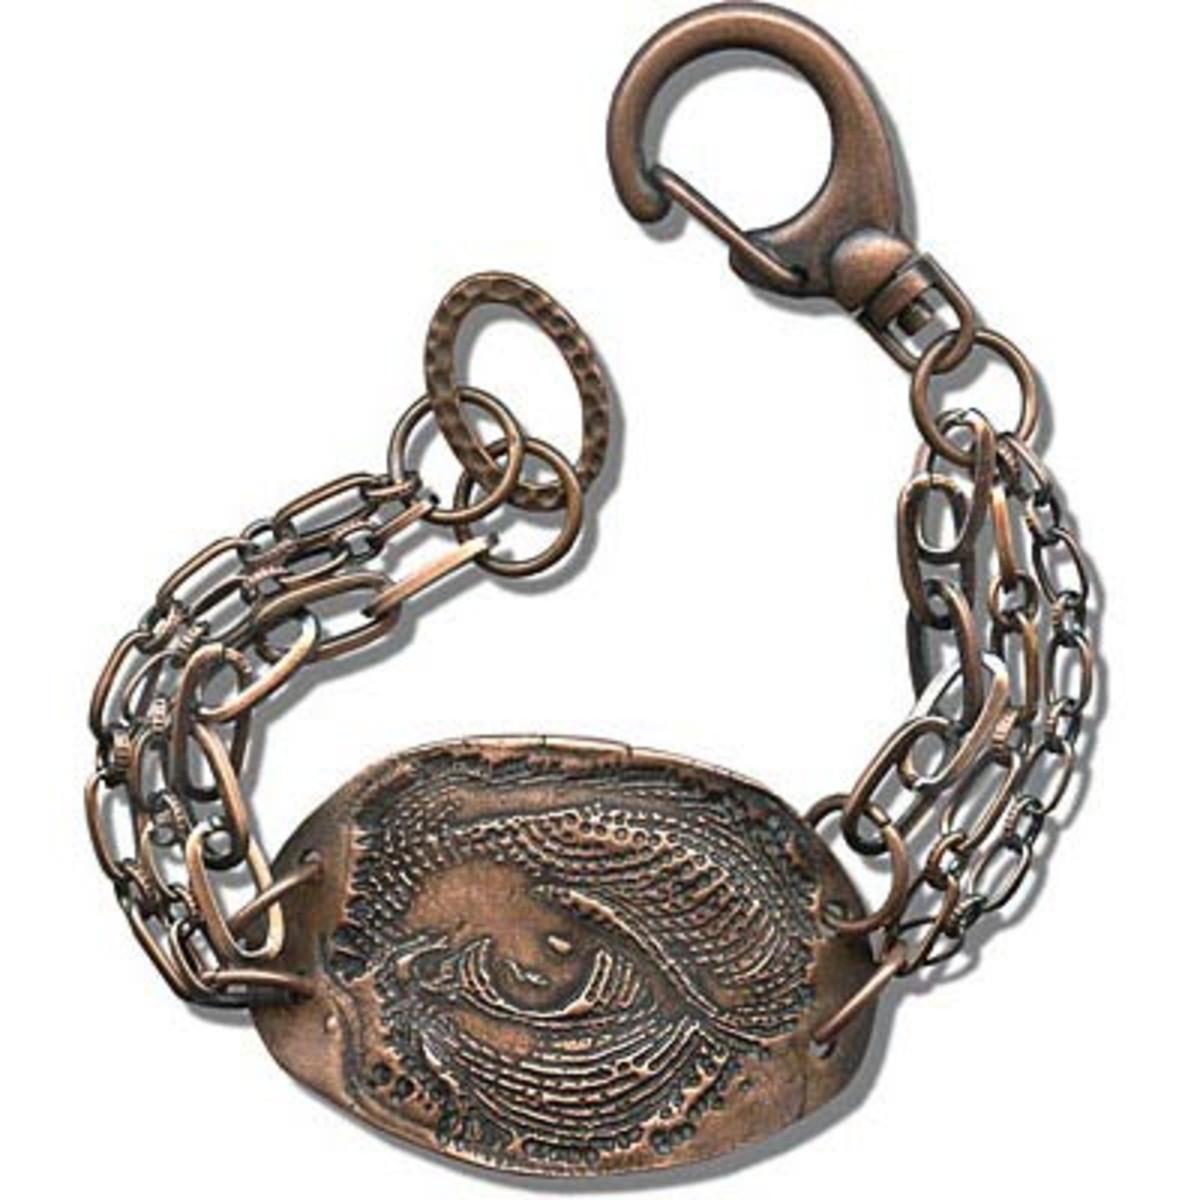
All Seeing COPPRclay® Bracelet Tutorial
Created by: Joe HentgesDesigner TipsCreate the COPPRclay centerpiece according to the manufacturer's instructions. Like most other metal clays, COPPRclay must be fired in a kiln. COPPRclay shrinks approximately 20% from package to finished product.To create the curve, let the COPPRclay piece dry over a round object before firing.Clean COPPRClay with water then 0000 steel wool.UseWin-Ox™ (#86-343>86-343) to patina and then polish with Wetordry Polishing paper 1200 grit (#69-257-1200>69-257-
…
Jan 1st 2021
Abby's Earrings Tutorial
Created by: Lindsey Green Designer Tips Use three layers of Magic-Glos UV Resin to create the look of the crystal rivoli standing free in the bezel cup earrings.A piece of Styrofoam® or sponge material works great to keep the jewelry in place. Simply stick the post of the earring into the styrofoam or sponge to keep the jewelry level.Add a base layer of resin to the bezel cup and then cure it with the UV light.After the first layer is dry, pour a second layer into the bezel.
…
Jan 1st 2021
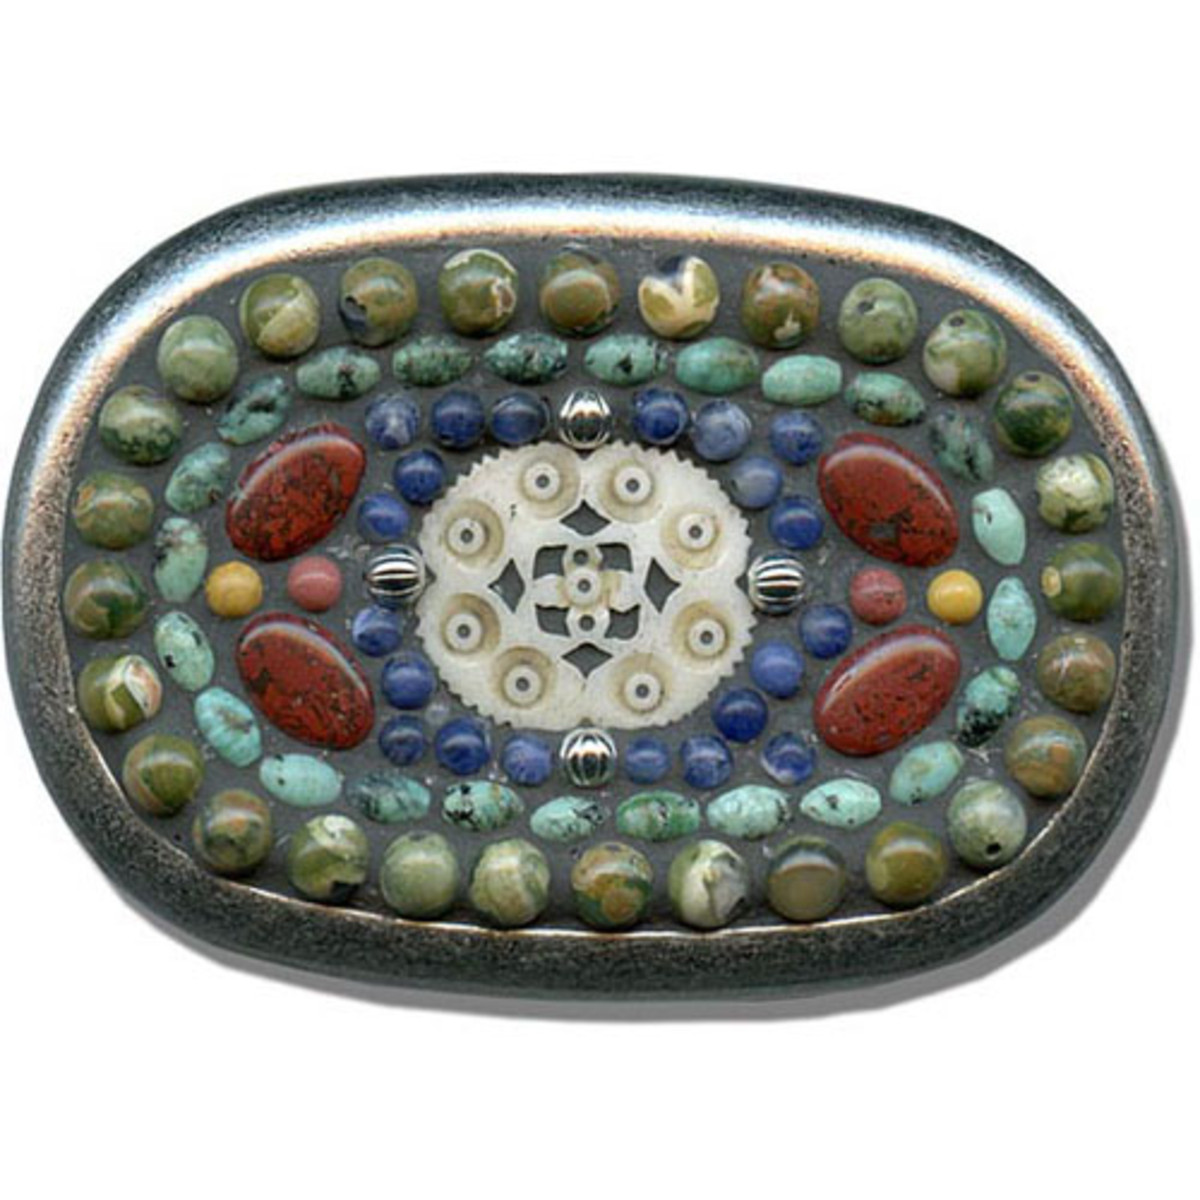
Albuquerque Belt Buckle Tutorial
Created by: Mollie ValenteDesigner TipsPlan your layout for design and fit.Use two-part epoxy to glue the mosaic components in place. Allow to cure overnight.Mix grout according to manufacturer's instructions. Read and follow application and clean up directions.Apply the grout to the mosaic in a circular motion while pushing the grout into all voids.Allow grout to set for 10 minutes, then use a slightly damp sponge to clean up excess grout and smooth the surface. Rinse sponge and repeat until cl
…
Jan 1st 2021


