Rings & Things Jewelry Blog
Gear Head Bobby Pin Tutorial
Created by: Polly Nobbs-LaRue Designer Tips Always wear safety glasses when cutting, drilling or punching.The bobby pin is a little heavier gauge than recommended for the punch, so use a drill press if you have one, or punch very carefully (and be sure you know where you stored your replacement pin).Lay the sprocket and 25mm round blank on top of each other; use center punch to mark exact center of the blank. Punch or drill the blank.Lay components together, and rivet. The 1.8mm
…
Aug 31st 2021
Patterned Wire Earrings Tutorial
Created by: Polly Nobbs-LaRue Designer TipsMeasure, mark and cut patterned wire to desired length.File ends smooth with slightly rounded corners, so the wire pieces match the curve of the disks.Use nylon hammer and metal block to flatten pieces if needed.Mark locations for rivet and eyelets on wire, and punch holes. Rivet size is 1/16" and eyelet size is 3/32".Use these hole locations, to mark hole locations on the disks. Punch holes.Optional: Antique if desired before assembling!Match up
…
Aug 31st 2021
Cities in Bloom Bracelet Tutorial
Created by: Polly Nobbs-LaRueDesigner TipsUse a permanent marker to draw a few clouds in the sky, and tufts of grass on the ground. (After etching, I thought my tufts of grass looked more like a cityscape, so you may want to use an extra-fine-point Sharpie® for some of the grass.) The lines that look like rain were not drawn; they are simply a result of the ferric chloride etching process.Carefully and thoroughly mask the edges and back of the bracelet with masking tape, duct tape or Sharpie, to
…
Apr 30th 2021
Copper & Purple Love - Bracelet Tutorial
Created by: Polly Nobbs-LaRueDesigner Tips
Set link on leather bracelet, and use a sharp pencil, or fine-point non-smudging marker, to make a dot at each spot to punch.Rotate leather hole punch to smallest setting, and carefully punch holes.Click into the rivet below, and follow the steps in the "more details" section for setting these 2-part rivets.Optional: Use bracelet-bending pliers to gently shape the link into a smooth wrist-shaped arc.For more information about riveting, download and pri
…
Jan 25th 2021
Metallo Elemento Bracelet Tutorial
Created by: Polly Nobbs-LaRue Designer Tips For a small wrist (shown), cut 2 pieces of leather each 5" long. For a standard men's bracelet, cut 2 pieces each 6" long. or measure the wrist size you want, add 4" (for the riveted overlap portions), and divide in half.Adjust rotary punch to 2.5mm.Wrap one end of the leather strap around the centerpiece, overlapping leather by approximately 1". This gives you room to safely set the rivet without hitting the gemstone or crystal centerp
…
Jan 1st 2021
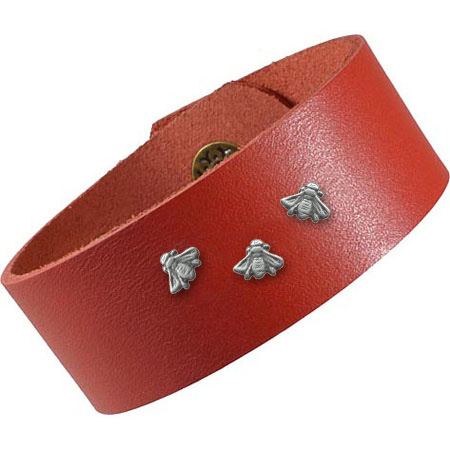
Fly Bee! Bracelet Tutorial
Created by: Polly Nobbs-LaRueDesigner TipsPunch 1/16" holes in the bracelet where you want to place the rivets.Run the first rivet through the leather, place a washer on it, and use a fine-point Sharpie to mark a line on the rivet shaft about 1mm past the washer.Use heavy-duty flush cutters (or a jewelers saw) to cut at this line. Be sure to cut nice and flat (parallel with the rivet head). File flat if necessary.Place the bracelet rivet-head-down on the rubber side of a steel/rubber bench block
…
Jan 1st 2021
Breathe - Riveted Leather Bracelet Tutorial
Created by: Polly Nobbs-LaRueDesigner TipsSet link on leather bracelet, and use a sharp pencil, or fine-point non-smudging marker, to make a dot at each spot to punch.Rotate leather hole punch to smallest setting, and carefully punch holes.Click into the rivet's details below, and follow the steps for setting the rivets.Optional: Use bracelet-bending pliers to shape the link into a smooth wrist-shaped arc.For more information about riveting, download and print the free technique sheets below.Sug
…
Jan 1st 2021
Palomita Wrapped Leather Bracelet Tutorial
Created by: Polly Nobbs-LaRueDesigner TipsCast silver star beads and Bali-style flower beads make wonderful riveted accents. If a bead's hole isn't quite large enough, center the bead on the 1/16" cutting end of the Crafted Findings riveting system, and re-cut the hole. Do not pull the bead off the cutter - this can damage the cutter. Simply unscrew until the bead comes off naturally. The purple leather bracelet pictured is no longer available - but 50 other colors / sizes are! (See links below.
…
Jan 1st 2021
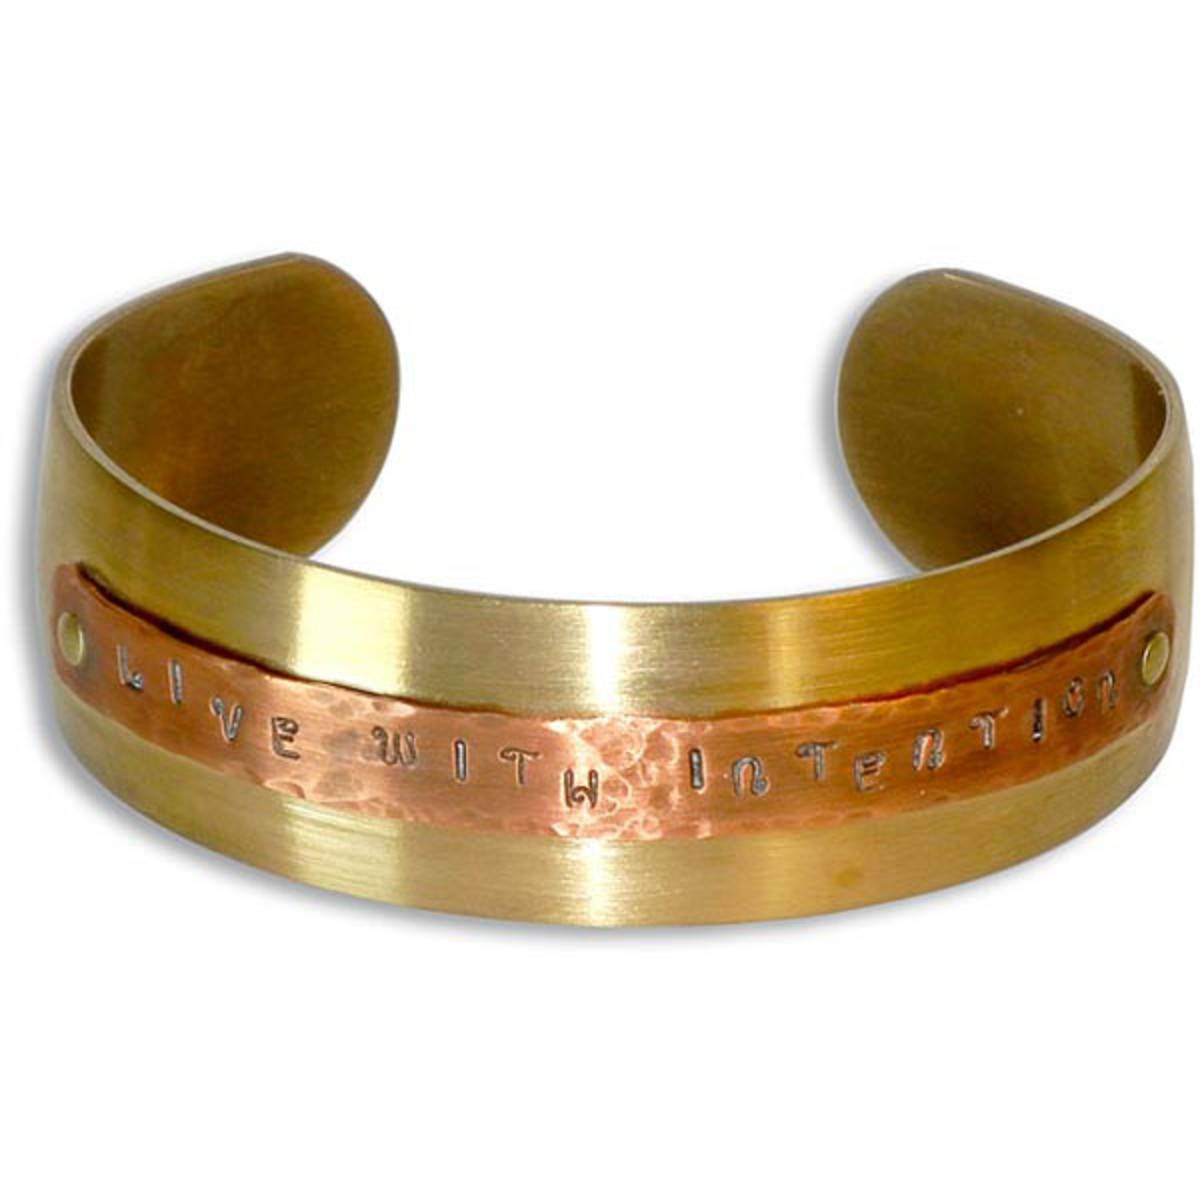
Live With Intention Cuff Tutorial
Created by: Polly Nobbs-LaRueDesigner TipsStamp favorite quotes on inexpensive easy-to-use strips of precut copper, then rivet them to sturdy brass cuff bracelets. If you make a mistake when stamping on the copper strip, it's a much less expensive mistake than a mis-stamp on a specialty blank or bracelet.Stamp a phrase on the the 24-gauge copper bracelet strip. With metal shears, cut to length (keep approximately 6mm or 1/4" extra at each end for riveting) and gently round the corners. And textu
…
Jan 1st 2021
5 Minute Rings Tutorial
Created by: Polly Nobbs-LaRueDesigner TipsCut a 20-gauge or 24-gauge 0.25" (wide) strip of copper, brass or sterling sheet approximately 2.75" long.Smooth and straighten with a nylon hammer.Optional: Texture or stamp if desired. (see "Creating a Stamped Metal Charm" technique sheet below) File corners and edges smooth, using #2-cut needle file, so the ring fits comfortably.Optional: Antique components if desired before assembling!Use nylon-jaw ring-bending pliers to bend ring into shape. Overlap
…
Jan 1st 2021


