Rings & Things Jewelry Blog
Spiral Lagoon Bracelet Tutorial
Created by: Polly Nobbs-LaRueDesigner TipsPlace the TierraCast® link on the bracelet in desired location, and use a fine-point Sharpie® (or other extra black permanent marker) to mark where to punch the holes.Turn the rotary leather hole punch to 2.5mm, and punch holes in marked spots.Place the rivet post through the bottom of the bracelet, and set it on the steel block. Place the cap through the link, and push this onto the post. Place the rivet setter over the cap, and tap firmly with brass ha
…
Jan 1st 2021
Tree of Life Leather Bracelet Tutorial
Created by: Sondra Barrington This design uses a pearl bead (one of June's birthstones). Use a pearl bead from your bead stash to create this design as-is, or substitute other charms, beads, or birthstones in place of the pearl bead and swirling side charms. Designer TipsMake a wire-wrapped head pin with the pearl bead (with a loop large enough to slide freely along the leather). See step-by-step instructions in Jewelry Basics 101 (PDF). You may need to use a heishi bead or seed bead to h
…
Jan 1st 2021
Witchy Earrings Tutorial
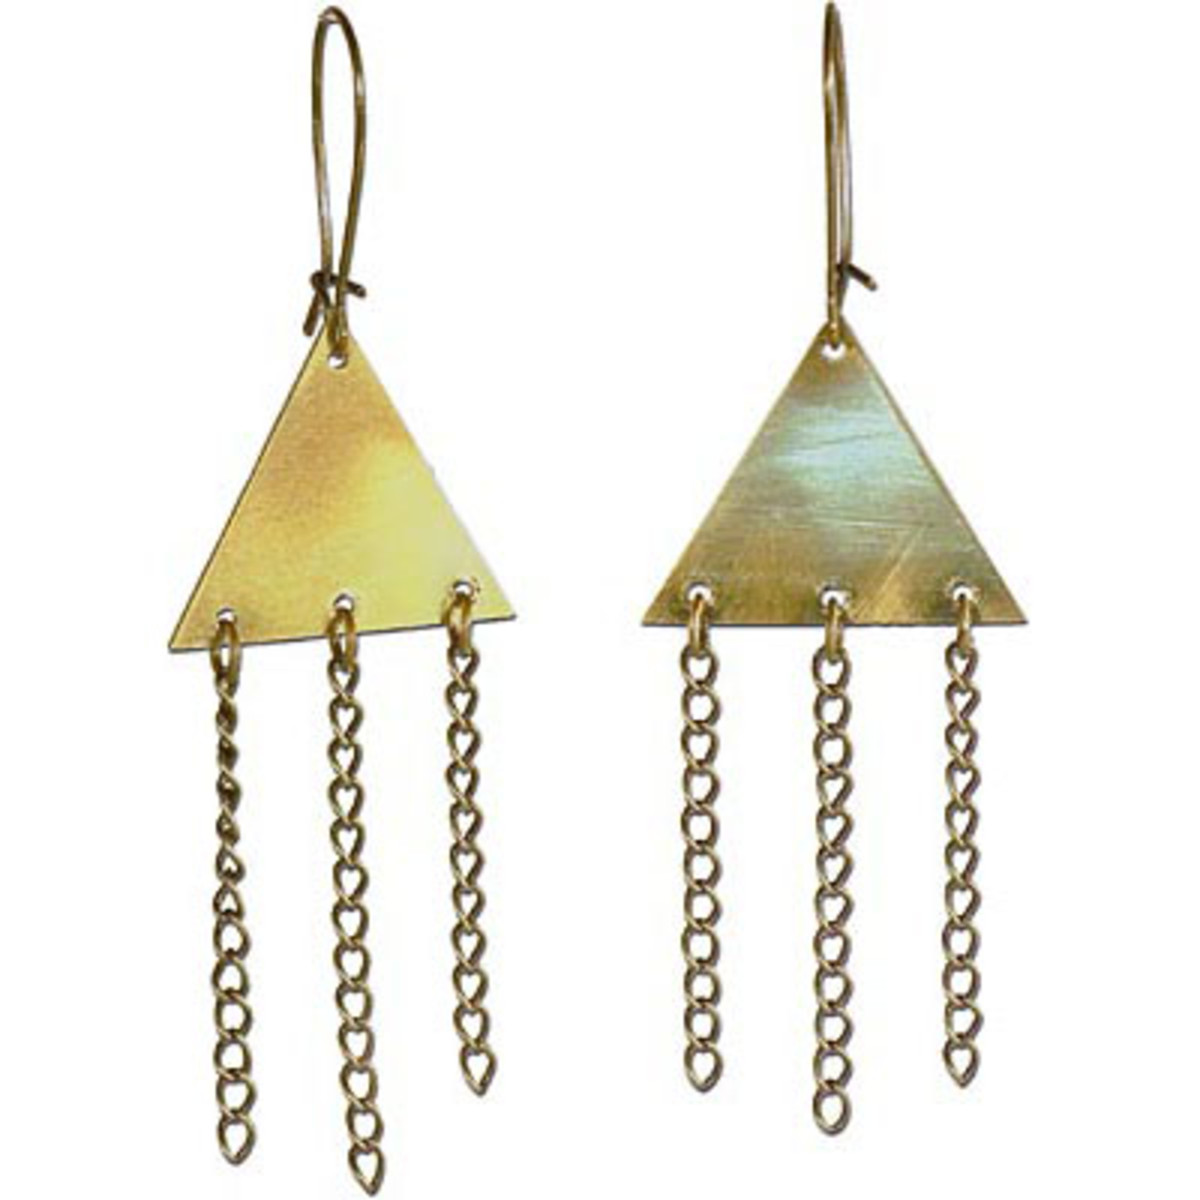
Created by: Jaci BostonDesigner TipsKeep the saw blade well lubricated to create ease while sawing.To avoid breaking your blades, keep the saw upright, without tilting, while you're sawing.For perfect hole placement on the triangle, take extra time and care by using a ruler to measure and mark up where you want to punch your holes.If you use a Sharpie® to mark up your metal, you can easily wipe it off with a polishing pad.Don't worry if the edges of your triangles are jagged, you can file them t
…
Jan 1st 2021
Unpretentious Princess Earrings Tutorial
Created by: Janet BoyingtonThe star of the show, is the Princess-cut pendant! These sweet earrings are elegant and petite. Want to make a larger, flashier pair earrings, or use different colors? Click into the Princess-cut pendant or the gold-fill link for related options.Designer TipsSimply open the jump ring, attach it to the crystal and the link, and securely close the jump ring. For best way to open and close loops, see Jump Ring Hint in Jewelry Basics 101 (PDF).Gently open the small ring on
…
Jan 1st 2021
Wedding Date Necklace Tutorial
Created by: Polly Nobbs-LaRueDesigner TipsStamp design: If you're new to stamping, see metal stamping technique sheet.When stamping the date, keep in mind that tiny stamps require less stamping strength than larger stamps. Don't stamp too hard or the date will be hard-to-read globs.Use a center punch for the dot between the numbers in the date. Again, be careful not to stamp too hard.The border stamps are awesome but a little tricky -- make sure you have good lighting before using. The Simple St
…
Jan 1st 2021
Tangerine Delta Earrings Tutorial
Created by: Megan HoldenDesigner TipsClean the inside of the rivoli settings with alcohol swabs, and allow to dry.Place a small drop of E-6000 or GS Hypo Cement into the cup of each setting and lightly but firmly press your Tangerine rivolis into the settings. Set aside and allow to dry.Use a ball peen hammer and metal block to texture the brass triangles.You can leave the brass blanks as-is, or polish them to a high shine, and then seal the surface to protect the high shine.Carefully find the c
…
Jan 1st 2021
Rustic Arrowhead Earrings Tutorial
Created by: Sondra BarringtonDesigner TipsSelect your favorite color of Gilder’s Paste and an accompanying (or contrasting) color crystal bead.Individuals with metal allergies can often wear niobium earwires without problem.Refer to the Jewelry Basics Technique Sheet (PDF, below) for tips on using headpins, jump rings and more. Optional: when making a wire-wrapped loop, swirl the wire tail across the bead and give it a final wrap over the previous wire-wrapped loop.Use a cotton swab to apply the
…
Jan 1st 2021
Twisty Tree Shamballa-Style Bracelet Tutorial
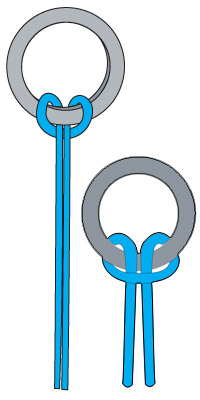
Learn how to make this earthy, comfortable, adjustable gemstone bracelet - perfect for Arbor Day, Earth Day, or any time. Created by: Michelle Horning Designer TipsFor step by step macramé knotting instructions, see our blog article: DIY Shamballa-Style Macrame Bracelet Tutorial.When using a link, cut the anchor cord in half, and attach each to the link with a lark's head knot.Cut the working cord in half, and start next to the link, working your way to the ends on one side, and the
…
Jan 1st 2021
Silent Night Glass Tile Necklace Tutorial
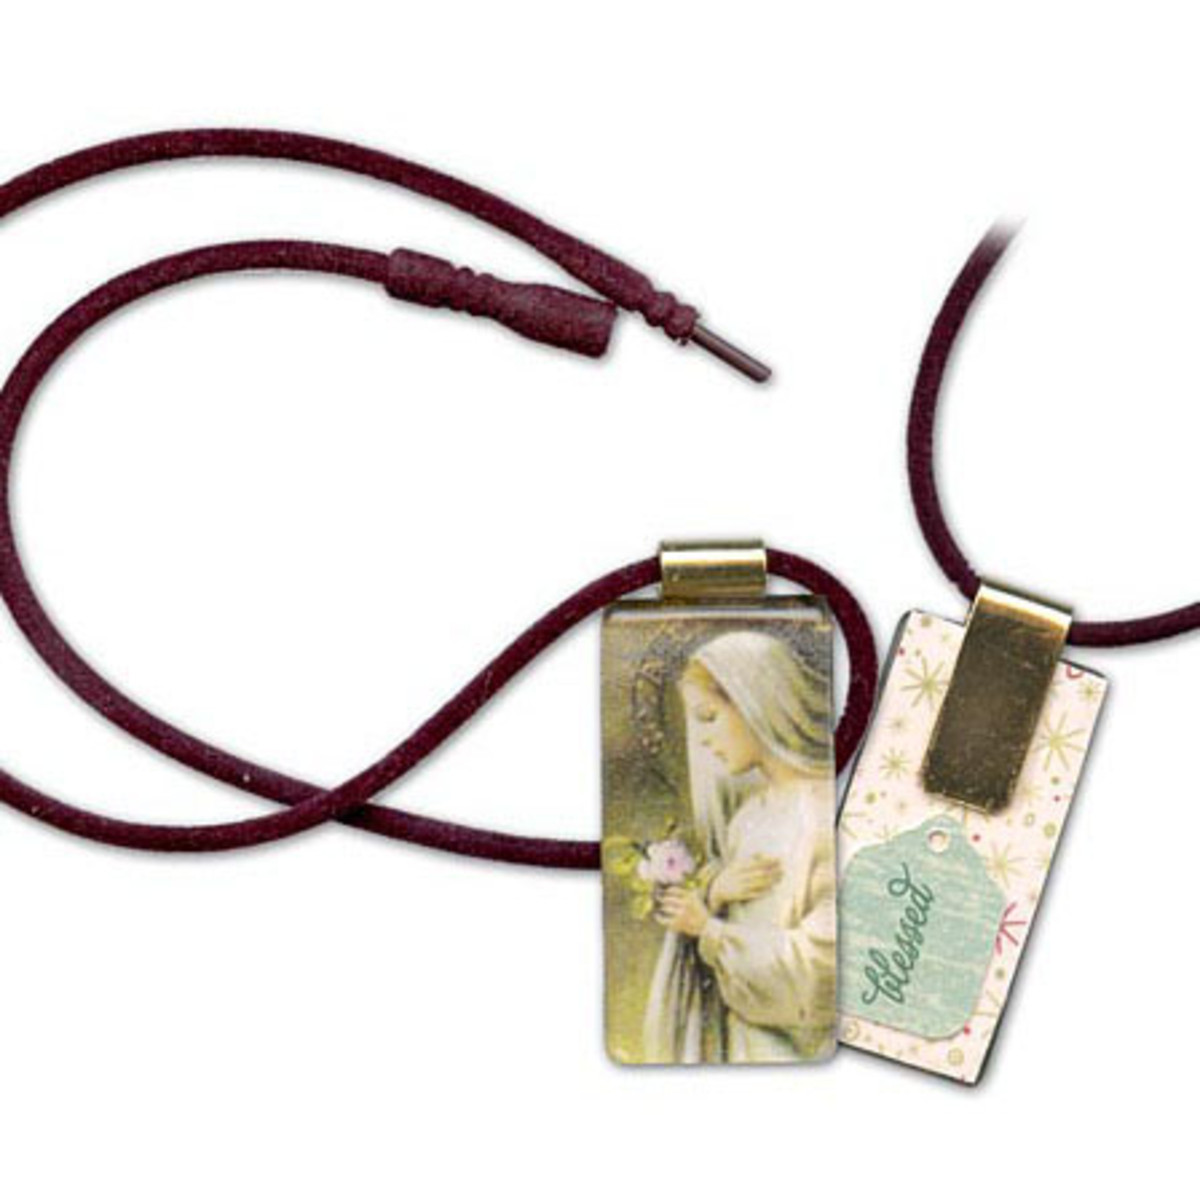
Created by: Mollie ValenteDesigner TipsRoughen the bail with sandpaper before gluing.Use adhesive to: * Seal the front and back of the image. * Affix some fine glitter to the image for extra sparkle. * Attach the image to the glass tile. * Attach the bail; allow glue to cure.String onto silkie necklace cord.Free Technique Sheets & How-TosGluing Hints for Metal Findings (PDF)Suggested Supplies1 ea #60-280 Adhesive, Crafter's Pick™ The Ultimate1 pkg of 10 [use 1] #41-792-02-2 Bail, Tube Top fo
…
Jan 1st 2021
Tiny Dancer Earrings Tutorial
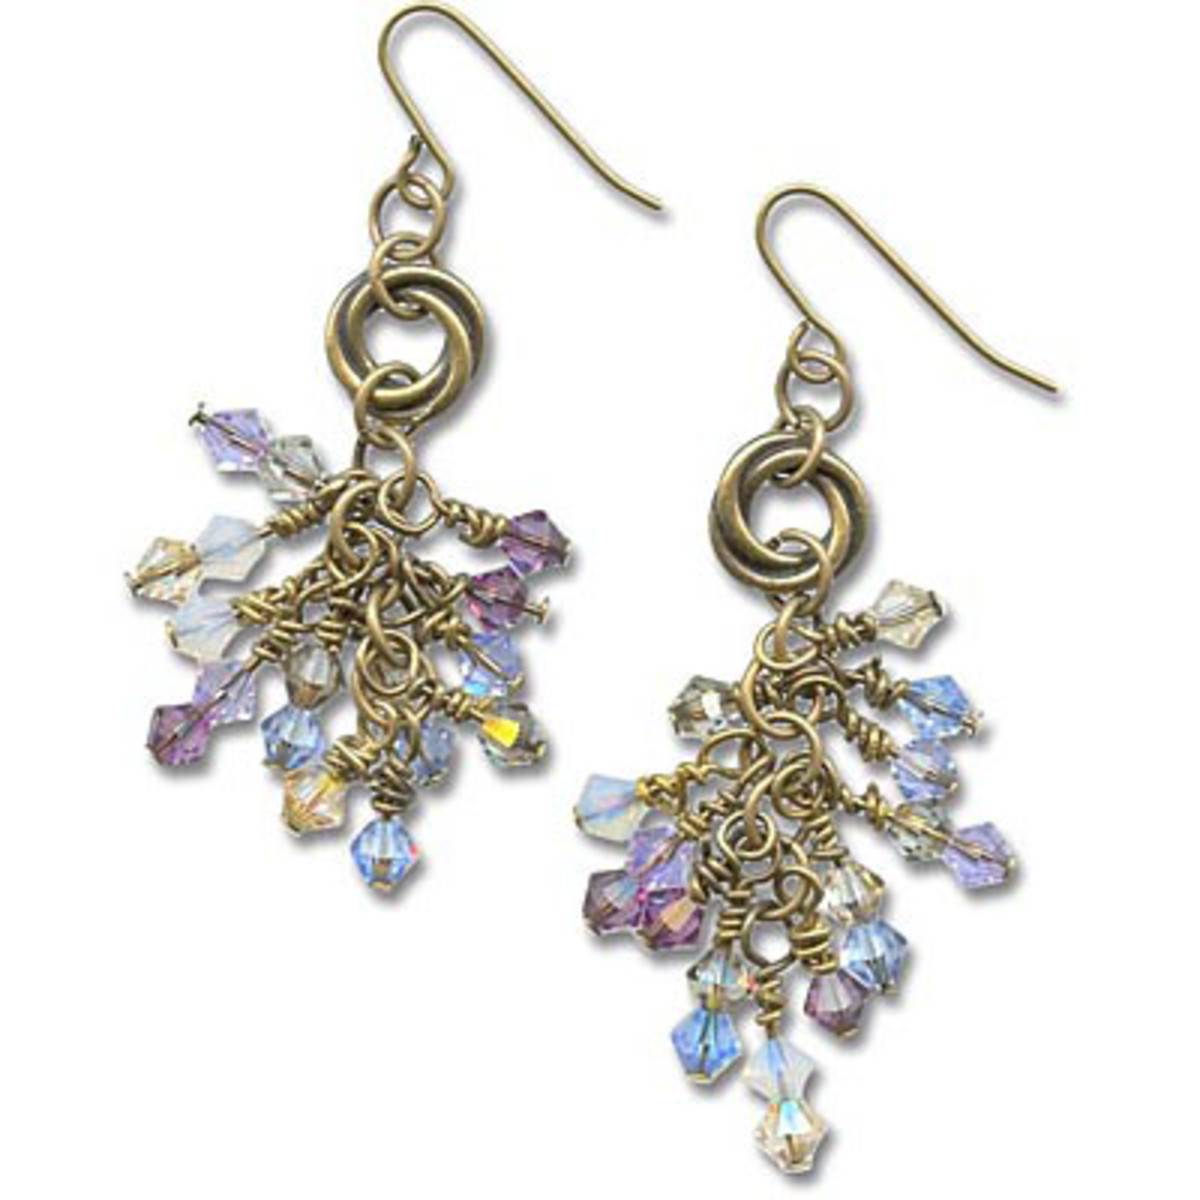
Created by: Valorie Nygaard-PouzarDesigner TipsMake a pile of crystal dangles with head pins and crystal beads - as many as you feel like making. For these earrings I made 12 dangles for each earring; some have 2 beads, some have just one 1. Mix it up and have fun! New to jewelry-making? See Basic Jewelry-Making Technique Sheet (PDF) or Blog post: How to make "Cluster Earrings" for illustrated techniques.Using a longer head pin allows for double "messy" wrapping at the top of the crystal, allowi
…
Jan 1st 2021


