Rings & Things Jewelry Blog
Tassel and Sparkle - Simple Charm Bracelet Tutorial
Chain bracelets adorned with a simple charm continue to be popular. You can customize this design by using a different colored Swarovski rivoli stone, different styles of chain, or tassels made of different materials! These bracelets are fun and easy to make, and make great gifts for the minimalist in your life. You need just a few supplies, and basic jewelry making techniques.Created by: Sondra BarringtonDesigner TipsPlace stone in bezel, and use flat-nose nylon-jaw pliers or a burnishing tool
…
Jan 1st 2021
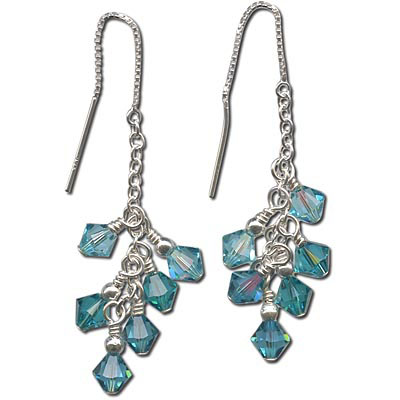
Threads of Turquoise Earrings Tutorial
Created by: Rita Hutchinson Designer Tips Wire wrap the crystals directly onto the ear thread chain. See Basic Jewelry-Making Technique Sheet (PDF) for detailed instruction on making wire wrapped loops.Use crimping pliers to tuck in the trimmed ends on the wire wraps. (It's not their traditional use, but the shape works perfectly!)French wire keepers are really helpful to keep earthreads in the ear. Suggested Supplies1 pair #53-509-06 Sterling Silver Ear Thread, 3",
…
Jan 1st 2021
Subtle Sparkle Earrings Tutorial
These earrings are extremely light weight, but provide a lot of impact. Created by: Rita HutchinsonDesigner TipsCut chain to desired length. I used two sections of 2" and two sections of 2.5"To easily cut chain to equal lengths, run a pin or wire through the last link of desired length chain and of remaining chain section, hold upright and easily see which link to cut.Add bead and bead cap to head pin, and wire wrap directly to chain. I used "messy" wrapped loops on these dangles.Twist open loop
…
Jan 1st 2021
Rose Quartz Healing Necklace Tutorial
Created by: Tiffany WhiteDesigner TipsCut 12" of wire to wrap the gemstone donut.Center the wire on the donut and wrap each side 2 times.Pinch the two wires flush together with chain-nose pliers.Use round-nose pliers to make a large loop (3mm or so in diameter) with both pieces of wire, about 3-4mm up from the top of the donut.Wrap the two pieces of wire around several times to create a handmade wire-wrapped bail on the donut.Clip the excess wire with wire cutters and use chain-nose pliers to pi
…
Jan 1st 2021
Twisted, Not Tangled, Necklace Tutorial
Created by: Rita HutchinsonDesigner TipsThis 24.5"" necklace uses 26 twisty bar connectors. Adjust the finished length of the piece by adding or subtracting connectors.Connect all components together using sterling jump rings. For best way to open and close jump rings, twist sideways (see Jump Ring Hint in Jewelry Basics 101 PDF).Each connector has one smaller and one larger loop. For best results, connect the small loop on one link to the large loop on the next link.Suggested Supplies26 each #4
…
Jan 1st 2021
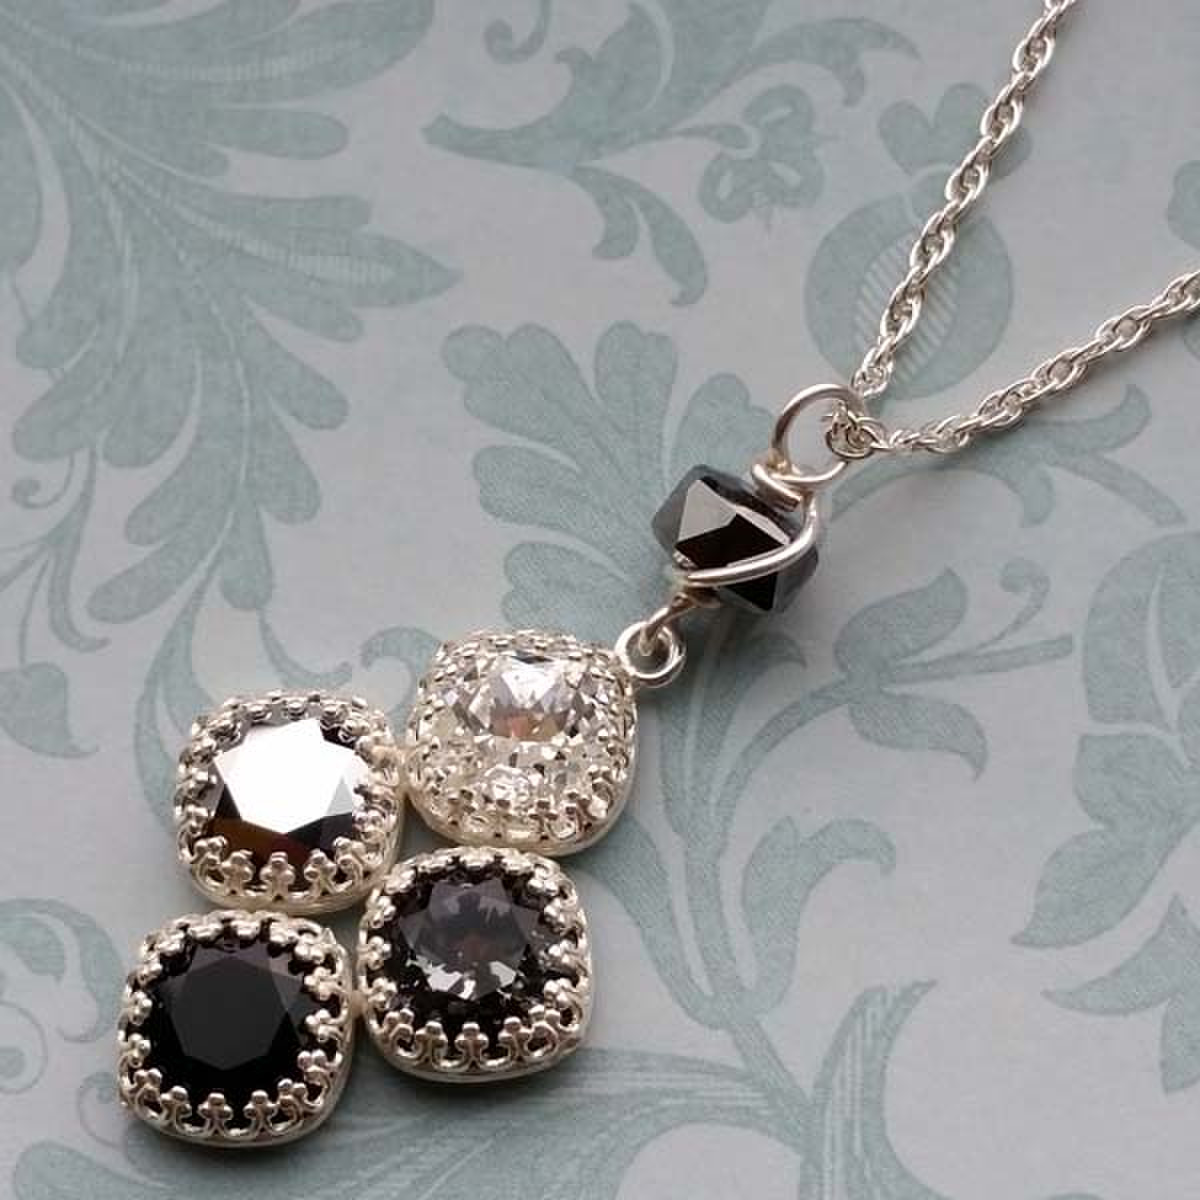
Sparkling Squares Necklace Tutorial
Created by: Summer MelaasDesigner TipsPlace a crystal stone into the setting. Use a burnishing tool to gently press the bezel down on all sides of the crystal. Use the burnisher to smooth all sides of the bezel evenly up and over over the stone.Repeat with other crystal cushion stones.Use pliers to open the loop on an ear wire, and attach to the top of the setting. (See Jump Ring Hint in Jewelry Basics 101 (PDF) for best way to open and close a loop.)Suggested Supplies6 each #04-470-10-445 Swaro
…
Jan 1st 2021
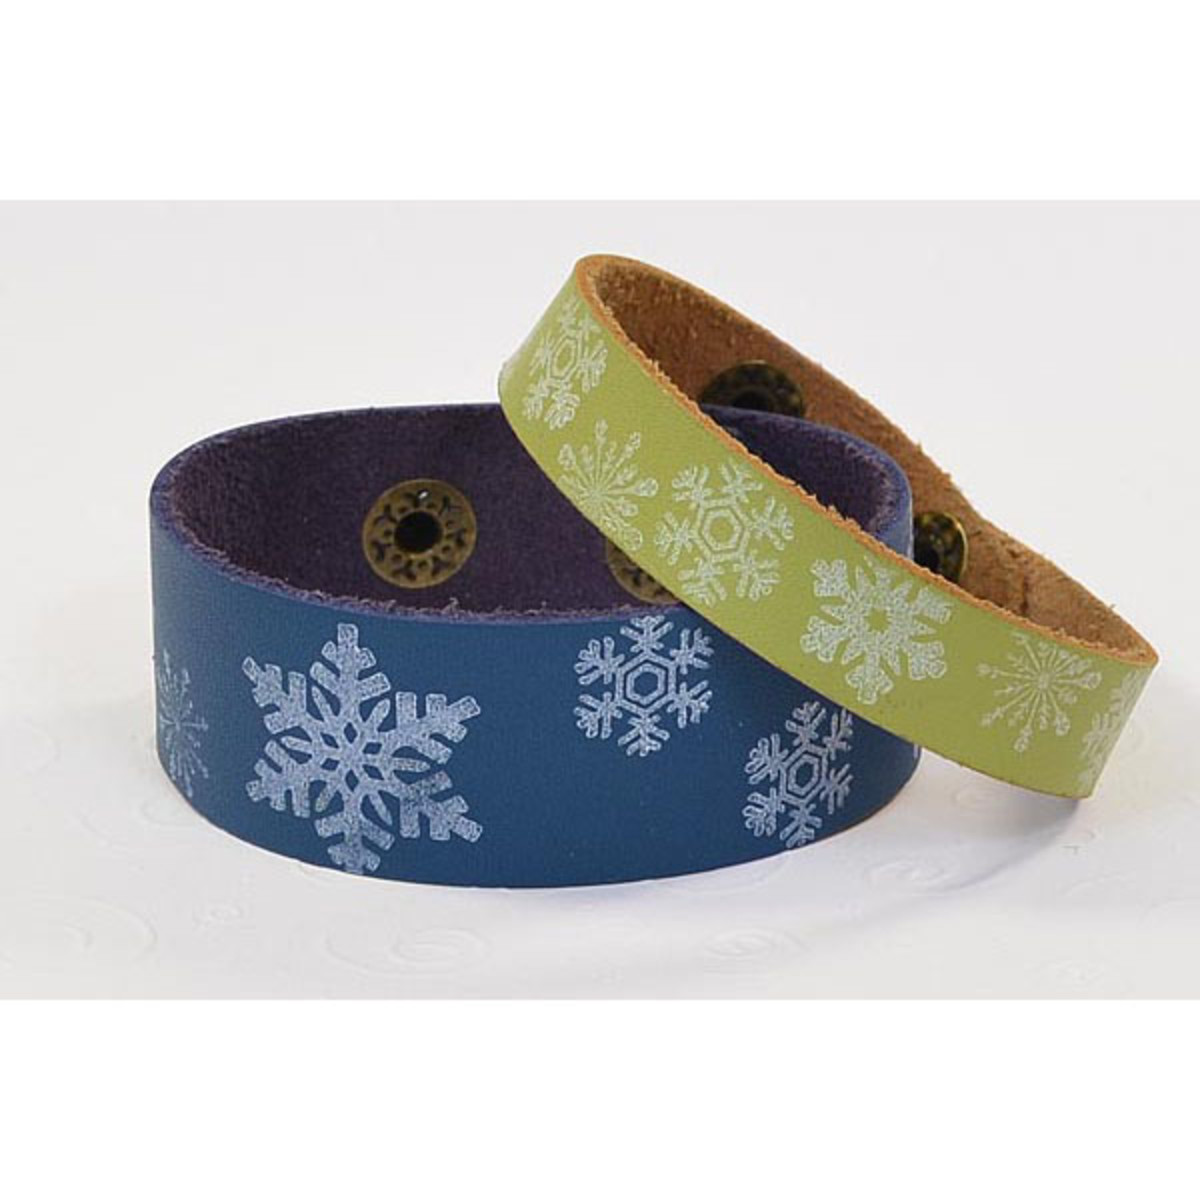
Wintry Mix Ink Stamped Leather Bracelets Tutorial
Created by: Amy MickelsonDesigner TipsUse StazOn® ink and rubber stamps of your choice to create a festive bracelet in minutes.Choose from ready-made leather bracelets or leather strips.Since the StazOn ink is permanent, there is no need to apply a sealer to the bracelet. (We only have black StazOn, but odds are, that if you have rubber stamps, you also have a good stash of other permanent ink pads nearby...)For a step-by-step tutorial with pictures, see the Easy to Make Rubber Stamped Leather B
…
Jan 1st 2021
TierraCast Succulent Tassel Earrings Tutorial
Created by: TierraCastDesigner TipsMeasure 48" of 1mm cotton cord and cut into 2, 24" pieces. Wrap around fingers 5 times and tuck top of wrap into cord end. Secure with glue or crimping.Twist each oval jump ring open and use to link one succulent post with one tassel. Reverse the twist to close. For most secure way way to open and close jump rings, see Jewelry Basics 101 (PDF).Fasten earring backs to posts.Suggested Supplies1 pair #32-130-12-AS TierraCast Succulent posts2 each #48-070-01-AS Tie
…
Jan 1st 2021
Unfurled Copper and Oval Gemstone Necklace Tutorial
Created by: Cindy MorrisDesigner TipsSince the gemstones are fairly heavy, use two crimp beads for extra security. Flatten crimps with flat-nose pliers.Use two jump rings for the "S" hook to connect to both for style and extra security.Vary chain length and stringing pattern as desired.Placing the clasp to one side rather than the back makes it easier to close for some people.Free Technique Sheets & How-TosBasic Jewelry-Making Technique Sheet (PDF)Beading Cable Technique Sheet (PDF)Suggested
…
Jan 1st 2021
Rainbow Bead Macrame Bracelet Tutorial
This bracelet has a classic ROYGBIV* rainbow of Czech glass star beads, perfect for Chakra jewelry, Pride jewelry, or a reminder that after the rain, comes the rainbow.Created by: Michelle HorningDesigner TipsFor step by step knotting instructions, see our blog article: DIY Shamballa-Style Macrame Bracelet TutorialAll beads can be strung onto the bottom of the anchor cords before anchoring to the board, and slid into place as you knot.Tight knots make it difficult to sew the tails back in, and y
…
Jan 1st 2021


