Rings & Things Jewelry Blog
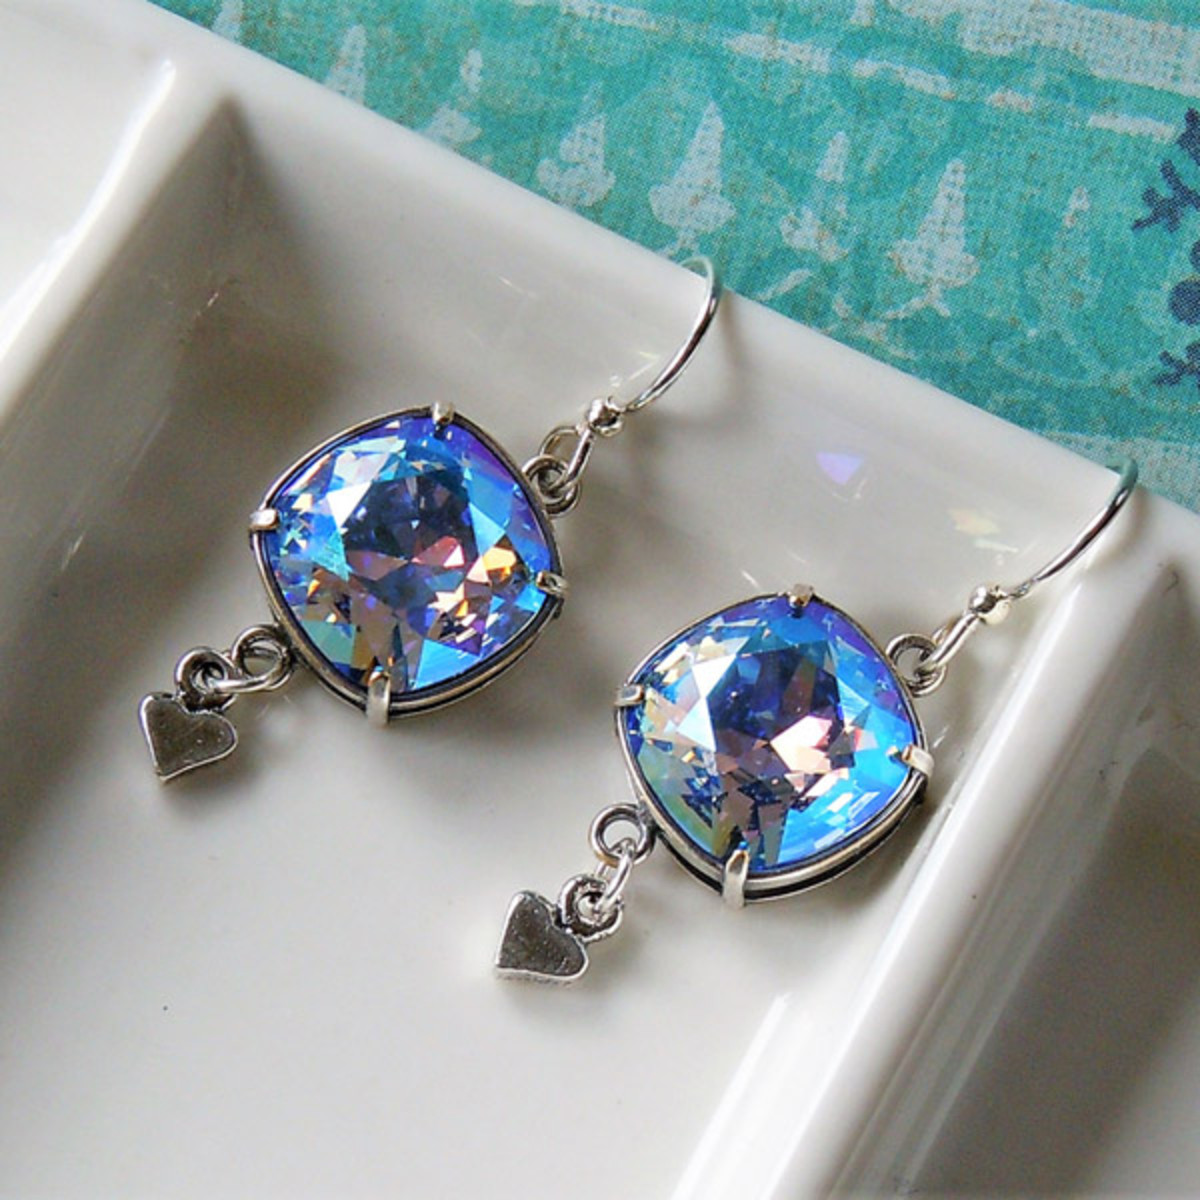
Blue Valentines Earrings Tutorial
Created by: Mollie ValenteDesigner TipsPlace a Swarovski square cushion stone in the bezel setting. Firmly hold the bezel setting (or work on a rubber block). Use the burnisher to carefully push the first bezel prong until it is set against the stone. Rotate the bezel setting so the second prong you set is opposite the first one. Then set the final two prongs in the same manner. Repeat these steps with the second stone and setting.The jump ring serves as a connector between the heart charm and t
…
Jan 25th 2021
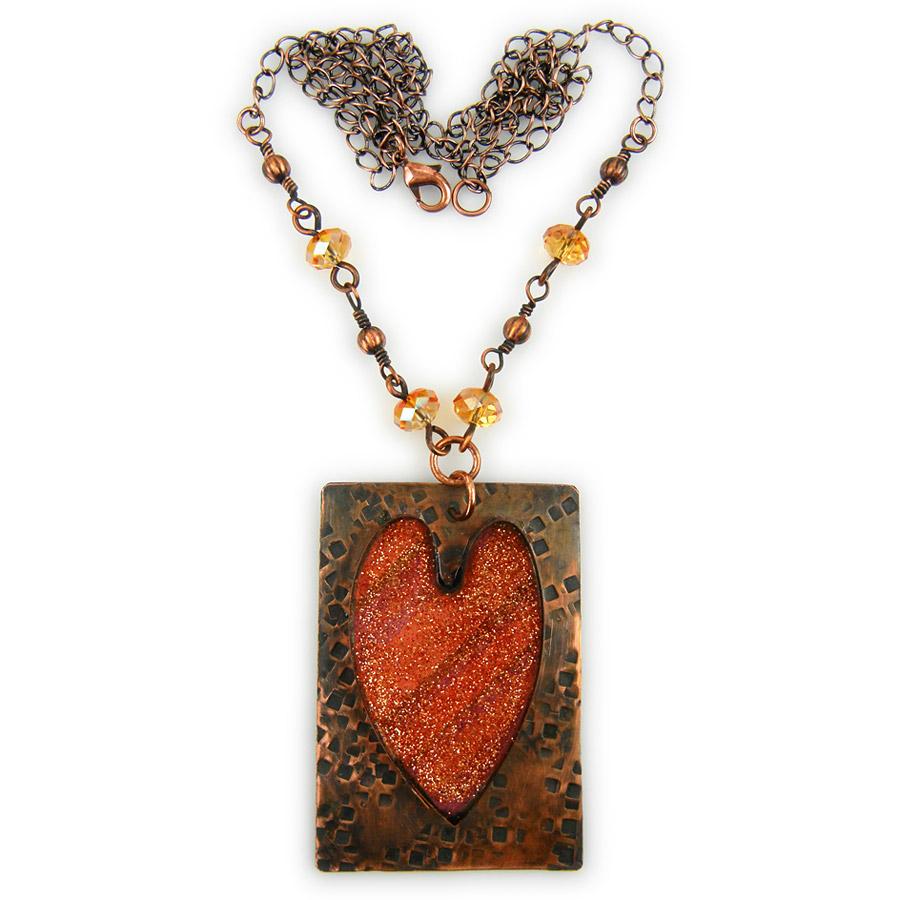
Astral Love Resin Necklace Tutorial
Created by: Rita HutchinsonDesigner TipsSee instruction page for making no-solder bezels.Cut paper to match bezel wire shape.Seal paper and adhere to inside of bezel.Mix a small batch of resin and pour a starting layer.When first pour is cured, mix a new batch (add glitter), and pour to fill the bezel.Create decorative section of chain with crystal and metal beads. The crystals are on thicker wire with simple loops. The corrugated beads are on 24-gauge wire with wrapped loops. Wrap the beaded se
…
Jan 25th 2021
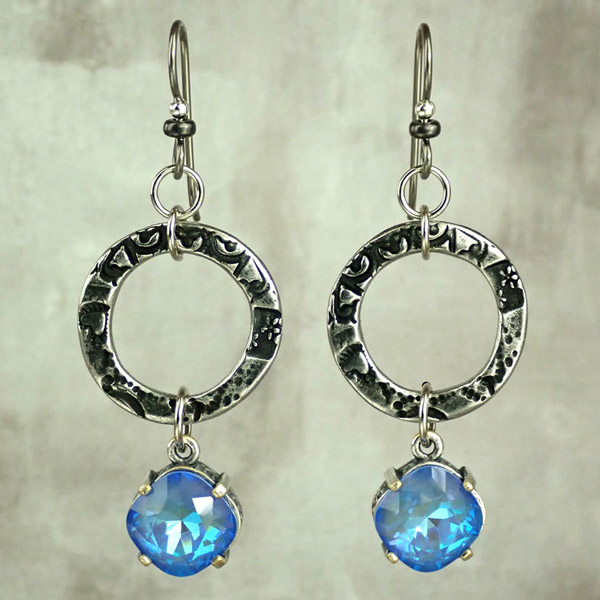
Blue Halo Earrings Tutorial
Created by: Veronica GreenwoodDesigner TipsPlace the crystal in the bezel setting and using the nylon jaw flat pliers gently fold the prongs down over the crystal.Using the 6.5mm jump ring attach the bezel to the large round link. (For best way to open and close loops, see Jump Ring Hint in Jewelry Basics 101).Attach one of the 5mm jump rings to the large round link.Use the second 5mm jump ring to attach the earwire to the first 5mm jump ring.Repeat for the other earring.Suggested Supplies2 each
…
Jan 1st 2021
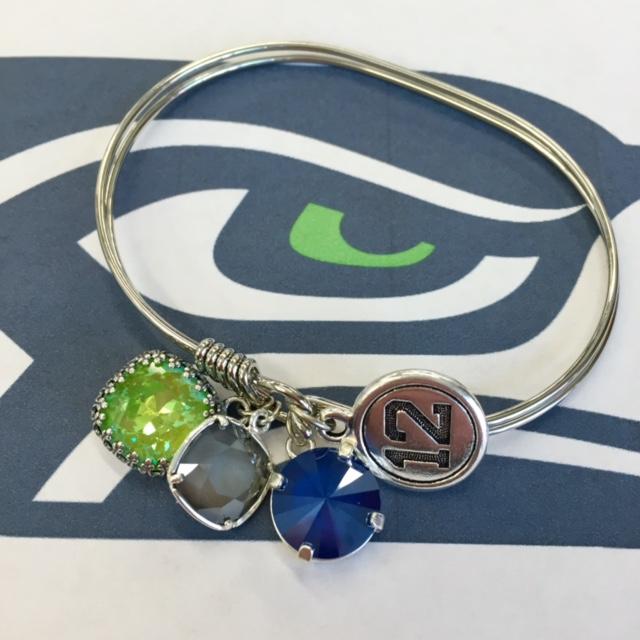
Hawks Bracelet Tutorial
Created by: Summer MelaasDesigner TipsUse nylon-jaw pliers or a burnishing tool to gently smooth the prongs and bezels down onto the stones. For step-by-step instructions, see our
…
Jan 1st 2021
Bee Keeper Reliquary Necklace Tutorial
Created by: Mollie ValenteDesigner TipsFor a step-by-step tutorial with images, check out the How to Create a Reliquary Pendant blog post.Cut and shape the blank: Measure and cut a brass blank 1 x 1-3/4" in size. File the blank to soften the corners.Mark and punch holes: Measure and mark the hanging holes: 3 holes, 1/8" from the top and spaced to match the holes of the triangle filigree and the wire-lashing holes; 2 holes, 1/8" from each side and 5/8" from the top. Punch holes in the marked posi
…
Jan 1st 2021


