Rings & Things Jewelry Blog
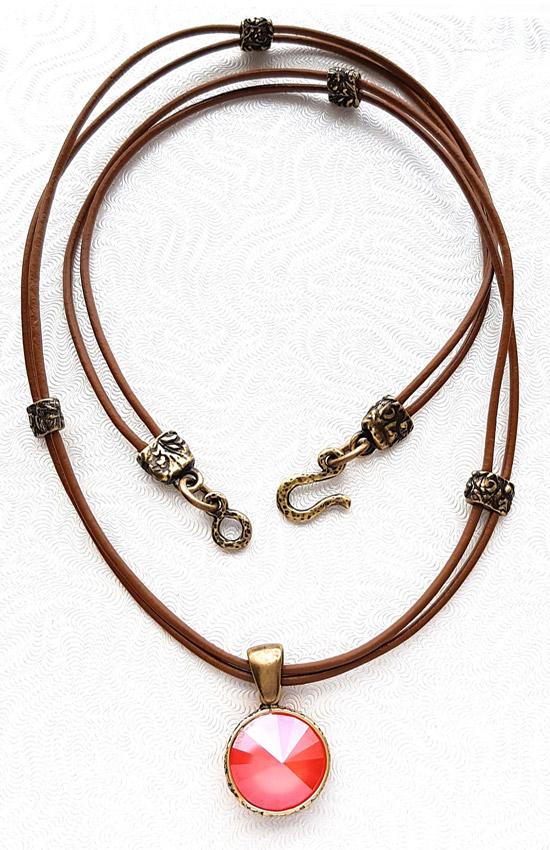
Just Peachy Leather Necklace Tutorial
Created by: Bridget AustinDesigner TipsSee the Jewelry Basics 101 PDF for hints and instructions on how to open and close jump rings.The cord ends and barrel beads are all crimped, no glue required!Start with 2 strands of leather cut to the desired length of your necklace.String all 4 barrel beads onto the leather.Attach cord ends to each end of the necklace and crimp tightly with the nylon jaw pliers.Attach the hook and eye clasp with 2 jump rings to the cord ends.Space the beads out evenly and
…
Jan 1st 2021
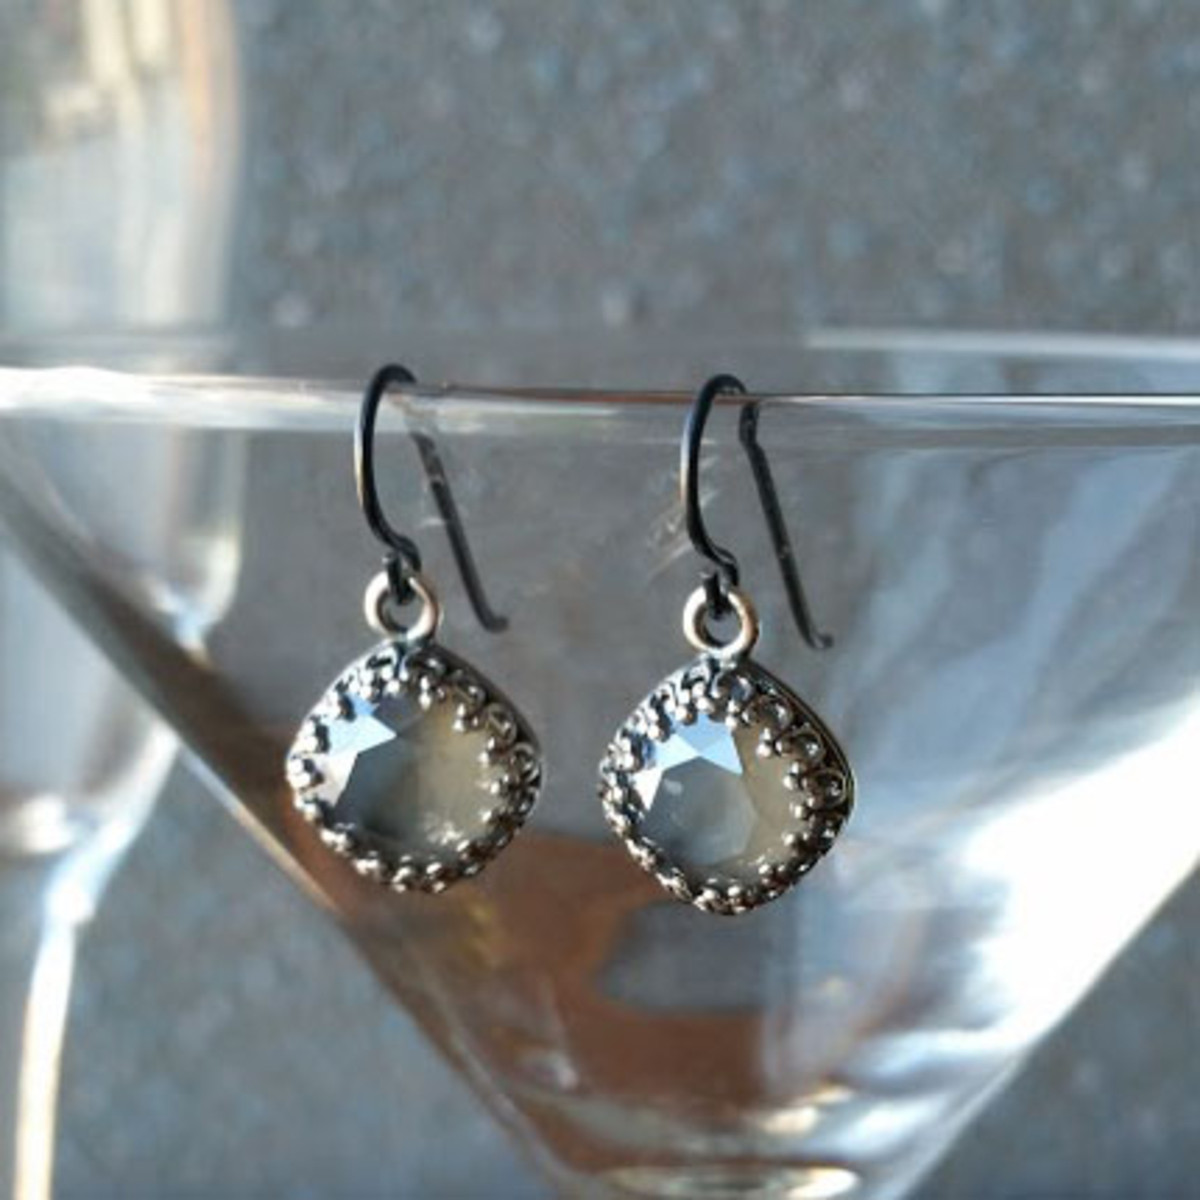
Grey Days Earrings
Created by: Rita HutchinsonDesigner TipsPlace Cushion Stone in Setting, pressing the bezel into place to hold the stone firm. Bend the prongs down from alternate sides to keep the stone centered. Use finger pressure or nylon-jaw pliers, to avoid scratching the finish on the back of the stone.When prongs are bent down, use the burnisher to flatten them to the stone, and prevent snagging. Use flat-nose pliers to open the loop on the earwire, and slip the setting with stone in place. Bend back.Repe
…
Jan 1st 2021
Abby's Earrings Tutorial
Created by: Lindsey Green Designer Tips Use three layers of Magic-Glos UV Resin to create the look of the crystal rivoli standing free in the bezel cup earrings.A piece of Styrofoam® or sponge material works great to keep the jewelry in place. Simply stick the post of the earring into the styrofoam or sponge to keep the jewelry level.Add a base layer of resin to the bezel cup and then cure it with the UV light.After the first layer is dry, pour a second layer into the bezel.
…
Jan 1st 2021
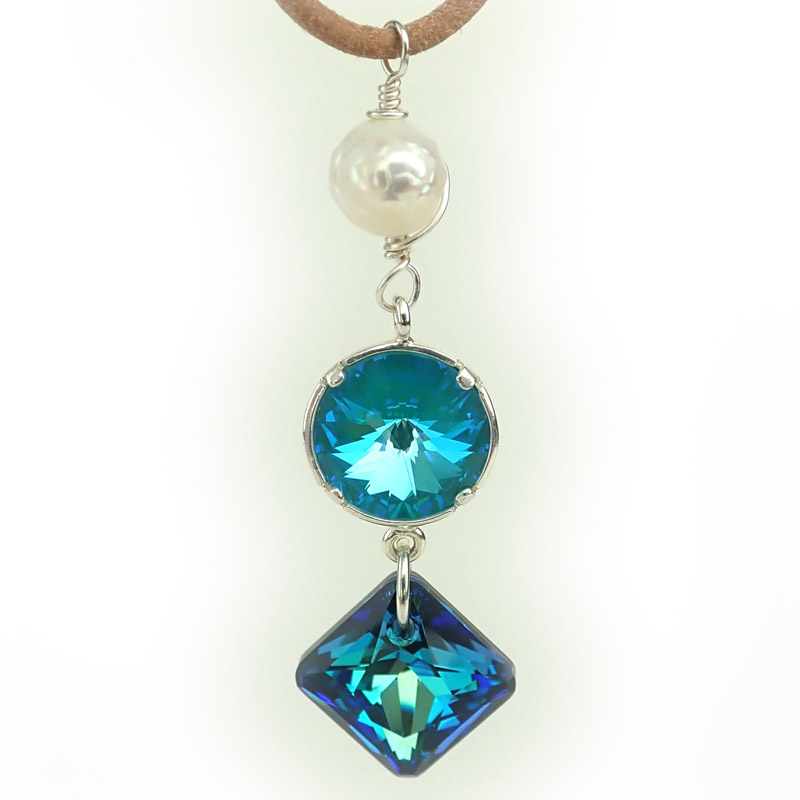
Cerulean Seas Pendant Tutorial
Created by: Veronica GreenwoodDesigner TipsPlace 12mm rivoli in bezel setting and gently bend prongs over crystal using needle nose pliers.With a piece of 24-gauge wire, make a wrapped loop making sure the loop is large enough to slide on to the leather (see Jewelry Basics 101 PDF).Add an 8mm pearl and link the other end to one side of the bezel.Using a 6mm jump ring, attach the princess cut crystal to the bottom loop of the bezel.Cut desired length of leather cord.Attach one center-crimp leathe
…
Jan 1st 2021
Twilight Tide Pool Bracelet Tutorial
Created by: Polly Nobbs-LaRueDesigner Tips Memory wire is steel, and unkind to most jewelry tools. Use heavy-duty flush cutters to cut the desired length: Most memory wire bracelets are 3-5 coils. The design pictured is about 3.5 coils. Tip: Flush cutters cut the wire flat, rather than pointed, so you don't have to file the end flat (flush).Use memory-wire bending pliers (or other strong round-nose pliers) to make a loop at one end of the wire. Close the loop tightly, or the triangle beads will
…
Jan 1st 2021
Tassel and Sparkle - Simple Charm Bracelet Tutorial
Chain bracelets adorned with a simple charm continue to be popular. You can customize this design by using a different colored Swarovski rivoli stone, different styles of chain, or tassels made of different materials! These bracelets are fun and easy to make, and make great gifts for the minimalist in your life. You need just a few supplies, and basic jewelry making techniques.Created by: Sondra BarringtonDesigner TipsPlace stone in bezel, and use flat-nose nylon-jaw pliers or a burnishing tool
…
Jan 1st 2021
Square on Square Earrings Tutorial
The rounded corners of Swarovski's cushion square stone in Rose Water Opal crystal, gently echo the rounded corners of TierraCast's Flora square connector in these gently squared earrings.Created by: Mollie ValenteDesigner TipsPlace a Swarovski square cushion stone in the bezel setting. Hold the bezel setting firmly on a rubber block. Use the burnisher to carefully push the first bezel prong until it is set against the stone. Rotate the bezel setting so the second prong you set is opposite the f
…
Jan 1st 2021
A Ring A Day...
A ring a day keeps the doctor away: Chase the winter blues away with this trio of tropical colored rings!Designer TipsUsing the ring finding, place one fancy stone inside setting. Using nylon-jaw pliers, gently push prongs over stone all around the stone. To keep the stone centered, don't set tightly at first: do a little from the "north" and "south" then a little from the "east" and "west", then repeat.Finish by going all the way around for the final tightening. You can also use a burnishing to
…
Jan 1st 2021
Sea Maiden Resin Belt Buckle Tutorial
Created by: Toni PlastinoDesigner TipsTo prevent the image from bleeding, seal the front and back with Mod Podge® and let dry. Once dry, glue the image into buckle blank.Glue on embellishments such as charms, shells, pearls, and ball chain. When dry, add resin to the buckle.Consider brushing on the resin, since the buckle is convex, and has a shallow bezel cup.See Tips for Epoxy Resin & Jewelry (PDF).Suggested Supplies1 each #82-500-08 8oz EasyCast Epoxy Kit1 strand [use 8] #20-621 Bead, Fre
…
Jan 1st 2021
Satsuma Surprise Bracelet Tutorial
Designer TipsUsing alcohol wipes, clean all the settings and set aside to dry.Using one flatback stone, glue into one setting and set aside for 24 hours to dry. Repeat 5 more times.Using one jump ring, attach to one setting. Repeat 5 more times and set aside. For best way to open and close loops, see Jump Ring Hint in Jewelry Basics 101 (PDF).Using memory wire, make a double loop at one end. Memory wire is very tough -- we recommend using heavy-duty cutters and memory wire pliers, to avoid damag
…
Feb 1st 2020


