Rings & Things Jewelry Blog
Herbaceous Polymer Ring Tutorial
Created by: Jaci Boston Designer Tips Wash your hands thoroughly before handling the clay, since polymer clay tends to pick up any dirt and dander that may be hiding.Use a pasta machine to condition and flatten the clay.Pinch off a small piece of clay and form a flat teardrop petal shape. Pinch it together. Make another teardrop and wrap around the first piece. Continue to make larger petals and attach to the outside.Bake the piece according to the manufacturer's instructions.If you do
…
Oct 31st 2021
Jewelry Design Gallery
Welcome to our new Jewelry Design Gallery! To browse jewelry ideas by category or theme, use the turquoise #tags below (#etched jewelry projects, #enamel projects, etc.) for all projects of a particular category. For a Jewelry Design Gallery / Resources search box, click here or press the turquoise "FREE JEWELRY PROJECTS" link near the bottom of any project's page. You might also like our blog (blog.rings-things.com), filled with step-by-step illustrated projects, and a spot for Q
…
Oct 28th 2021
Interchangeable Constellation Bangle Bracelet Tutorial
Create sparkling constellation jewelry in an hour, using minimal supplies and Swarovski Ceralun Ceramic Epoxy Clay, Crystal Clay, or your favorite epoxy clay. This quick-change bracelet form allows you to change the focal piece as often as you like. For this project, we have selected two centerpieces.Created by: Sondra BarringtonDesigner TipsBegin by choosing constellations from a preferred book or website, to use as reference.For step-by-step instructions, see our blog article: Constellati
…
Oct 27th 2021
Resin 101
Resin Jewelry 101 Epoxy jewelry resins are durable, usually clear or translucent, resins that come in two parts: the resin and the hardener. When the two parts are mixed together, a chemical reaction occurs that changes the epoxy from a liquid to a solid. When you mix the 2 parts together, you have the option of adding colorants and other inclusions such as sand, glitter, mica, and more. You can add inclusions (mica, glitter, images, chain, crystals, charms...) to a bezel or a mold before
…
Oct 27th 2021
All Fall Resin Bracelet Tutorial
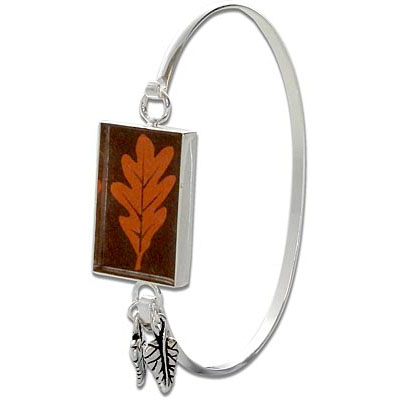
Created by: Rita Hutchinson Designer TipsGently reshape longer loop of the cuff bracelet with round nose pliers to prevent bezel piece from inadvertently detaching.This combination of large bezel and large cuff makes an extra-large bracelet. Use smaller bezel and/or smaller cuff as needed.Use instructions in Epoxy Resin Tip Sheet (PDF) to set and seal a favorite image in the bezel.Use jump rings to attach charms to one loop of the bezel (the loop that you're attaching to the lon
…
Aug 31st 2021
Shining Stars Lashed Earrings Tutorial
Created by: Mollie Valente Designer Tips For a version of this project with step-by-step images, check out Mollie's How to make Lashed Kidney Wire Earrings blog post.Choose two matching rivoli stones from the assortment. This design uses two 14mm Light Colorado Topaz rivolis (perfect for November birthdays). Most colors of Swarovski crystals are no longer available, but these settings also fit Preciosa, Matubo and other brands of pointed-back rivoli stones.Insert a rivoli sto
…
Aug 31st 2021
April Love - Bracelet Tutorial
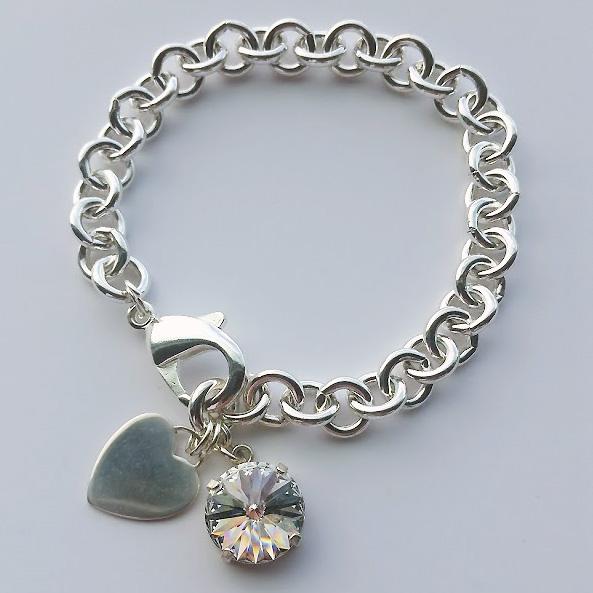
Created by: Sondra Barrington How can I customize thee? Let me count the ways... Designer Tips Chain bracelets adorned with a simple heart charm continue to be popular. The sterling silver heart blank was intentionally left blank, but could easily be stamped or engraved to further customize.You can also customize this design by using a different colored Swarovski rivoli stone (clear symbolizes Diamond, April's birthstone), or different styles of chain. These bracelets are fun an
…
Jun 7th 2021
Golden Halos Earrings Tutorial
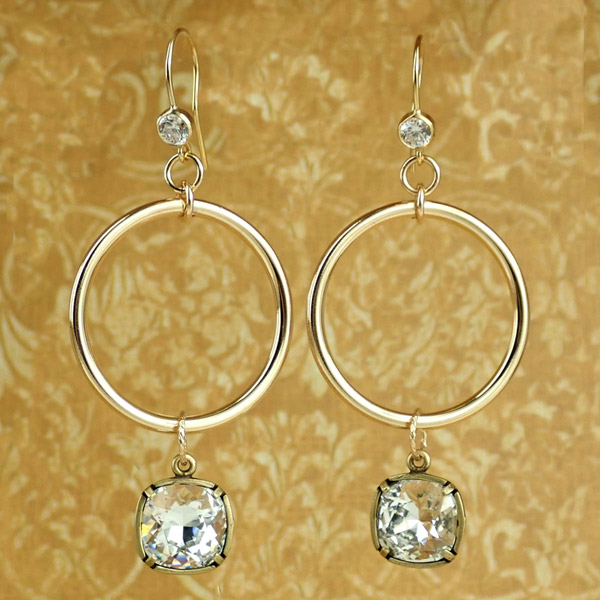
Due to the popularity of 10mm cushion square settings, we've included links to alternate styles below in case the primary setting used in the Golden Halos earrings is temporarily unavailable. Created by: Veronica Greenwood Designer TipsPlace the crystal in the bezel setting, and using the nylon jaw flat pliers gently fold the prongs down over the crystal.Using the 6.5mm jump ring attach the bezel to the large round link. (For best way to open and close loops, see Jump Ring Hint in J
…
May 31st 2021
Blooming Lotus Earrings Tutorial
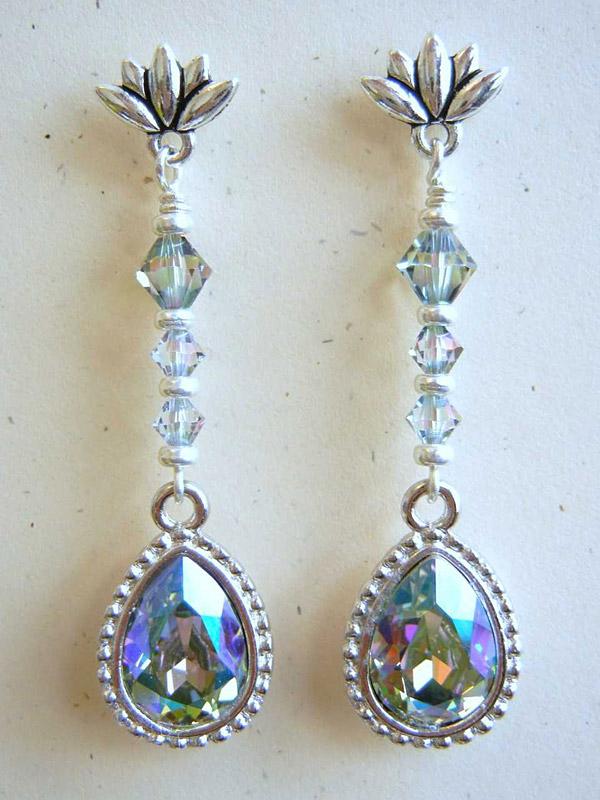
Created by: Mollie Valente Designer TipsAttach the eye pin loop to the crystal pear charm (twist loop open and closed).String on beads in the following order: 3mm silver-plated heishi bead,4mm bicone bead, 3mm silver-plated heishi bead,4mm bicone bead, 3mm silver-plated heishi bead,6mm bicone bead, 3mm silver-heishi bead.Form the start of a wrapped loop at the unfinished end of the beaded eye pin.Prior to wrapping the loop, attach the beaded head pin to the loop of the p
…
Mar 31st 2021
Hamsa Hand in Heart Mosaic Necklace Tutorial
Created by: Sondra BarringtonDesigner TipsPrearrange your design by tracing the bezel, and creating a mock-up arrangement on paper.Nip the loop off of the hand pendant before setting in bezel.Glue a small piece of flat metal (as a shim) to the back of the hand (on to the fingers) to create a level surface for gluing purposes.Place items in bezel and set them in place with a dab of two-part epoxy glue. Let dry fully (24 hours) before applying concrete.Mix the concrete from the EnCapture Artisan C
…
Mar 1st 2021


