Rings & Things Jewelry Blog
Go Zags - March Madness Bracelet
Created by: Summer Melaas Designer TipsStamp the tag with 3mm letter stamps. For longer team names, use a larger tag or smaller set of stamps. See Metal Stamping 101 for detailed stamping instructions. If you're new to stamping, get a few extra tags, as stamping can be unpredictable and there may be mess ups.Place crystal stones in bezels, and carefully bend prongs down using fingers and/or nylon-jaw pliers.Add a large round jump ring to the basketball charm. For best way to open and clos
…
Feb 1st 2021
Aurora Sprinkles Earrings Tutorial
Created by: Rita Hutchinson Designer TipsCut bezel strip to size (one 8-12" piece) and flatten/ work harden with nylon hammer.Add texture to both sides of bezel strip with texture stamping hammer and included "sprinkles" design stamp. (The wire may distort somewhat. Don’t be concerned, this will not be noticeable at the end.)Cut textured bezel strip in half.If you don’t have a tumbler, use Novacan to antique the wire at this step, and polish the high points with steel wool.Wrap 1 textured
…
Feb 1st 2021
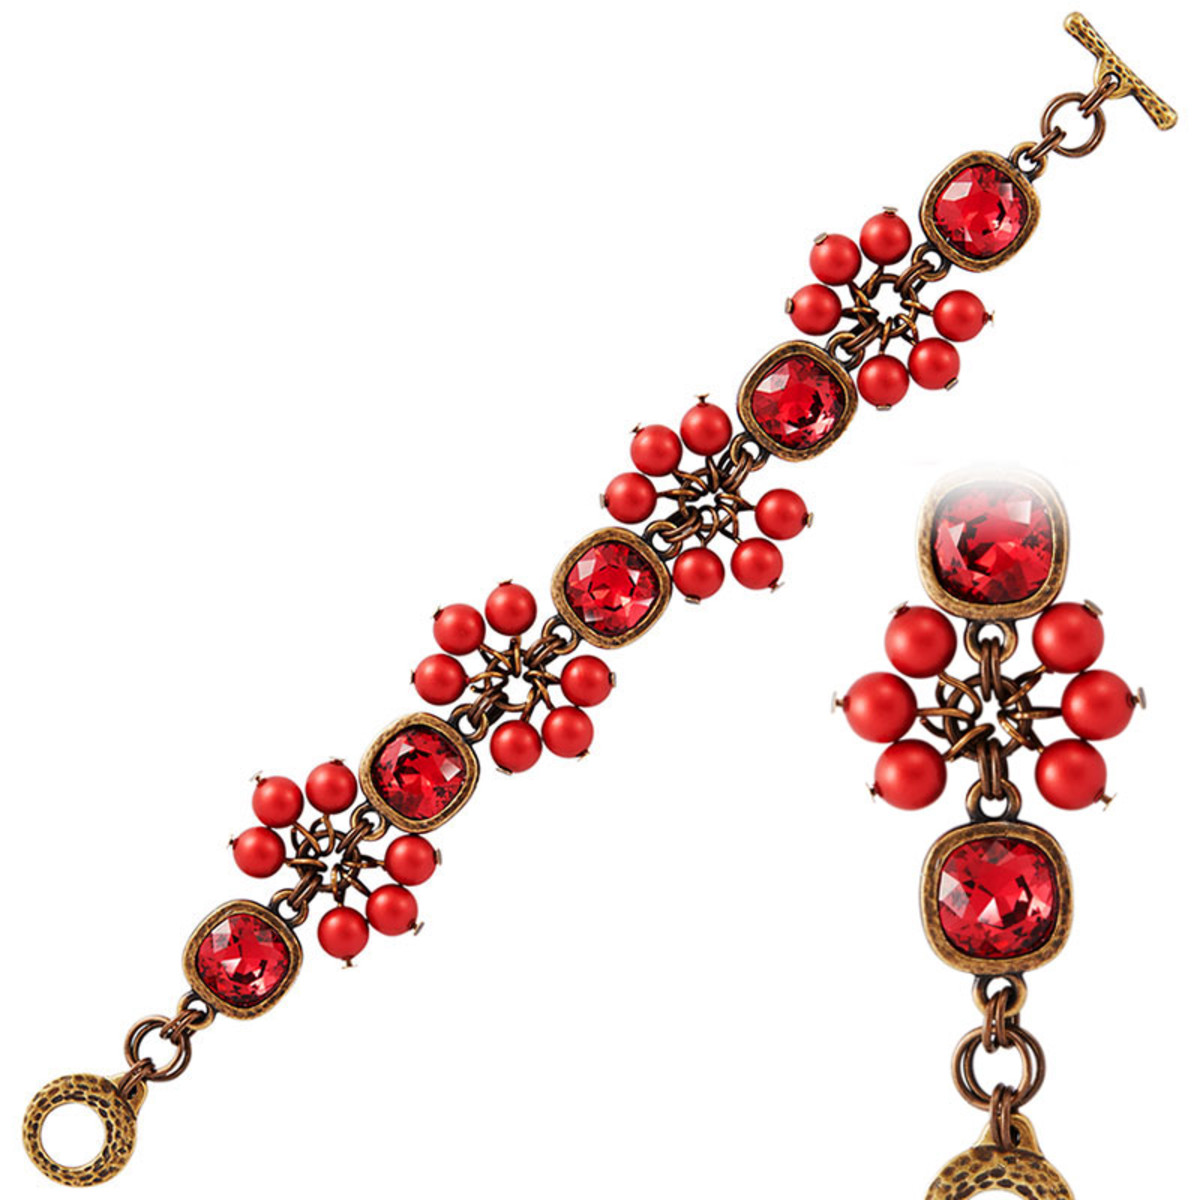
Red Currant Road Bracelet Tutorial
Created by: The Swarovski Crystal CREATE YOUR STYLE Design Team Designer TipsUsing alcohol, clean off all the links and set aside to dry.Using one 10mm 4470 Scarlet fancy stone, glue into matching finding. Repeat four times; set aside to dry for 24 hours.Using one head pin slide on one 6mm Rouge Pearl and make a simple loop. Repeat 23 times and set aside. (Use 1-step looper or see Jewelry Basics 101 - PDF).Using two small jump rings, attach each jump ring separately to the same
…
Feb 1st 2021
Sandra Leather Bracelet Tutorial
Created by: Rita Hutchinson Designer TipsSqueeze out a few drops of patina (or your favorite metallic acrylic paint) on the craft sheet. Apply patina to the edges of the cuff, and then dry-brush patina sparingly to the surface of the bracelet.Let Patina dry.Set crystal stones in settings with nylon jaw pliers. (Smooth down further with burnishing tool or back end of Sharpie as needed).Determine placement of crystal settings, and press awl through the holes in the setting to mark hole loca
…
Feb 1st 2021
Sand Dollar Leather Bracelet Tutorial
This stylishly simple bracelet looks great worn alone, or with other bangles or leather bracelets. Created by: Sondra Barrington Designer TipsCut leather flush after measuring. Use a dab of glue inside one cord end. Insert leather into the cord end and gently pinch the cord end prongs together until secure.Slide guru bead onto leather.Finish other end of leather cord.Use a small jump ring to attach cord end to lobster clasp, and add a large jump ring at the other end of the bracelet
…
Feb 1st 2021
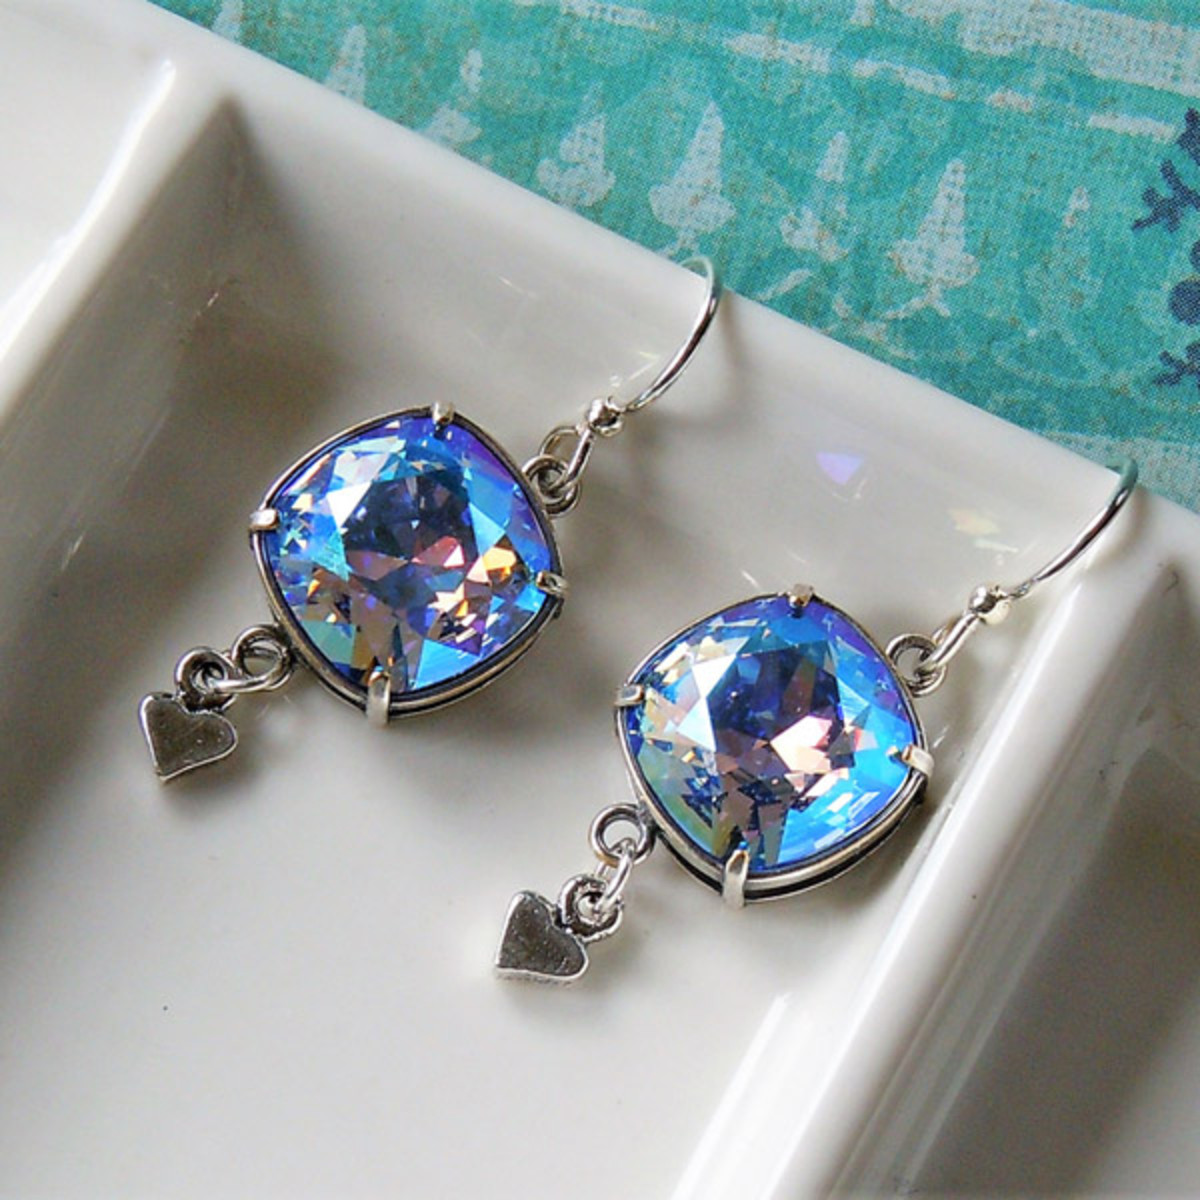
Blue Valentines Earrings Tutorial
Created by: Mollie ValenteDesigner TipsPlace a Swarovski square cushion stone in the bezel setting. Firmly hold the bezel setting (or work on a rubber block). Use the burnisher to carefully push the first bezel prong until it is set against the stone. Rotate the bezel setting so the second prong you set is opposite the first one. Then set the final two prongs in the same manner. Repeat these steps with the second stone and setting.The jump ring serves as a connector between the heart charm and t
…
Jan 25th 2021
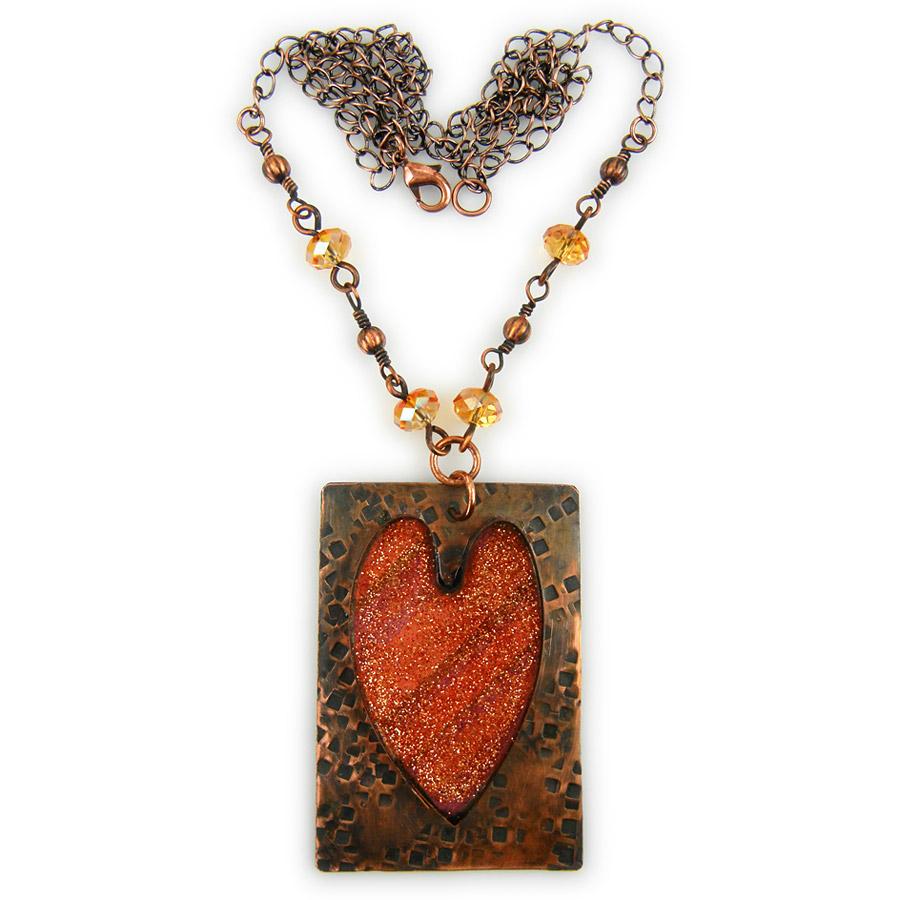
Astral Love Resin Necklace Tutorial
Created by: Rita HutchinsonDesigner TipsSee instruction page for making no-solder bezels.Cut paper to match bezel wire shape.Seal paper and adhere to inside of bezel.Mix a small batch of resin and pour a starting layer.When first pour is cured, mix a new batch (add glitter), and pour to fill the bezel.Create decorative section of chain with crystal and metal beads. The crystals are on thicker wire with simple loops. The corrugated beads are on 24-gauge wire with wrapped loops. Wrap the beaded se
…
Jan 25th 2021
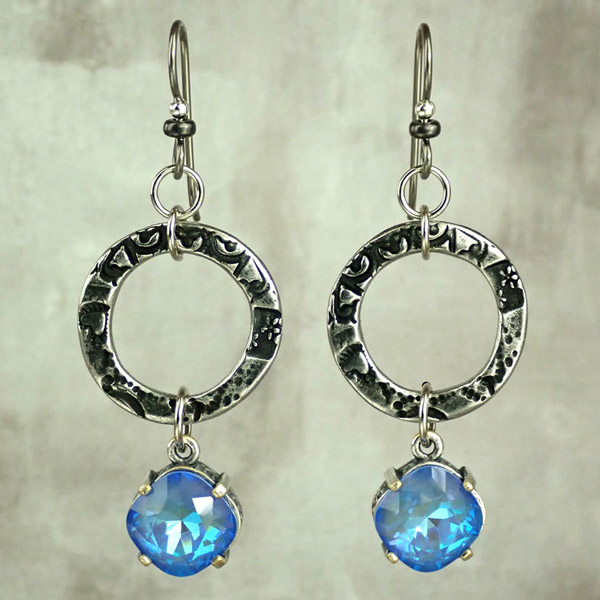
Blue Halo Earrings Tutorial
Created by: Veronica GreenwoodDesigner TipsPlace the crystal in the bezel setting and using the nylon jaw flat pliers gently fold the prongs down over the crystal.Using the 6.5mm jump ring attach the bezel to the large round link. (For best way to open and close loops, see Jump Ring Hint in Jewelry Basics 101).Attach one of the 5mm jump rings to the large round link.Use the second 5mm jump ring to attach the earwire to the first 5mm jump ring.Repeat for the other earring.Suggested Supplies2 each
…
Jan 1st 2021
Hawks Bracelet Tutorial
Created by: Summer MelaasDesigner TipsUse nylon-jaw pliers or a burnishing tool to gently smooth the prongs and bezels down onto the stones. For step-by-step instructions, see our
…
Jan 1st 2021
Bee Keeper Reliquary Necklace Tutorial
Created by: Mollie ValenteDesigner TipsFor a step-by-step tutorial with images, check out the How to Create a Reliquary Pendant blog post.Cut and shape the blank: Measure and cut a brass blank 1 x 1-3/4" in size. File the blank to soften the corners.Mark and punch holes: Measure and mark the hanging holes: 3 holes, 1/8" from the top and spaced to match the holes of the triangle filigree and the wire-lashing holes; 2 holes, 1/8" from each side and 5/8" from the top. Punch holes in the marked posi
…
Jan 1st 2021


