Rings & Things Jewelry Blog
On Target Earrings Tutorial
Use any combination of seed bead and heart colors, with Chevron-bead plating colors that you like. There are hundreds of possible combinations.Created by: Rita HutchinsonDesigner TipsAdd chevron and seed beads to headpin and follow instructions with 1-step looper, to make loop. (Optional, as you string them: To prevent the rotating of the chevron beads in the arrow, add a drop of Hypo Cement and allow to dry.) String "Love" bead on eyepin with the existing eyepin loop at the top. Due to the shap
…
Jan 25th 2021
Coeur de Paris Earring Tutorial
This project uses Swarovski crystals.Created by: Amy MickelsonDesigner TipsPlace flat back crystal hearts on a work surface with the flat side up.Mix two-part epoxy according to the package directions.Use a toothpick to apply a small amount of epoxy to the flat pad of each earring post and glue each to the center of a flat back crystal heart. Set aside to cure.These sparkly yet simple earrings can be worn with jeans, or for a festive occasion.Free Technique Sheets & How-TosGluing Metal Findi
…
Jan 25th 2021
Chasing the Golden Moon Earrings Tutorial
Created by: Rita HutchinsonDesigner TipsCut 2 lengths of wire, each about 30" long. You want enough to lash all the crystals, but not so much that the wire is in the way.Anchor 26-gauge wire to the heart shape, and then lash crystals in a random color pattern around the shape. Use approximately 17 beads per earring (34 beads total).Open loop on earwire, and attach to one of the lashing loops.See our Wire Lashing blog article for further details on lashing beads.New to jewelry-making? For best wa
…
Jan 25th 2021
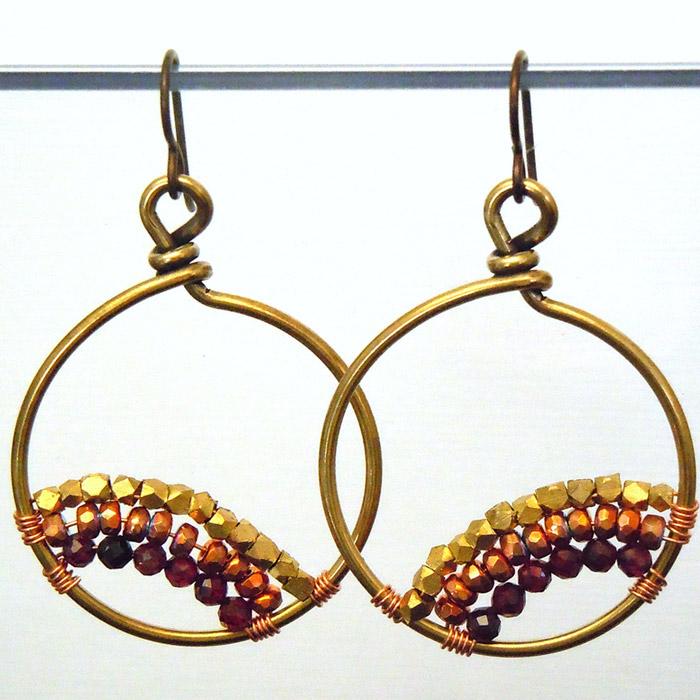
Going with Garnets Earrings Tutorial
We went with garnets, for a subtle January birthstone pair of earrings, and this design would be easy to make with any other birthstone, or simply use your favorite faceted beads for a non-birthstone option. Created by: Rita Hutchinson Designer TipsPick a starting position, and anchor 26-gauge wire on hoop with 4-5 tight lashes.String first row of beads, and wrap wire around hoop at desired point, add second row of beads, and wrap on the same side as the anchor.Add third row and an
…
Jan 15th 2021
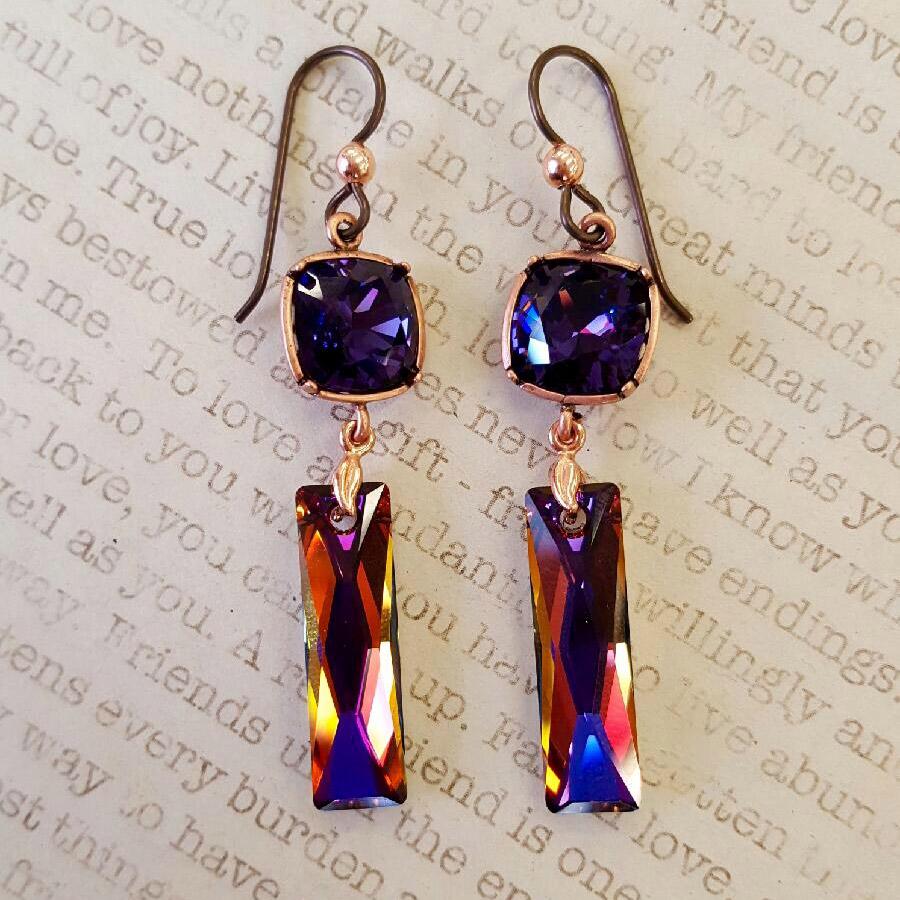
Carnival Queen Earrings Tutorial
Created by: Summer MelaasDesigner TipsPlace 10mm cushion square stone into setting, and use nylon-jaw or chain-nose pliers to gently flatten the prongs onto the stone. See tips in our blog, for best way to keep your stone safe and centered.Carefully add bail to top of pendant (gently open the prongs with needle-nose pliers if needed). Use nylon-jaw or chain-nose pliers to securely close the bail.One loop on the setting is openable. Twist the loop open far enough to add the bail, then twist to se
…
Jan 3rd 2021
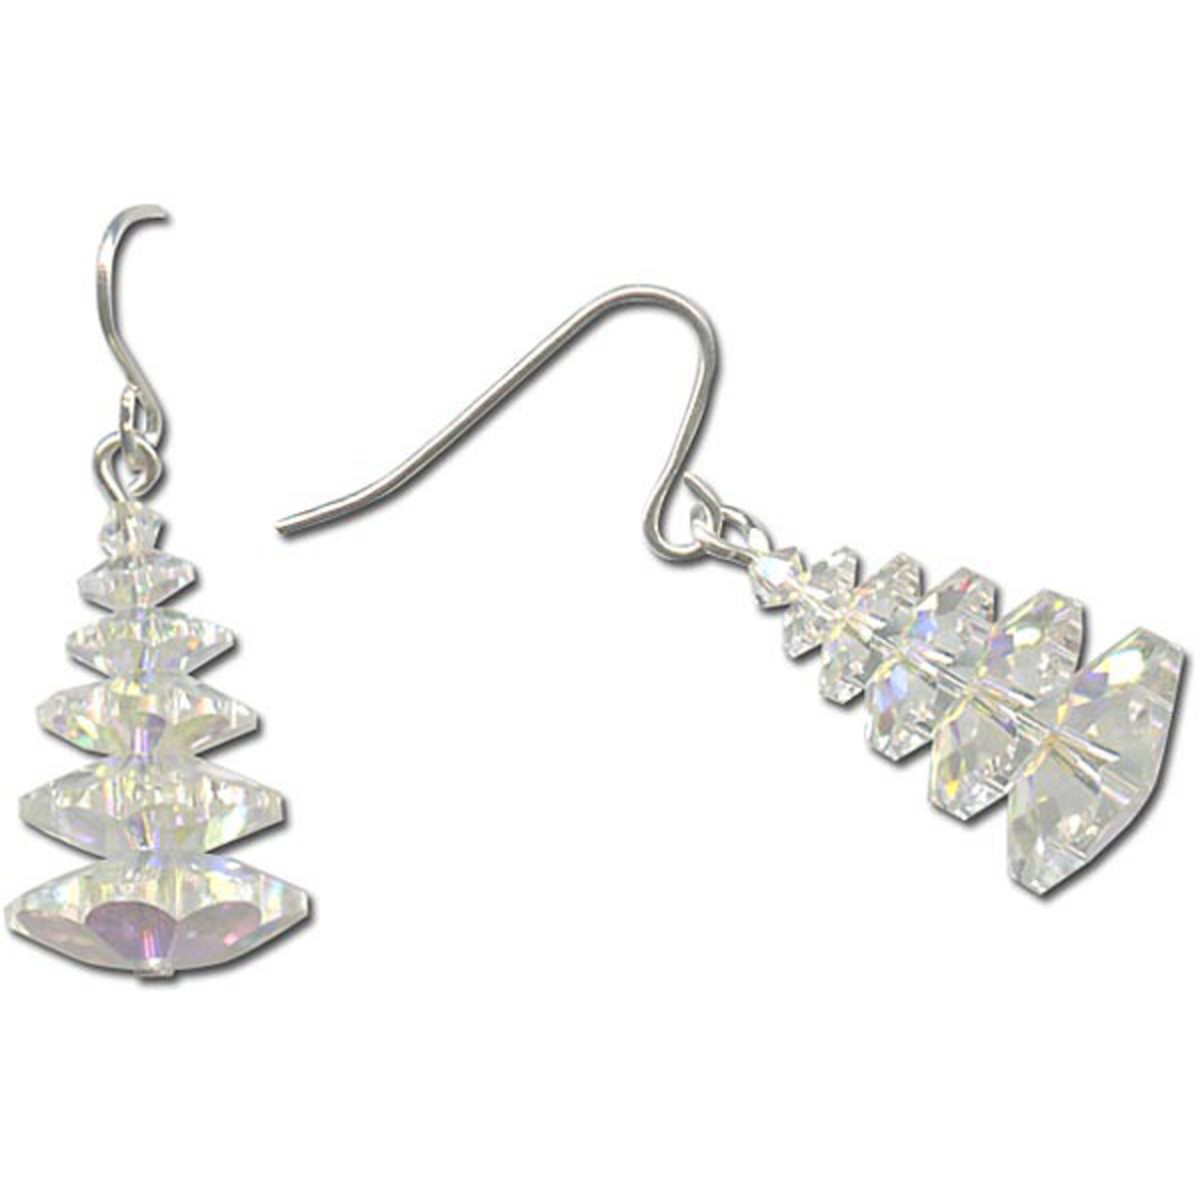
Snowy Crystal Christmas Tree Earrings Tutorial
Design by: Swarovski's Create Your Style Design Team and Rings & Things.Designer TipsFor each earring, string onto one head pin: one 12mm margarita; one 10mm margarita; one margarita 8mm; one 6mm margarita; one 3mm bicone.Turn loop on head pin.Open loop on bottom of ear wire, attach to loop formed on head pin & close loop to secure.Free Technique Sheets & How-TosBasic Jewelry-Making Technique Sheet (PDF)Blog post: Twelve Days of Christmas Jewelry Designs: Swarovski Crystal Tree Earri
…
Jan 2nd 2021
Snowman's Holiday Pearl Earrings Tutorial
Add some sparkle and shine to your holiday wardrobe. These snowman earrings are easy and quick to assemble.Created by: Rita Hutchinson.Design by: Swarovski's Create Your Style Design Team Designer Tips Add pearl beads, scarf and hat to head pin, starting with the largest (10mm) pearl bead.Make a simple loop at the top. New to jewelry-making? See Basic Jewelry-Making Technique Sheet (PDF) for instructions on making loops, and most secure way to open a jump ring (or other loop,
…
Jan 2nd 2021
Pretty Posy Filigree Earrings Tutorial
Created by: Mollie ValenteDesigner TipsMix the adhesive according to the manufacturer's instructions.Apply masking tape to the back side of the filigrees. This will prevent the adhesive from leaking through the openings.Apply adhesive to the back side of the flat back crystal and center it on the filigree and press gently. Repeat with the second filigree and crystal.Set the pieces aside in a warm area to cure. Curing overnight is usually best.Once cured, remove the masking tape from the back sid
…
Jan 1st 2021
Pop of Color Enamel Earrings Tutorial
Created by: Summer MelaasNote: We've had great success enameling our 24-gauge brass blanks, but for the most consistent color results, this enamel is best with copper blanks. Designer TipsTexture the top portion of the blanks with a chasing hammer or ball pein hammer.Use the smaller end of the 2-hole metal punch to punch a 1/16" hole near the top of the blanks. Be sure to center it, so the earrings hang properly.Clean the blanks with Penny Brite to remove all oils.Optional: Spray a light, even c
…
Jan 1st 2021
Petite Artemis Angel Earrings Tutorial
This project uses Swarovski crystals and TierraCast® components. Created by: Rita Hutchinson. Design by: CREATE YOUR STYLE.Designer TipsUse the puffed rondelle bead to fill the opening in the large end of the artemis bead.Add beads to head pin in same order as in photo.Make a simple loop at the top of the head pin (see Basic Jewelry-Making Technique Sheet PDF)Slightly open loop on ear wire (see Jump Ring tip in Jewelry-Making Technique sheet) to add angel. Close securely.Repeat for other earring
…
Jan 1st 2021


